Motorized shade with wireless radio frequency (RF) control.
Installation Guide—Please Read Before Installing
Serena
®
Remote-Controlled Shades
Insulating Honeycomb Shades
English
7
Lutron Electronics Co., Inc., 7200 Suter Road, Coopersburg, PA 18036-1299, U.S.A.
Printed in the U.S.A. 8/13 P/N 368-3194 Rev. B
Troubleshooting
D-1
Reset the lower limit. See section 4.3:
“Adjust Lower Limit” of the installation
instructions.
D-2
Leave shade in lowered position to allow
fabric to relax. Time required to relax may
vary (up to 24 hours).
D-3
Check the window measurements, shade
measurements, and the mounting height.
“Shade Button” Blink Codes
Red/green red/green red/green Over a 3-second
span indicates normal power-up when batteries are
inserted or power connected.
One red blink every 5 seconds = low batteries.
Install new batteries.
Solid red during shade movement = low batteries.
Install new batteries.
If you have any questions regarding your Serena
remote control shades, please visit www.lutron.com,
or call Lutron Technical Support at 1.800.523.9466.
Our technical support staff is available 24 hours a
day, 7 days a week.
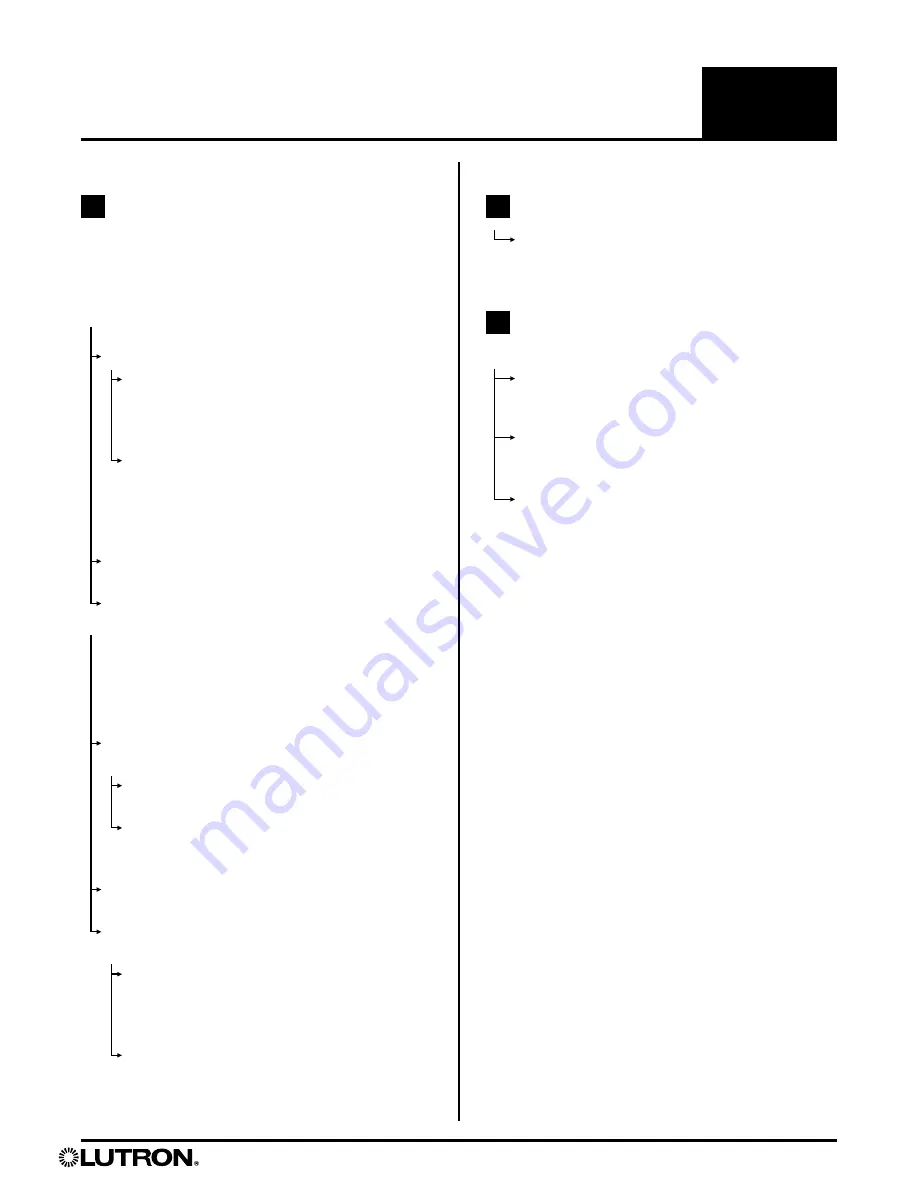
C-1
Leave shade in lowered position to allow
fabric to relax. Time required to relax
may vary (up to 24 hours).
IMPORTANT:
The shade is designed to respond when
a control button is
released
. For best response during
normal operation, tap and release control buttons.
DO
NOT
press and hold unless instructed.
A-1
Tap the “shade button.” Does the “shade button”
LED light up green?
NO
, the “shade button” LED doesn't light up at all.
Battery powered shade:
1) Make sure the
batteries are installed in the correct orientation.
2) Make sure the batteries are fresh, or install
new batteries.
Wired shade:
1) Make sure the power supply/
panel is plugged into a powered outlet. 2)
Make sure the shade power cable is properly
connected to the plug-in supply or power
panel, and system power is available.
NO
, the “shade button” LED is red and/or blinking.
See
“‘Shade Button’ Blink Codes”
YES
Continue to
A-2
below...
A-2
Make sure the control is assigned to the
shade by performing the steps in section
4.1: “Assign Controls” of the installation
instructions.
Does the “shade button” LED blink green
while assigning controls?
NO
, the “shade button” LED does not respond to
control input
1) See section 2.3: “Reposition Antenna
Clip...”
of the installation instructions.
2) Restore the shade’s factory default settings.
See the section: “Restoring Factory Default”
of the installation instructions.
NO
, the “shade button” LED is red and/or blinking.
See
“‘shade button’ Blink Codes”
YES
, the “shade button” LED responds correctly,
but the shade still doesn’t move.
1) Repeat section 4.1: “Assign Controls” of the
installation instructions, and be sure to hold
the “close” button until the “shade button”
LED blinks.
2) Reset the upper and lower limits. See
sections 4.2: “Adjust Upper Limit” and
4.3: “Adjust Lower Limit” of the installation
instructions.
A
B
C
Shade Does Not Respond
Shade Is Not Level
Shade Does Not Reach
Window sill


