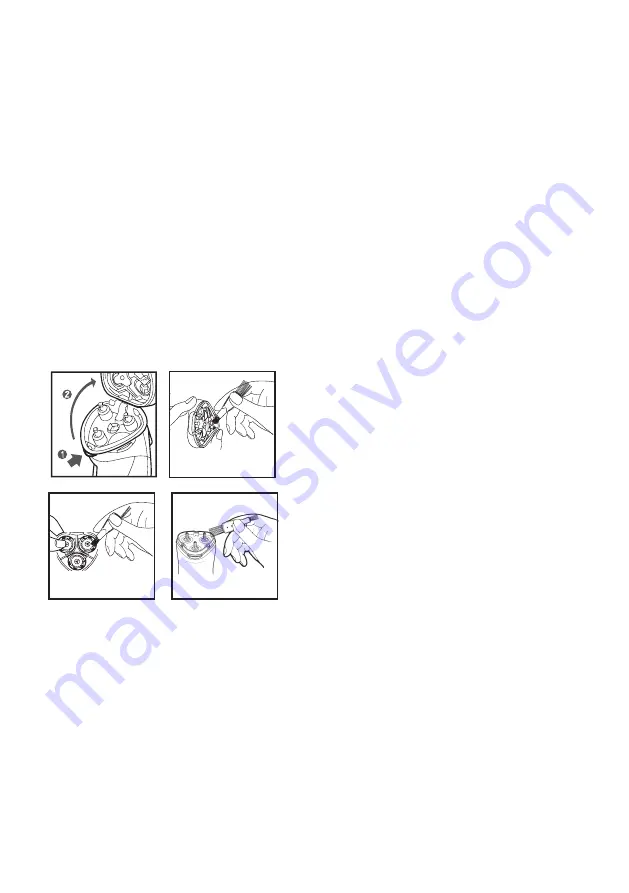
4.3.5. Gently pull out the blade covers and blades
from the front face. Seperate the blades from the blade
covers.
4.3.6. Use the included brush to thoroughly clean the
blade covers and blades.
4.3.7. Remove the blade head by gently pulling it away
from the sahver.
4.3.8. Wash the blade covers, blade head and blades
with a small amount of soap and water then rinse.
4.3.9. Allow to dry before reassembling.
4.3.10. With the shaving head still open, place the
blade covers back into the slots.
NOTE:
Do not force parts back into place as the shav-
ing head may snap backwardss causing damage.
4.3.11. Insert the blades into the blade covers.
4.3.12. Ensure the blade holder is inserted corrrectly
and turn clockwise to secure blades in place.
4.3.13. Close the shaving head and replace the protec-
tive cap.
NOTE:
If you have issues closing the shaving head,
check that all parts are assembled correctly.
5. Anomalies and repair
5.1. Take the appliance to an authorised support centre
if product is damaged or other problems arise.
5.2. If the connection to the mains has been damaged,
it must be replaced and you should proceed as you
would in the case of damage.
Содержание MSH3HRWA
Страница 7: ......


