Installation Instructions
5 |
P a g e
INSTALLATION DIRECTION (OPTION 1 – Supply cable & Plug)
NOTE: Check that the installation location in the ceiling/wall has access to a socket outlet that is connected
to a wall switch. If it does not, please contact a licensed electrician to arrange the installation of the socket
outlet and wall switch before continuing.
The socket-outlet and switch must be located so that they cannot be touched by persons in the
bath or shower
.
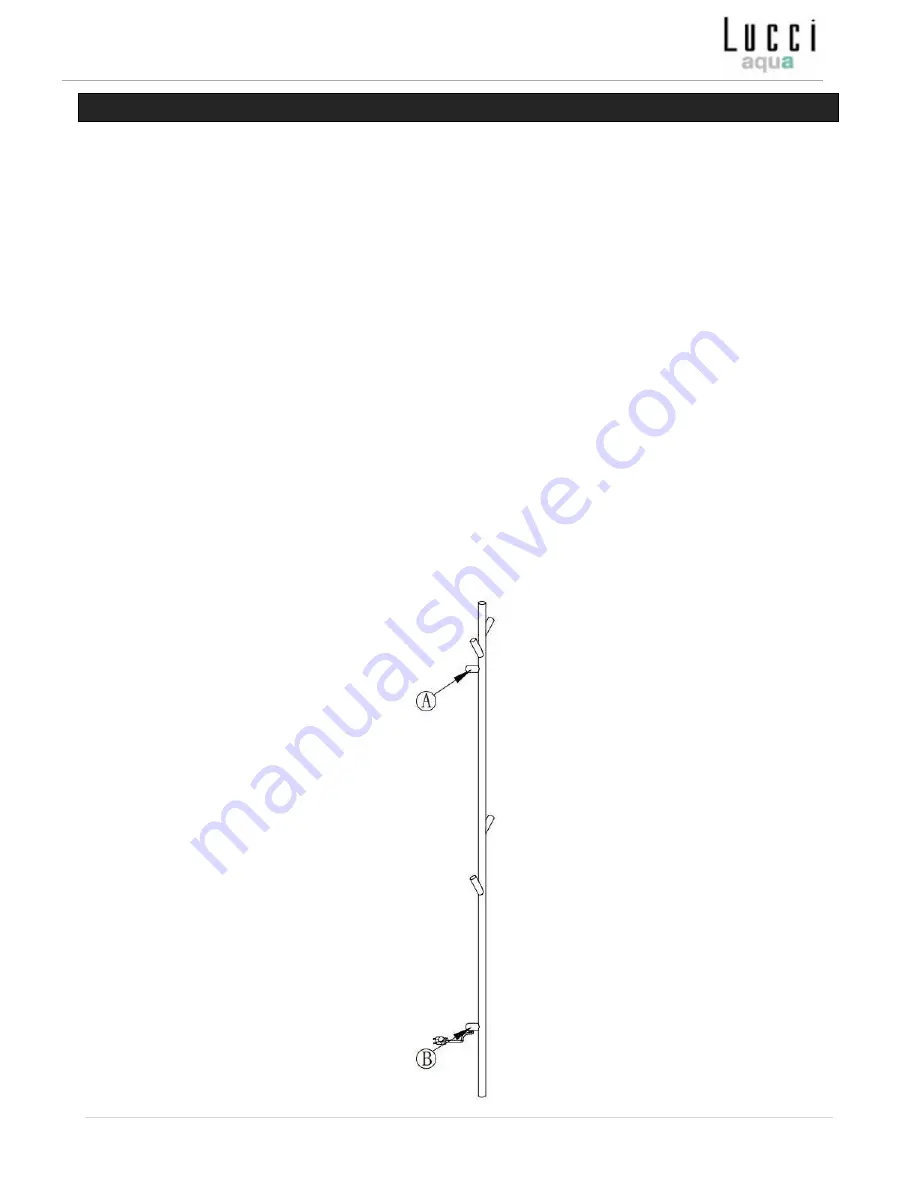
I – Installation of the top wall spacer (Figure 2A):
1. Install the round base onto the wall by the appropriate screw and anchor;
2. Attach the top wall spacer onto the body of the appliance by the M5x16 screw;
3. Install the appliance onto the round base then lock it with the M5x6 screw.
II – Installation of the low wall spacer (Figure 2B):
1. Install the rectangular base onto the wall by the appropriate screw and anchor;
2. Pull the supply cable through the low wall spacer then connect the supply cable to the appliance via
the quick connector;
3. Attach the low wall spacer onto the body of the appliance and lock it with the M5x4 screw;
4. Install the appliance onto the rectangular base then lock it with the M5x6 screw;
5. Insert the plug onto the socket outlet.


