79
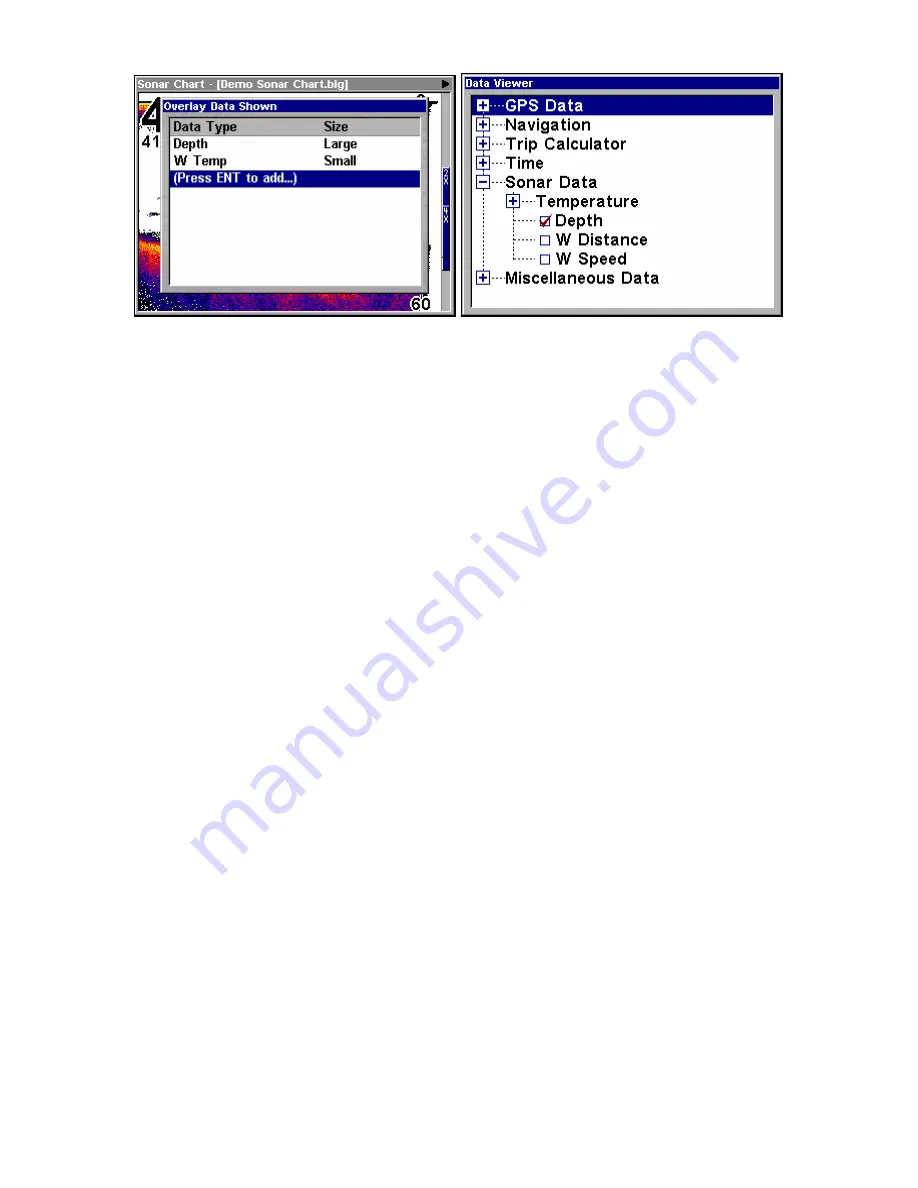
Overlay Data Shown window (left); Data viewer with the Sonar Data
category expanded (right).
To overlay information on your screen:
1. Press
MENU
|
↓
to
O
VERLAY
D
ATA
|
ENT
.
2. If you have overlay data on your display, you’ll see a list of that data
on the overlay data shown menu. To add data, select
(E
NT TO ADD
)
and
press
ENT
. The data viewer shows information categories with "+" or "–"
symbols next to each category name. A category with a "+" next to it is
expandable
, meaning its contents are hidden.
Selecting the category name and pressing
ENT
will show the category's
contents, so you can choose items within it. An expanded category (one
with a "–" next to its name) can collapse to hide its contents. Just select
the category and press
ENT
.
3. Expand any categories that might contain data you want to display.
Then press
↓
or
↑
to select a data option.
4. With the data option highlighted, press
ENT
to check it (turn it on) or
uncheck it (turn it off). As you turn it on, the data will appear on top of
the screen. Every Page display has a maximum number of items you
can show using the Overlay Data command.
5. After the desired changes are made, press
EXIT
|
EXIT
to return to the
page display.
To remove overlaid data:
1. While on the Page display that shows the item or items you want to
remove, press
MENU
|
↓
to
O
VERLAY
D
ATA
|
ENT
.
2. You'll see a list of the overlay data currently displayed. Select the
item you want to remove from your display and press
ENT
|
ENT
to
remove the data. To remove another item, select the item and press
ENT
|
ENT.
3. When you have finished removing all the items you want from the
screen, press
EXIT
to return to the page display.
Содержание LCX-112C
Страница 10: ...viii Notes ...
Страница 104: ...94 Notes ...
Страница 108: ...98 Notes ...
Страница 220: ...210 Notes ...
Страница 226: ...216 Notes ...


