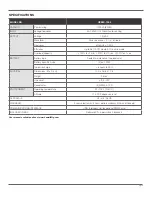
Lowell Model UPS9C-1000 Manual
Pg. 5
INSTALLATION & SET UP
NOTE:
Before installation, inspect the unit . Be sure that nothing inside the package is damaged . Keep the original package in
a safe place for future use .
Rackmount Installation (with 4-point rail kit):
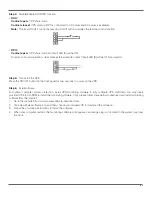
Step 1:
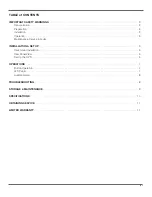
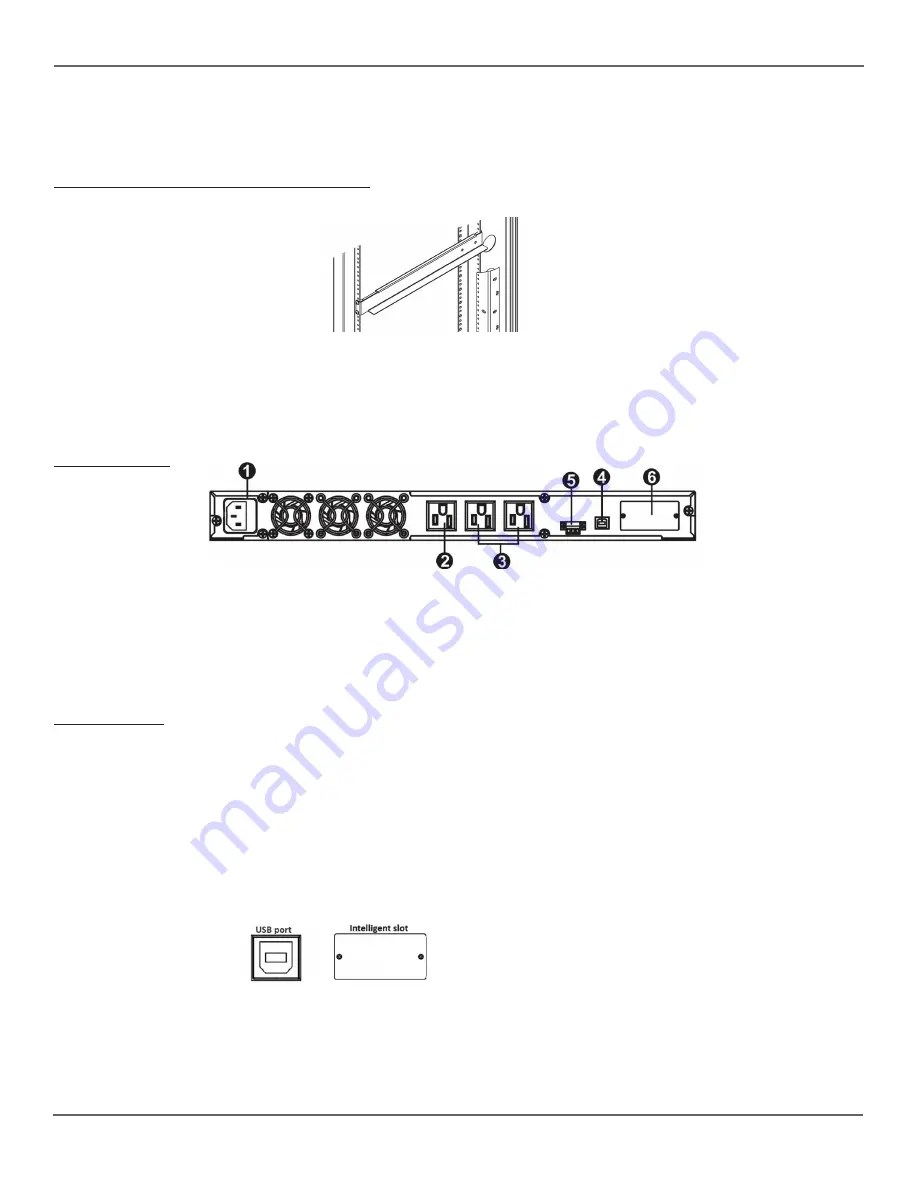
Mount the 4-point rail kit to the rack . Use the (8) 10-32 screws provided to mount left and right support rails (front
and rear) .
Step 2:
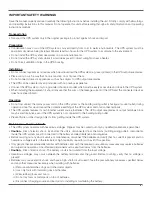
Attach brackets to the UPS .
CAUTION
—DO NOT use brackets to lift the UPS; brackets are only to secure it to the
rack .
Step 3:
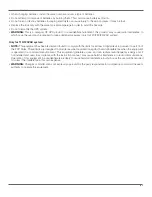
Place UPS on the support rails and secure in place with front screws, allowing the horizontal rails to support the
weight of the UPS .
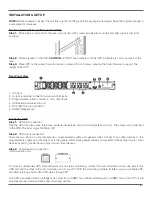
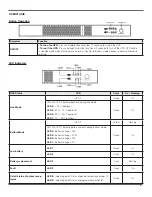
Rear Panel View
1 . AC input
2 . Output receptacle: connect to mission-critical loads
3 . Programmable outlets: connect to non-critical loads
4 . USB serial communication port
5 . ROO/RPO function connector
6 . SNMP intelligent slot
Set Up the UPS
Step 1:
UPS input connection .
Plug the UPS into a two-pole, three-wire, grounded receptacle only . Avoid using extension cords . The power cord is attached
to the UPS . The input plug is NEMA 5-15P .
Step 2:
UPS output connection .
There are two kinds of output receptacles: programmable outlets and general outlet . Connect non-critical devices to the
programmable outlets and critical devices to the general outlet . During power failure, you may extend the backup time to critical
devices by setting shorter backup time for non-critical devices .
Step 3:
Communication connection .
Commuication ports .
To allow for unattended UPS shutdown/start-up and status monitoring, connect the communication cable, one end to the
USB port and the other to the communication port of your PC . With the monitoring software installed, you can schedule UPS
shutdown/start-up and monitor UPS status through PC .
The UPS is equipped with an intelligent slot, ideal for an SNMP card . When installing with an SNMP card in the UPS, it will
provide advanced communication and monitoring options .


