■
How to Use the Camera
Note
• When using a Video Auto Iris Lens, if the lens level is too low,
automatic switching between Color and Black & White may not occur.
• If you press the Set button in "AUTO", AGC is disabled.
• The camera focus will "shift" marginally under infrared illumination
at night. Always use an IR Corrective extra-low dispersion lens to
obtain sharp pictures in color and monochrome.
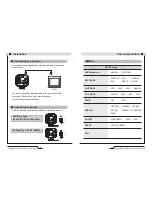
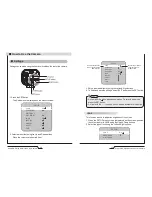
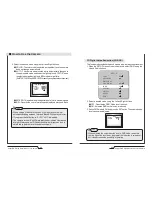
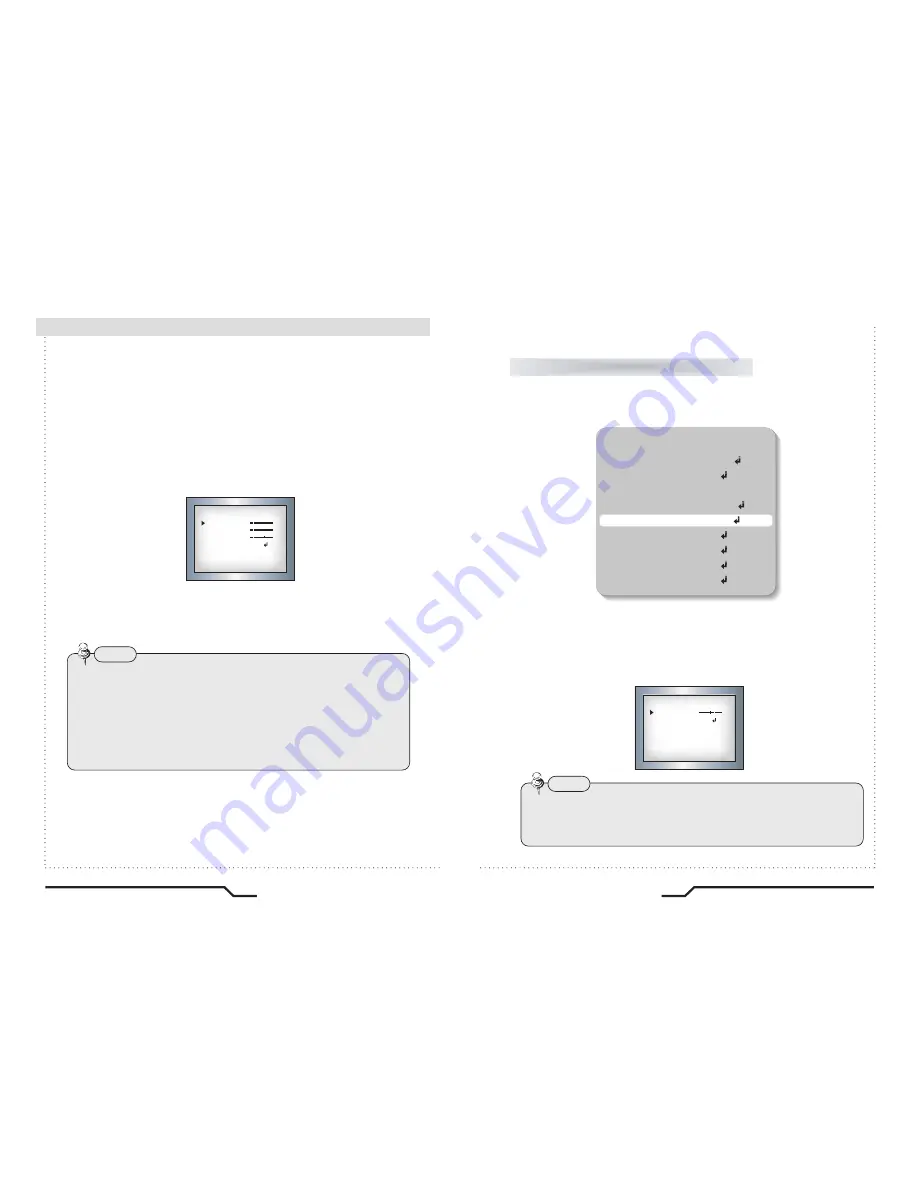
2. Select the desired mode using the Left and Right buttons.
●
COLOR : The color mode is selected as the default, and the camera
does not change automatically.
●
AUTO : This camera has a function which automatically changes to
the appropriate mode dependant on lighting levels. COLOR mode
is selected during daylight and B/W mode at night time.
(Set START LEVEL and END LEVEL manually, as appropriate environment.)
●
EXTERN : This mode allows the application of a filter to external signals.
●
B/W : Discards the color information and displays in black and white.
DAY NIGHT AUTO
DELAY
S-LEVEL
E-LEVEL
RETURN
5
55
65
RET
24
Super DNR High Resolution Color Camera
Super DNR High Resolution Color Camera
25
Note
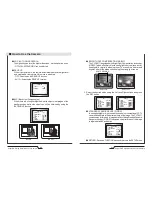
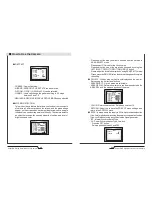
• When adjusting the noise reduction level in DNR mode, remember
that the higher the level is set, the greater the reduction in noise level,
but it also increases the possibility of ghosting.
3D Digital Noise Reduction (3D-DNR)
3DNR
DELAY
RETURN
50
RET
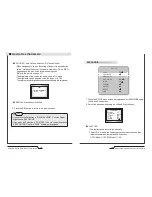
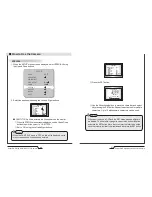
This function reduces the background noise in a low luminance environment.
1. When the SETUP menu screen is displayed, select 'DNR' using the
Up and Down buttons.
2. Select a desired mode using the Left and Right buttons.
●
OFF : Deactivates DNR. Noise is not reduced.
●
ON : Activates DNR so that noise is reduced.
3. Set the DNR mode to 'ON' and press the SET button. The noise reduction
level can now be adjusted.
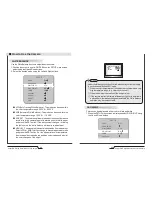
SETUP
LENS
DC
EXPOSURE
WHITE BAL
ㅡㅡㅡ
DAY NIGHT
3DNR
SPECIAL
ADJUST
RESET
EXIT
B/W
ON
Содержание CVC8011
Страница 22: ...MEMO...

