background image

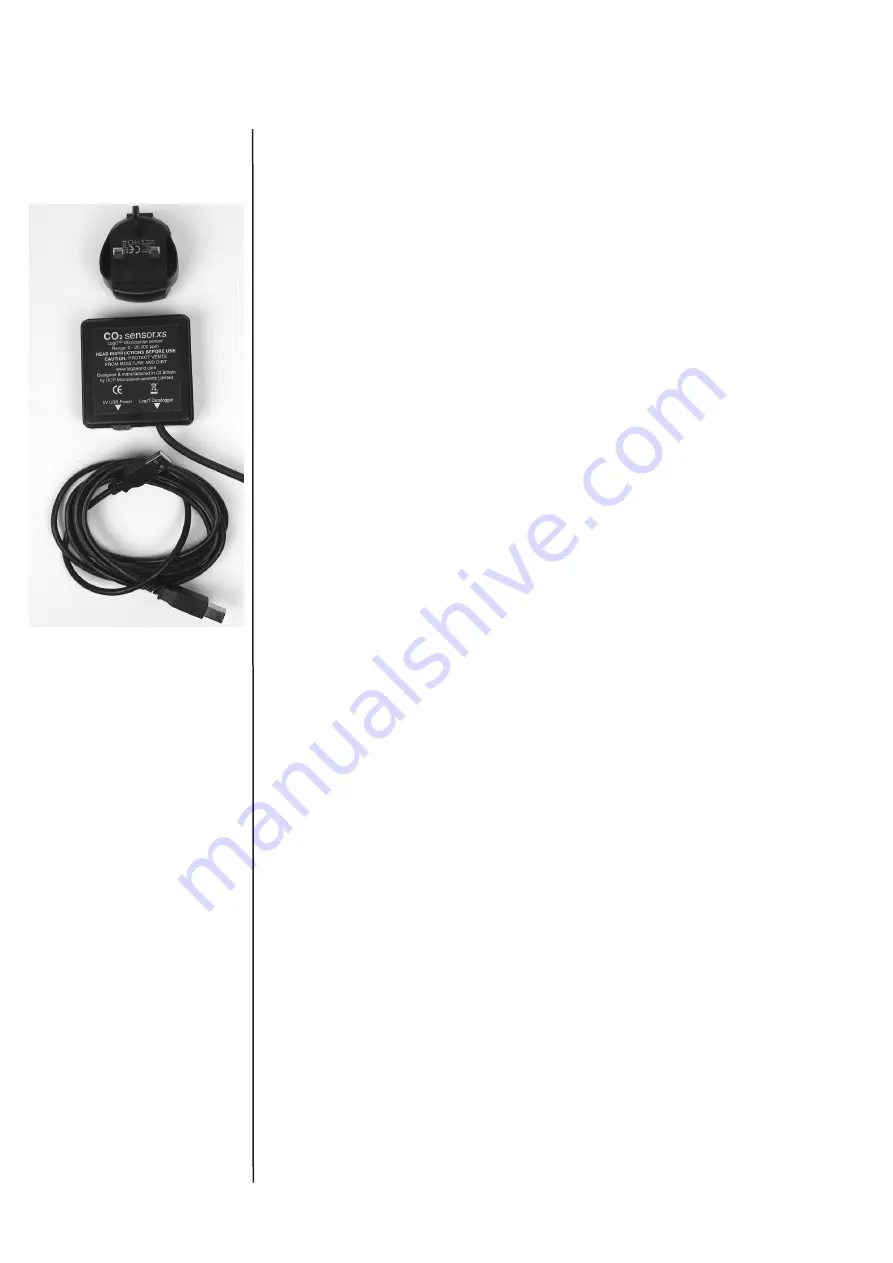
Carbon Dioxide Sensor 

xs

for the LogIT Microsense

®

 system

Instructions &

Resources

Overview

The Carbon Dioxide sensor is designed to measure the amount of Carbon Dioxide gas 

present in air.  It provides measurements in ppm (Parts Per Million).

It uses NDIR (Non Dispersive Infrared Absorbance) to measure the CO

2

 molecules 

present in the air.

Ideas for use

• Environmental monitoring of CO

2

 levels.

• Greenhouse CO

2

 monitoring.

• Plant growth and measurements of optimum growing conditions.

• Photosynthesis studies.

• Human breath composition.

• Office/Classroom/Home environmental studying.

Specifications

Range:   


0 - 10000 ppm (resolution 1 ppm)

Accuracy: 


+/- 0.02% volume CO

2

 +/- 3% of reading

Update rate: 


Every 2 seconds

Operating Conditions:   


0

O

C to 50

O

C (32

O

F to 122

O

F)                                    


0 to 85% RH, non condensing

Storage conditions: 


-40

O

C to 70

O

C (-40

O

F to 158

O

F)

Power:   


USB 4.5 - 5.25V


30mA average 300mA peak

Life expectancy:  


15 years nominal commercial environments

Care

This sensor is not waterproof.  Do not use the sensor in excessive damp conditions or 

extremes of temperature as permanent damage will result.  

Do not disassemble this sensor, no user serviceable parts inside.

Trouble shooting

• If no sensor is found in the software, check the power supply is within operating power 

range (see above)

• Your software and/or LogIT (with a display) may need updating to support it, which is 

available over the internet free of charge.

If the sensor is not recognised by your software or LogIT (for example if the data logger 

displays ???) you probably need a firmware/software update. 

SensorLab or LogIT Lab will update the LogIT data logger - if you are using different 

data logging software you can download an evaluation version of SensorLab to update 

your LogIT(s) by performing steps 1 & 2:

1: Visit the LogIT website www.logitworld.com  If you have software, go to step 3.

2: To upgrade your data logging software click on the ‘Support’ tab followed by ‘Software 

Downloads & Updates’.  Download and install SensorLab.

3: To upgrade the data logger, start the logging software (SensorLab or LogIT Lab) and 

Select ‘Administration’ under the ‘File’ option.

4: Select ‘Reload loggers System’ and the upgrade should proceed.

Note the Carbon Dioxide sensor is not compatible with the CheckIT display for LogIT SL/

LIVE. 

• Basic recalibration can be done by the user - see ‘Recalibration’ on the following page.

The resources shown overleaf are available in PDF form at www.logitworld.com

Содержание Microsense xs

Страница 1: ...r no user serviceable parts inside Trouble shooting If no sensor is found in the software check the power supply is within operating power range see above Your software and or LogIT with a display may need updating to support it which is available over the internet free of charge If the sensor is not recognised by your software or LogIT for example if the data logger displays you probably need a f...

Страница 2: ...ata logger such as a LogIT Voyager you may use a small USB battery pack These are readily avail able as mobile phone chargers and can take 2 AA batteries or more In all cases the sensor reading is updated every 2 seconds and LogIT will always display record the last reading it receives from the sensor Recalibration Your CO2 sensor is supplied pre calibrated but accuracy can change over time To rec...

Страница 3: ...yager 4 Switch on the data logger or start the logging software if the data logger is connected to a computer 5 The sensor should start recording ppm readings of CO2 6 When first plugged into a LogIT Data logger the sensor should ideally be left for 10 minutes for the internal sensor to stabilise and give the most accurate readings although usable readings can be obtained after 2 minutes Schools c...

Страница 4: ...ng a small propagator as shown in the photo place the sensor in the bottom 2 Place the temperature sensor and light sensor in a similar way to the CO2 sensor 3 Connect the sensors to the datalogger the CO2 sensor to a suitable power supply 4 Switch on the logger and allow the sensor to stabilise for 10 minutes 5 Place the whole plant and sensors into a plastic bag sealing the end with another elas...

Страница 5: ... to stabilise for 10 minutes 4 Start logging the CO2 5 After a predetermined time eg near the end of the lesson stop logging Note This procedure can be run for the length of a lesson or during an entire day It is also good logging practise to add markers when an event occurs such as a window being opened or a door left ajar You may also like to perform the experiment connected to a computer and th...

Страница 6: ...n breathe into the bag and note the peak value Note It is important that when breathing into the bag the breath is not forced out as over range and false readings can be taken It might be better to simply breathe normally and then placed the bag over the mouth at a suitable out breath A large bin liner was found to produce good results You can overlay the two sets of results Results What do the re...

Страница 7: ...sensor to the logger and connect the logger to the computer The photo shows a LogIT Black Box data logger being used 2 Connect the sensors power cable to the laptop using the USB cable 3 Switch on the logger computer and allow the sensor to stabilise for 10 minutes 4 Start logging the CO2 5 After a predetermined time stop logging Note For this example the sensor was mounted in a clamp stand at a h...

Отзывы: