background image

- 15 - 


Basic Operation                                                                                                                                            


Power on/Power off   

 
1.Plug the power cable into the jack; make sure the output voltage and frequency of the power is consistent 

with this machine. 

2.Power on the switch on the side cover, the red light on the front board will be lighted, then the TV enter 

standby mode. Press " STANDBY " button in remote control or "STANDBY" touch key on the front board, 
the indicator change into green. The TV enter Play mode. 

3.Press " STANDBY " button on the remote control to power off the TV, and the TV will enter standby mode, 

the indicator change from green to red. Close the main power switch and it will stop working.   


Note: 

Please draw out the plug when you won't use it for long time. 


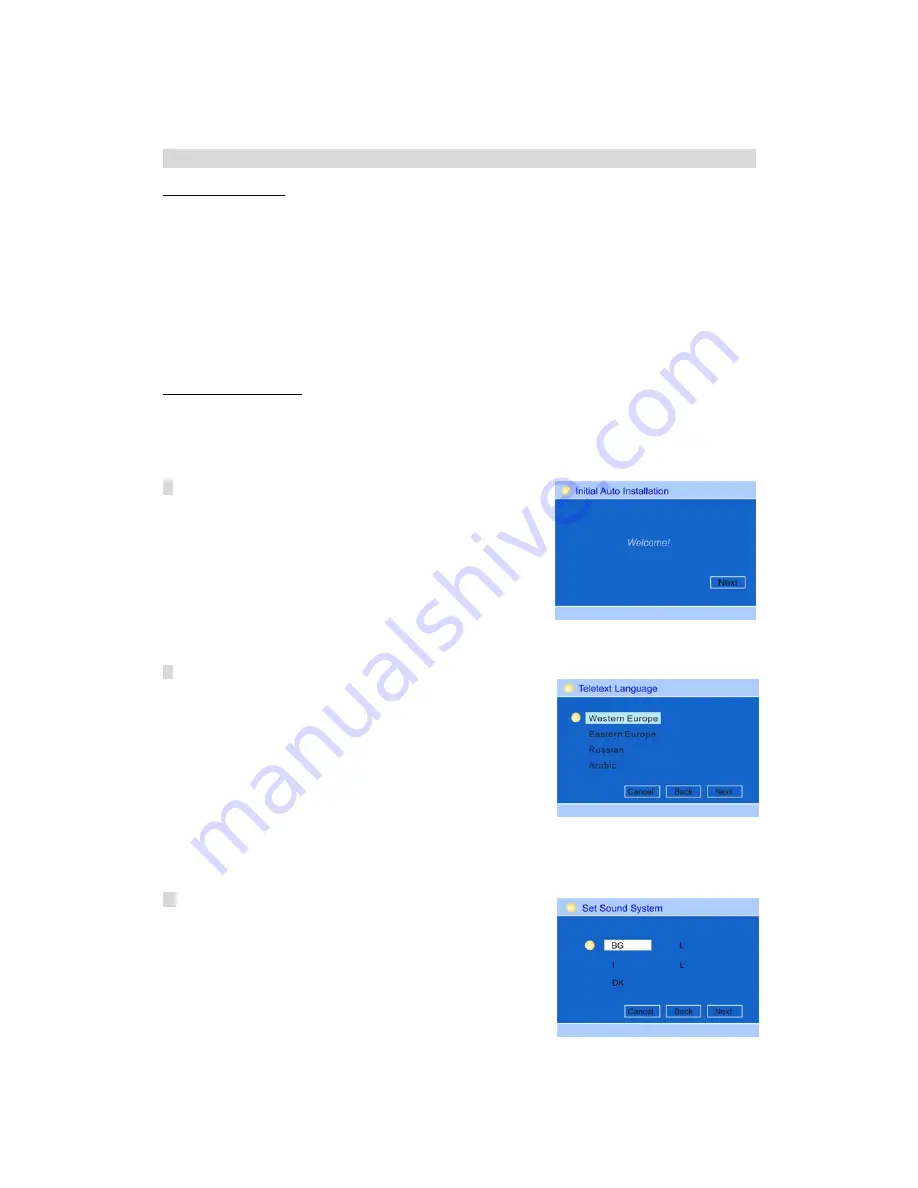
Initial Auto Installation   

 
When the TV powers on for the first time after purchase, the Initial Auto Installation is involved.   
You can automatically set teletext language, sound system and channels in successive operations.


Note: 

The initial auto installation functions only once.   


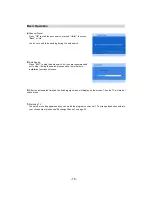
1.

This menu will display on the TV screen automatically after the 

TV being turned on for the first time.   
Press "OK" button to choose "Next" to start. 


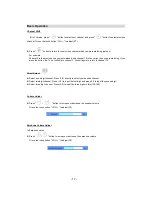
2.

Setting the teletext language                                                                       

Press "

/

/

/

" button to select your teletext language on the   

screen.  
Press "OK "to enter the setting. 
Then select the "Next" and press "OK" button to enter   
next the setting, 


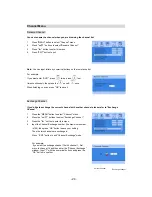
3. 

Set sound system 

Press "

/

/

/

" buttons to choose the optimum   

sound system among locally receivable broadcasting systems 
"DK/BG/I/L’/L". Then press "OK" to confirm. 
Press "

" to enter "Next" and then press "OK" to enter the setting, 

or press "

/

" to choose "Cancel" or "Back". 


Содержание LCXW32HD1

Страница 1: ...LCXW32HD1 LCXW37HD1...

Страница 2: ...nterference Do not place your TV on or near appliances that may cause electromagnetic interference TV or Hi Fi speakers If you do it may adversely affect the working of the unit and cause a distorted...

Страница 3: ...YCbCr Component Connections 13 Select viewing source 13 S Video and Video Component Connections 14 PC Connections 14 Scart Connections 15 HDMI DVI Connections 16 Basic Operation TV 15 20 Menu Operati...

Страница 4: ...ule EPG 43 Common Interface 44 Timers 45 Setting Configuration 46 48 Language 49 Installation 49 50 Trouble Shooting Screen Burn Maintenance Specifications Visit Partmaster co uk today for the easiest...

Страница 5: ...ht and good ventilation Do not remove the stand from the display unless using a proper bracket to mount it Keep enough space above and behind the display Make sure to move the TV with two or more peop...

Страница 6: ...also acts as select button OK in source menu CH Press to change the channel The two buttons also act as direction buttons in menu display Under the DTV station only the CH button on the remote contro...

Страница 7: ...itch Headphone Output EXT2 EXT1 PC IN HDMI DVI IN Rear interface Side interface DVB Update POWER Audio In Component In PC Audio In Optical TV Update Digital Out Digital Antenna In PCMCIA Plug RF S Vid...

Страница 8: ...respondingly to the coloured items in the menu screen 7 DTV MENU DTV input mode Display the digital TV menu screen 8 TXT MIX Select the TELETEXT mode 9 GUIDE DTV input mode To Display EPG Electronic P...

Страница 9: ...channel list 26 FAV DTV input mode Browse the favourite list 27 0 9 TV DTV External input mode Set the channel TELETEXT mode Set the page 28 DUAL Set the dual mode 29 CH CH Select the channel 30 TELE...

Страница 10: ...eries Mixing old and new batteries can shorten the life of new batteries or cause chemical leakage in old batteries Remove batteries as soon as they have worn out Chemicals that leak from batteries ca...

Страница 11: ...ng both analog and digital broadcasts For Example For viewing analog broadcasts If you have a 75 ohm round cable insert the bronze wire and then tighten the connection nut When using 75 ohm round cabl...

Страница 12: ...orresponding jacks of DVD player or other component signal sources Please choose Component in the Source menu when you connect component signal source Select viewing source Press the SOURCE button to...

Страница 13: ...ach the best video effect If composite video is necessary please disconnect S Video How to select viewing source AV Please refer to page 11 PC Connection Note 1 Please refer to the illustration above...

Страница 14: ...The signal type inputted to EXT1 will be detected automatically 2 Select the desired signal type on Source Setting in the Setting menu only for EXT2 The setting will be stored and can be viewed on SO...

Страница 15: ...to equipment that has only a DVI output terminal DVI HDMI adapter cable and an audio cable are necessary Audio cable is necessary Picture B When connecting with HDMI you can get better audio effect by...

Страница 16: ...or long time Initial Auto Installation When the TV powers on for the first time after purchase the Initial Auto Installation is involved You can automatically set teletext language sound system and ch...

Страница 17: ...ou are recommended not to stop it during the search process since the initial auto installation functions only once 6 After the auto search finished the finishing sign menu will display on the screen...

Страница 18: ...set will skip to channel 5 Press it again to return to channel 10 Direct Select Select a one digit channel Press 1 9 directly to select your desired channel Select two digit channel Press 1 9 to input...

Страница 19: ...other modes different from above the screen will display Source Mute Status Freeze Status Aspect Ratio Press button the following window will be displayed on the screen Press buttons or Aspect button...

Страница 20: ...re browsing the channel list Press LIST button the Channel list will be displayed on screen Use direction buttons to select specific channel Press OK button confirm Press OK button again the Rename Ch...

Страница 21: ...e is as follows The default setting of Dual is Mono if without signal View menu Press MENU button on the remote control or MENU button on the front board to display OSD menu Press MENU button continuo...

Страница 22: ...ing Press EXIT button to quit Selected item button button Brightness For less brightness For more brightness Contrast For less contrast For more contrast Color For less colour intensity For more colou...

Страница 23: ...he setting 3 Press EXIT button to quit Simulated Stereo Press buttons to to switch Simulated Stereo ON OFF Simulated stereo Change mono sound effect to stereo sound effect BBE Setting Press buttons to...

Страница 24: ...1 Press the MENU button to select Channel menu 2 Press the buttons to select Current Channel 3 Press the buttons to select the number of the channel to be skipped 4 Press the button to select Skip Cha...

Страница 25: ...nge Channel If you d like to exchange the current channel with another channel please refer to Exchange Channel 1 Press the MENU button to select Channel menu 2 Press the buttons to select Exchange Ch...

Страница 26: ...ons to select Auto Search 5 Press button to enter Auto Search the TV will search channels automatically All channels will be saved once searching finished In the course of auto searching you can press...

Страница 27: ...eset 3 Press the button to enter Channel Preset 4 Press the buttons to select Manual Search 5 Press the button to enter Manual Search Press buttons to search channels When a channel is found the searc...

Страница 28: ...ound quality 1 Press the MENU button to select Channel menu 2 Press the buttons to select Channel Preset 3 Press the button to enter Channel Preset 4 Press the buttons to select Fine Tune 5 Press butt...

Страница 29: ...s buttons to select PC window 3 Press button to enter 4 Press buttons to select the sub items 5 Press buttons to change the setting 6 Press EXIT button to quit H Position Press buttons to move the ima...

Страница 30: ...on to quit Sound Source 1 Press MENU button to select Setting menu 2 Press buttons to select Sound Source 3 Press buttons to change the setting Two options Main Window Sub Window 4 Press EXIT button t...

Страница 31: ...s buttons to change the Color Temperature mode Four options Warm Normal Cold User In User mode you can adjust Red Green and Blue Press buttons to select Red Green Blue Press buttons to reach the desir...

Страница 32: ...atically Other Setting 1 Press MENU button to select Setting menu 2 Press buttons to Select Other Setting item then press button to enter 3 Press buttons to select the sub item 4 Press buttons to chan...

Страница 33: ...rce then press OK button to confirm your choice and the sub picture will display the channel you chose or press the numeric button to enter the signal source channel Note 1 Some high definition signal...

Страница 34: ...Teletext mode Press again to view the TV program with teletext page You can return to normal viewing by press the TXT MIX button for the third time SIZE Repeatedly pressing the SIZE button doubles the...

Страница 35: ...buttons directly You can select a page by numeric buttons directly in TXT MIX mode PAGE DOWN UP Use the this direction buttons to page up down Use the OK button to go to the index page Notes 1 The bu...

Страница 36: ...cally tune to the UHF transmission channels 21 to 68 looking for digital terrestrial TV broadcasts and displaying the names of channels found This process will take about five minutes When the search...

Страница 37: ...m Channel List menu see page39 You may select the required channel from EPG see page42 Information Banner Whenever you change channel using the CH and CH buttons or the number buttons will display the...

Страница 38: ...give a quarter screen image in the EPG or the Channel List screen When such a channel is selected after a brief pause they will usually display the opening page information automatically Other channe...

Страница 39: ...to resume EXIT Press this button to exit menu RED GREEN YELLOW BLUE These buttons using the EPG function and the Digital Teletext function please refer to EPG menu and Digital Teletext TXT MIX XPress...

Страница 40: ...with a quarter screen image window showing the selected channel and can be used to change channels for viewing delete channels from the memory edit the name of the channel as it appears in the list a...

Страница 41: ...can input letters by numerical buttons on the remote control Then you can press OK button to save it Channel Lock Some channels broadcast material which you do not want younger members of the family...

Страница 42: ...mode allows the most watched channels to accessed more easily leaving the less watched channels accessible but out of the way Press buttons to select Favourites in the main menu then press OK button...

Страница 43: ...menu Press buttons to select Now Next EPG List Schedule EPG Timeline Schedule item then press OK button Now Next EPG This item displays current and next program for every channel Press W X S T buttons...

Страница 44: ...meline Schedule This item displays the detailed program list at a period of time Press W X S T buttons to select desired channel or program Press Red or Green button to zoom in or zoom out the time ra...

Страница 45: ...Select the programme which needs the compatible CA card and the sign of encrypt will be shown in information banner Fig as follows no image and no voice a few seconds later Insert the compatible CA c...

Страница 46: ...ive Press OK button to enter setting timer state Press buttons to select Name Start End Mode Password item You can input letters by numerical buttons on the remote control Press OK button to confirm Y...

Страница 47: ...eline Now Next Subtitle Digital terrestrial television channels can broadcast with subtitles displayed on screen for the hard of hearing This function selects the desired subtitle language and enables...

Страница 48: ...o select Off On You may set Manual Upgrade highlight Manual Upgrade then press OK button to start manual upgrade Please refer to window hint Parental Setting Simply locking a channel will not deflect...

Страница 49: ...used to change the PIN code With the Set Lock Key line highlighted press OK to display the Set Lock Key window This requests the new four digit code to be entered twice for confirmation and the new co...

Страница 50: ...t the current audio and subtitle language from the submenu Press buttons to select language then press OK to confirm Installation You may wish to re install channel because you have moved to a differe...

Страница 51: ...First Time Installation To reset the receiver highlight the First Time Installation line in the menu and press OK A warning screen is displayed in case of accidental operation You may press buttons t...

Страница 52: ...is not the encrypted one and no CA Card inserted Picture is black and white or colorless 1 Adjust the color setup 2 Check whether the broadcast system selection is correct Picture is blurred or there...

Страница 53: ...he entire screen 2 TV Channel Logos e g Shopping channel logos and pricing displays especially if they are bright and stationary Moving or low contrast graphics are less likely to cause ageing of the...

Страница 54: ...g the cloth until it is almost dry and then use it to wipe the screen 2 Make sure not be excess water put on the screen let it air dry before you turn on your TV Cabinet Cleaning 1 Use a soft cloth wi...

Страница 55: ...0 51 H 0 51 V Pixel Pitch 0 6 H 0 6 V Viewing angle 176 H 176 V Viewing angle 176 H 176 V Contrast ratio 800 1 Contrast ratio 1000 1 Brightness 500cd m2 Brightness 500cd m2 Response time 8ms Response...

Страница 56: ...d electronic equipment should be disposed at the end of life separately from your household waste There are separate collection systems for recycling in the EU For more information please contact the...

Отзывы: