26
6 Debugging
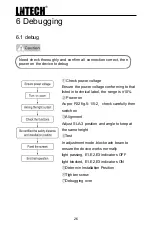
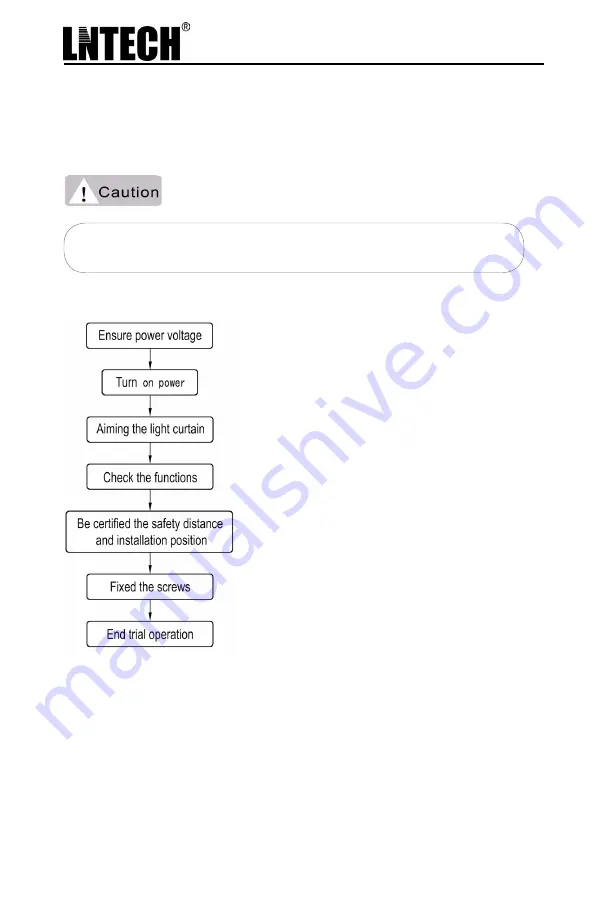
Need check thoroughly and confirm all connection correct, then
power on the device to debug
①
Check power voltage
Ensure the power voltage conforming to that
listed in technical label, the range is ±10%.
②
Power on
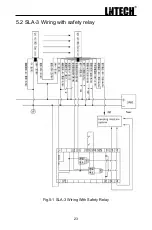
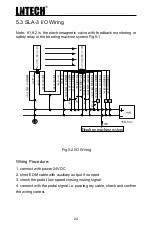
As per P22 fig.5-1/5-2
,
check carefully then
switch on
③
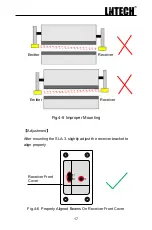
Alignment
Adjust SLA-3 position and angle to keep at
the same height
④
Test
In adjustment mode,block each beam to
ensure the device works normally
light passing, E1,E2,E3 indicators OFF
light blocked, E1,E2,E3 indicators ON
⑤
Determin Installation Position
⑥
Tighten screw
⑦
Debugging over
6.1 debug
Содержание SLA-3
Страница 2: ......
Страница 27: ...23 5 2 SLA 3 Wiring with safety relay Fig 5 1 SLA 3 Wiring With Safety Relay...
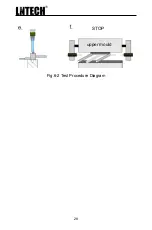
Страница 32: ...28 Fig 6 2 Test Procedure Diagram upper mould STOP...
Страница 35: ......


