12
Creating routes around your railroad
Switches
Every model railroad has switches, which provide
plenty of operational variety, especially when
thrown in certain patterns—a route.
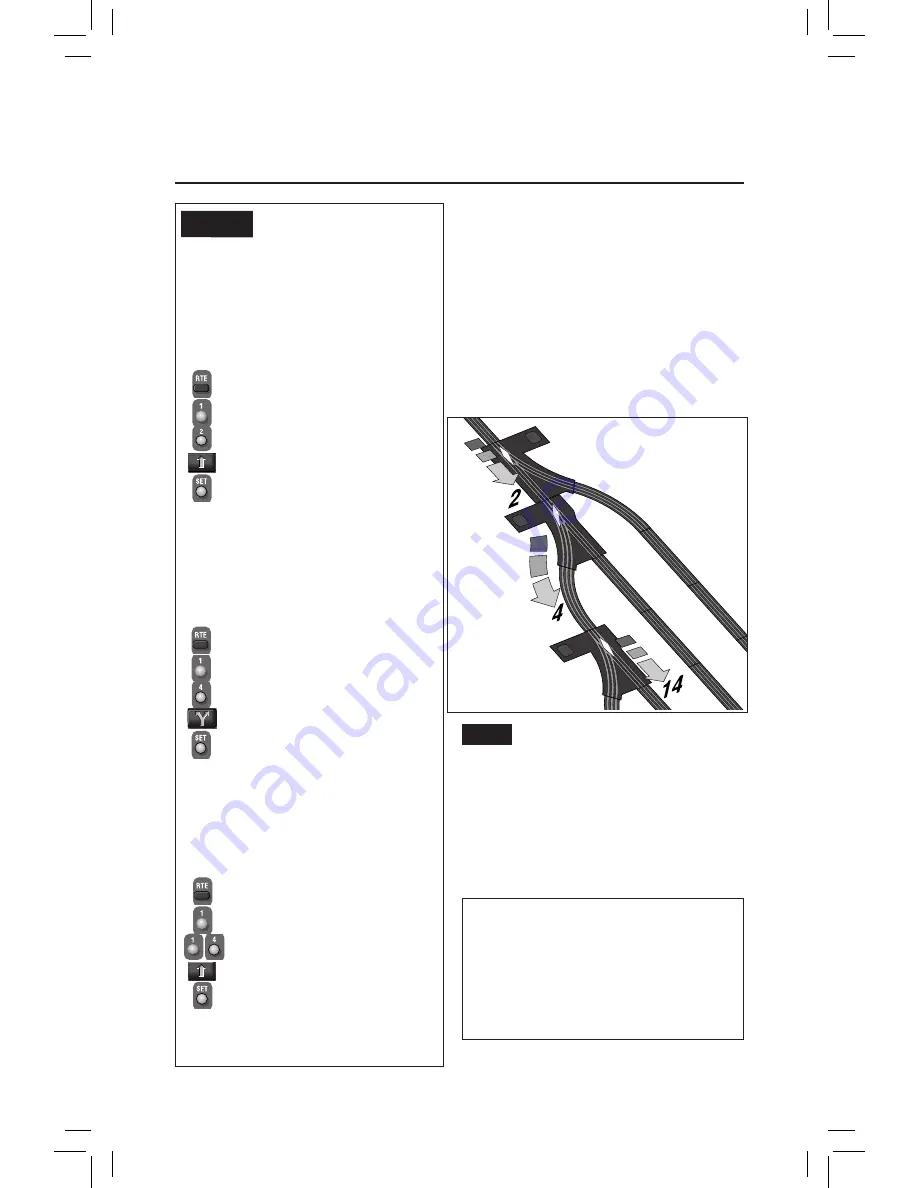
Here’s a common scenario: to travel from the main
line to the yard, you have a preset route: Switch #2
is through (straight), Switch #4 is out (curved),
and Switch #14 is through.
If your switch
controller supports Routes
, you can throw
all those switches with a single command—RTE.
SWITCHES AND ROUTES. Any
switch can be part of any route. And
any switch can be on any number
of routes, creating a wealth of
possibilities. Experiment. Discover
new pathways around your railroad
with RTE. Routes are remembered
forever—or until you clear them .
Detail
Always check your RTE programming:
throw switches opposite the RTE direction,
then press RTE and the ID#; your route
should immediately throw.
You can add more switches to a route at
any time.
Assign switches #2 (through),
#4 (out), and #14 (through) to
Route #1
Command Base ON
Switch controller accessory is on
Begin programming, press RTE
Press 1 (route number)
Press 2 (the switch number)
Press THROUGH
Press SET
Switch #2 is in the “through” direction on
Route #1
Begin programming, press RTE
Press 1
Press 4 (the switch number)
Press OUT
Press SET
Switch #4 is in the “out” direction on Route
#1
Begin programming, press RTE
Press 1
Press 14 (the switch number)
Press THROUGH
Press SET
Switch #14 is in the “through” direction on
Route #1
Example
�
�
�
�


