9
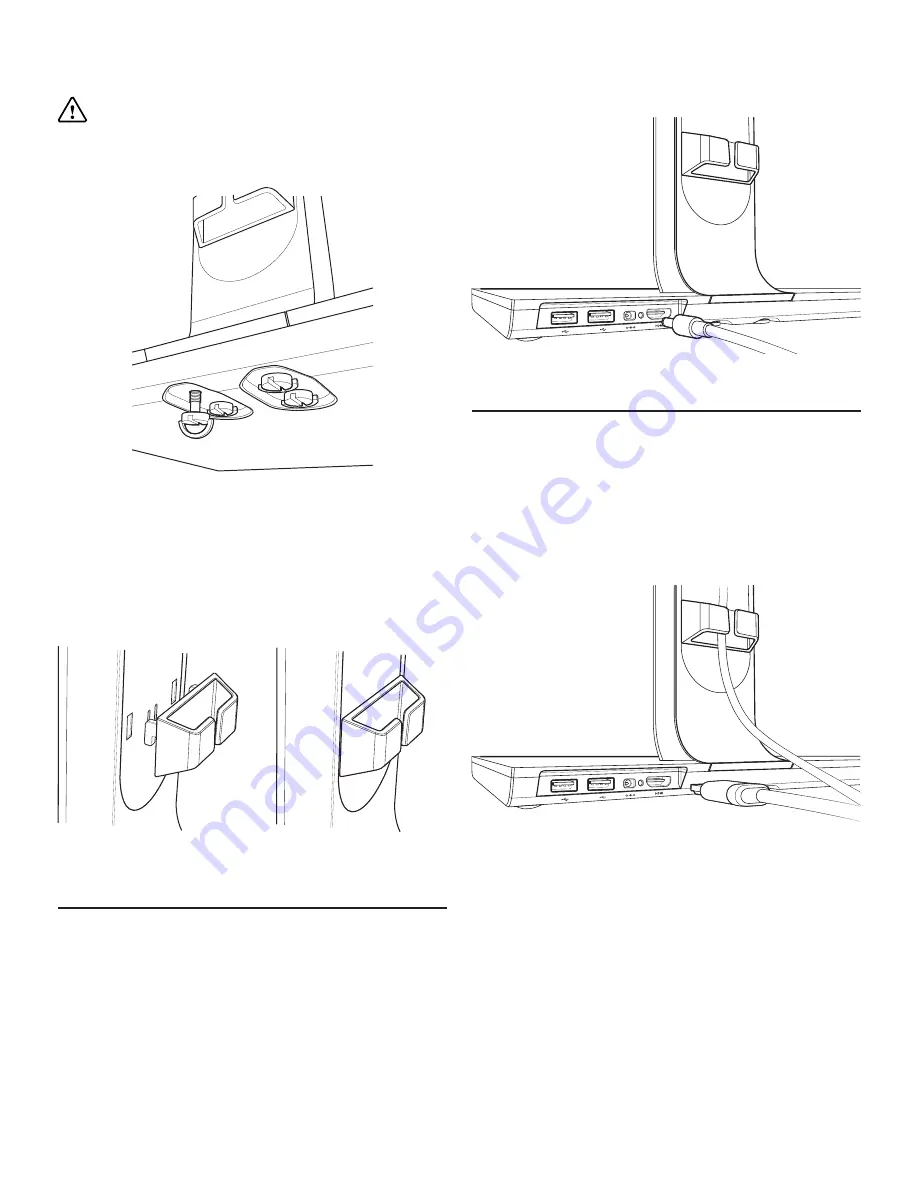
2. Attach the Base Unit to the Arm by turning the
screws clockwise until tight. This can be done by
hand by using the D-Screws provided.
CAUTION
: Using any other screws other than
those provided can cause irreversible damage to
the product.
Installing the Cable Tidy Clip
To install, simply locate the holes on the back of
the Linx ViewHub Arm and insert the two hooks on
the Cable Tidy Clip. Click in and pull down gently to
secure in place.
Connecting to the Power Supply
Power is supplied though the provided power
adapter, one end is connected to the DC 12V IN jack
on the rear of the Base Unit, the other end to the AC
100~240V wall outlet.
If the LED status light on the back of the Linx
ViewHub turns to green, it means that you have
successfully connected to the power supply, you can
move on to other operations.
Connecting to a Monitor
1. Using the HDMI Cable provided insert one end
to your displays HDMI out port. (This may vary in
position depending on your display model.)
2. You can now feed the HDMI Cable through the
Linx ViewHub Arm port and the Cable Tidy.
3. Lastly, you can connect the other end to the Linx
ViewHub HDMI port. (Located next to the LED Status
Light on the rear of the Base Unit.)
Содержание ViewHub
Страница 1: ...1 Linx ViewHub Set up Quick Guide...
Страница 2: ...2...
Страница 7: ...7 Product overview I D Screws J Dock Inlay K Tablet Mount Point L Linx Connector K L I J...
Страница 16: ...16...


