background image


5  Teil II: Installation der M50PCI Schrittmotorkarte 


5.1  Hardwareinstallation: Einbau in den PC 


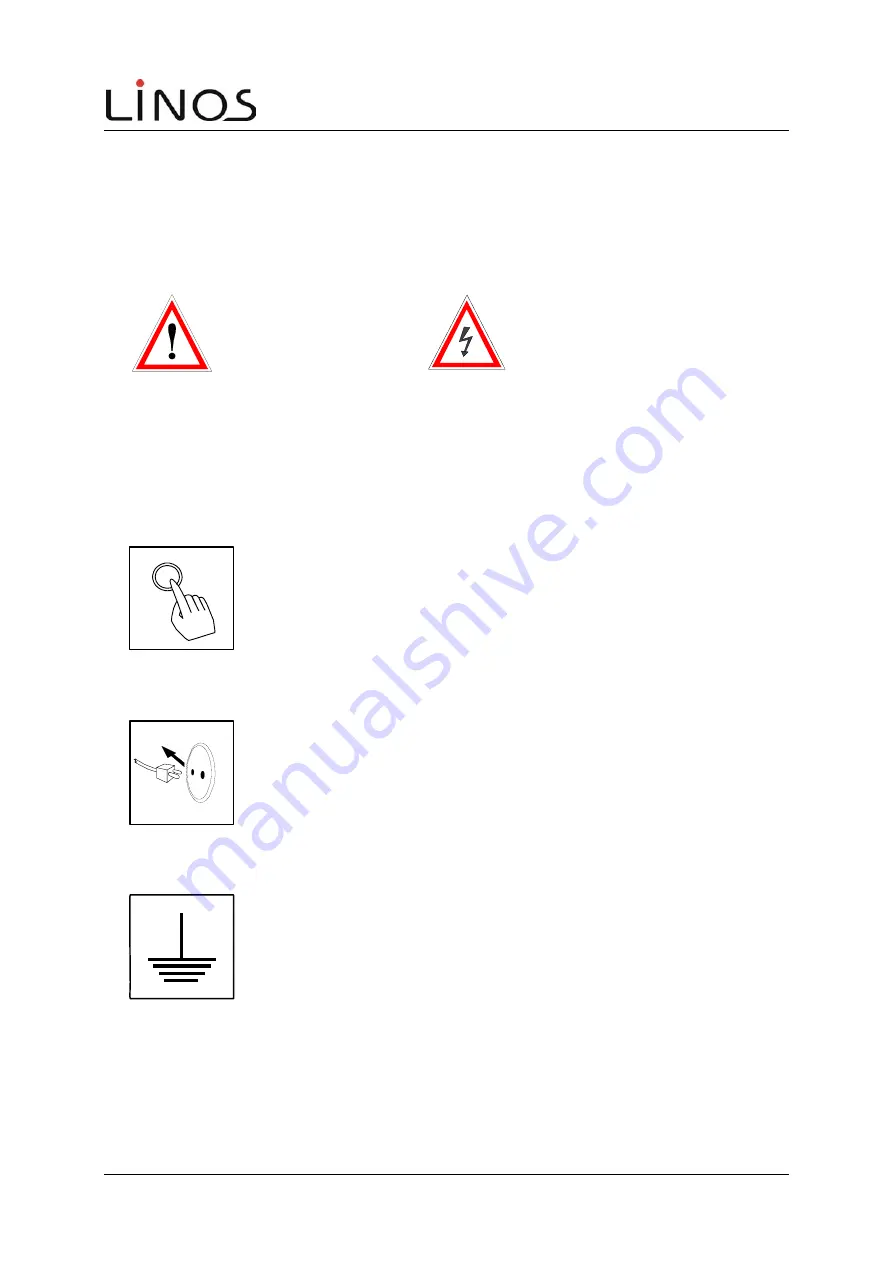
ACHTUNG

GEFAHR


Vor dem Öffnen des Gerätes, führen Sie folgende Schritte durch! 


POWER


1. Schalten Sie den Rechner aus! 


2. Entfernen Sie das Netzkabel des Rechners! 


3. Achten Sie darauf, dass Sie bei allen Arbeiten geerdet sind! 


402310 10 M50.PCI


Содержание 40 2310 000

Страница 1: ...anel Stepper Motor Controller M50 PCI 40 2310 000 Kurzanleitung Brief Instructions Eine ausf hrliche Bedienungsanleitung befindet sich auf der beiliegenden Support CD Detailed operating instructions a...

Страница 2: ...a Bedienungsanleitung auf beiliegender Support CD LINOS Photonics LINOS Photonics GmbH Co KG K nigsallee 23 D 37081 G ttingen Tel 05 51 69 35 0 Fax 05 51 69 35 166 E mail sales LINOS Photonics DE htt...

Страница 3: ...das Wesentliche aufmerksam machen sollen HINWEIS Wichtige oder zus tzliche Informationen zur Karte oder zur Dokumentation ACHTUNG Hinweis auf eine Gefahr f r die Karte oder den Rechner eventuelle Fol...

Страница 4: ...tersagt werden Qualifiziertes Personal sind Personen die aufgrund ihrer Ausbildung Erfahrung und Unterweisung sowie ihrer Kenntnisse ber einschl gige Normen Bestimmungen Unfallverh tungsvorschriften u...

Страница 5: ...hrittmotorkarte M50PCI im Freien ist untersagt Sorgen Sie immer f r eine ausreichende Bel ftung der Schrittmotorkarte M50PCI Achten Sie auf ausreichende Stromfestigkeit und korrekte Konfektionierung d...

Страница 6: ...hrittmotorkarte 10 5 1 Hardwareinstallation Einbau in den PC 10 5 1 1 Einbauschritte 11 5 2 Softwareinstallation 13 5 2 1 Windows 98 13 5 2 2 Windows2000 Windows XP 14 5 2 3 Nach der Installation Funk...

Страница 7: ...50PCI Stepping Motor Card 26 12 1 Hardware Installation Installation in a PC 26 12 1 1 Installation Steps 27 12 2 Software Installation 29 12 2 1 Windows 98 29 12 2 2 Windows 2000 Windows XP 30 12 2 3...

Страница 8: ...r M50 PCI Schrittmotorkarte geh ren PCI Einsteckkarte Anschlu kabel f r externe Spannungsversorgung 8Bit I O Erweiterung auf Slotblech CD ROM mit Software und Bedienungsanleitung Diese Kurzanleitung u...

Страница 9: ...Bus Stromversorgung 12V vom PC Netzteil oder extern bis 48V DC F r bipolare 2 Phasen Schrittmotore 2 12V in 4 5 6 8 Leiter Technik Bis zu 2 5A Phasenstrom Anschlussleistung 20W pro Achse Digitaler Sig...

Страница 10: ...installation Einbau in den PC ACHTUNG GEFAHR Vor dem ffnen des Ger tes f hren Sie folgende Schritte durch POWER 1 Schalten Sie den Rechner aus 2 Entfernen Sie das Netzkabel des Rechners 3 Achten Sie d...

Страница 11: ...JP1 der M50 PCI entsprechend der gew nschten Spannungsversorgung Intern f r PC Netzteil oder extern zum Betrieb mit einem externen Netzger t Setzen Sie den roten Jumper JP1 der M50 PCI entsprechend d...

Страница 12: ...Sie die zus tzlichen 8 Inputs Outputs nutzen m chten befestigen Sie das mitgelieferte IO Slotblech an einem freien Platz in der PC R ckwand Ihres PCs und verbinden das Flachbandkabel mit dem blauen St...

Страница 13: ...der mitgelieferten CD ROM im Verzeichnis Install 5 2 1 Windows 98 Zur Installation ben tigt werden die Dateien LLT Motor inf Steuerungsanweisungen zur Installation PCI9050 sys Unterste Betriebssystem...

Страница 14: ...Sie den Pfad an unter dem die Datei LLT_Motor inf zu finden ist Laufwerk Install LLT_Motor inf Bei richtiger Pfadangabe erscheint die Meldung dass ein passender Treiber f r das Ger t LLT STEPPER MOTOR...

Страница 15: ...muss bei nach dem Download des DSP Programms ca 5s den Wert function ok annehmen Die anliegende Versorgungsspannung wird dann im Feld U angezeigt Die Funktionsbibliotheken MX_Motor dll CC3260MT dll u...

Страница 16: ...g Achtung Die externe Versorgungsspannung darf 48V DC nicht berschreiten 5 4 Motorstr me Die Motorstr me werden per Software eingestellt vgl Set_Maximum_Current Get_Maximum_Current Der maximal einstel...

Страница 17: ...ndschalter einer Achse zugeordnet so bleibt diese Achse bei positiver Fahrt unmittelbar nach der Aktivierung dieses Eingangs stehen Bis zur Deaktivierung kann die Achse nur noch in negativer Fahrtrich...

Страница 18: ...verwendeten Schrittmotor ab Es gehen dabei ein die mechanischen Fehler des Motors typischerweise einige Prozent des Vollschrittwinkels und das Mikroschrittverhalten des Motors bezogen auf den von der...

Страница 19: ...INOS Photonics GmbH Co KG Service Abteilung K nigsallee 23 37081 G ttingen Germany Phone 49 0 551 6935 0 Fax 49 0 551 6935 166 LINOS Photonics SARL 90 avenue de Lanessan 69410 Champagne au Mont d Or F...

Страница 20: ...TE This symbol indicates important or additional information about the M50PCI stepping motor card or literature CAUTION Indicates a hazard that can damage the M50PCI stepping motor card or the compute...

Страница 21: ...is prohibited for non qualified personnel Qualified personnel are persons who by virtue of their education experience and training as well as their knowledge of the pertinent standards requirements oc...

Страница 22: ...stepping motor card is sufficiently ventilated at all times Check that the cable has the correct current carrying capacity and that the appropriate connectors are correctly wired and attached to avoi...

Страница 23: ...M50PCI Stepping Motor Card 26 12 1 Hardware Installation Installation in a PC 26 12 1 1 Installation Steps 27 12 2 Software Installation 29 12 2 1 Windows 98 29 12 2 2 Windows 2000 Windows XP 30 12 2...

Страница 24: ...equipment is supplied when you order an M50PCI stepping motor card M50PCI stepping motor card Connecting cable for external power supply 8 bit I O extension on a slot plate CD ROM with software and i...

Страница 25: ...ower supply by PC power supply unit or externally up to 48V DC For bipolar 2 phase stepping motors 2 12V in 4 5 6 8 wire technology Up to 2 5A phase current Connecting power 20W per axis Digital signa...

Страница 26: ...re Installation Installation in a PC CAUTION DANGER Before opening the housing perform the following steps POWER 1 Turn off the computer power 2 Disconnect the power cable from the computer 3 Make sur...

Страница 27: ...t and extern means that you will be using an external power source Position the red jumper JP1 of M50 PCI according to the type of power supply you wish to use Intern stands for powering the card by y...

Страница 28: ...ould like to use the additional 8 inputs outputs fasten the I O slotted plate supplied in an available position on the rear panel of your PC Then connect the flat cable by plugging the blue connector...

Страница 29: ...upplied with this card 12 2 1 Windows 98 The following files are required for installation LLT Motor inf Control instructions for installation PCI9050 sys Lowest operating system level for hardware PL...

Страница 30: ...er which the LT_Motor inf file can be found Directory Install LLT_Motor inf If you enter the correct directory pathname a message will appear to inform you that an appropriate driver was found for the...

Страница 31: ...M50PCI stepping motor card The DspStatus must accept the value by showing function ok after the DSP program has been downloaded takes approx 5 sec The function libraries MX_Motor dll CC3260MT dll and...

Страница 32: ...ge 28 Factory Settings Internal Supply Caution The external power supply may not exceed 48V DC 12 4 Electrical Current for the Motors The electrical current for the motors is set using the software in...

Страница 33: ...axis this axis will remain stopped in the positive motion mode immediately after this input has been activated The axis can only move in the negative direction until the input is de activated the pos...

Страница 34: ...d to Vcc 12 8 Accuracy and Resolution The absolute resolution that can be obtained with the M50PCI stepping motor card depends on the stepping motor used A mechanical error of the motor and the stage...

Страница 35: ...s for further representatives see LINOS catalog LINOS Photonics GmbH Co KG Service Abteilung K nigsallee 23 37081 G ttingen Germany Phone 49 0 551 6935 0 Fax 49 0 551 6935 166 LINOS Photonics Inc LINO...

Страница 36: ...00mA 14 END1 15 END1 16 GND 17 NC 18 END2 19 END2 20 GND 21 NC 22 END3 23 END3 24 GND 25 NC I O Steckverbindung i o connector Sub D 15 Female Sub D 15 Signalname 1 Vcc 5V 2 IO 0 3 IO 2 4 IO 4 5 IO 6 6...

Отзывы: