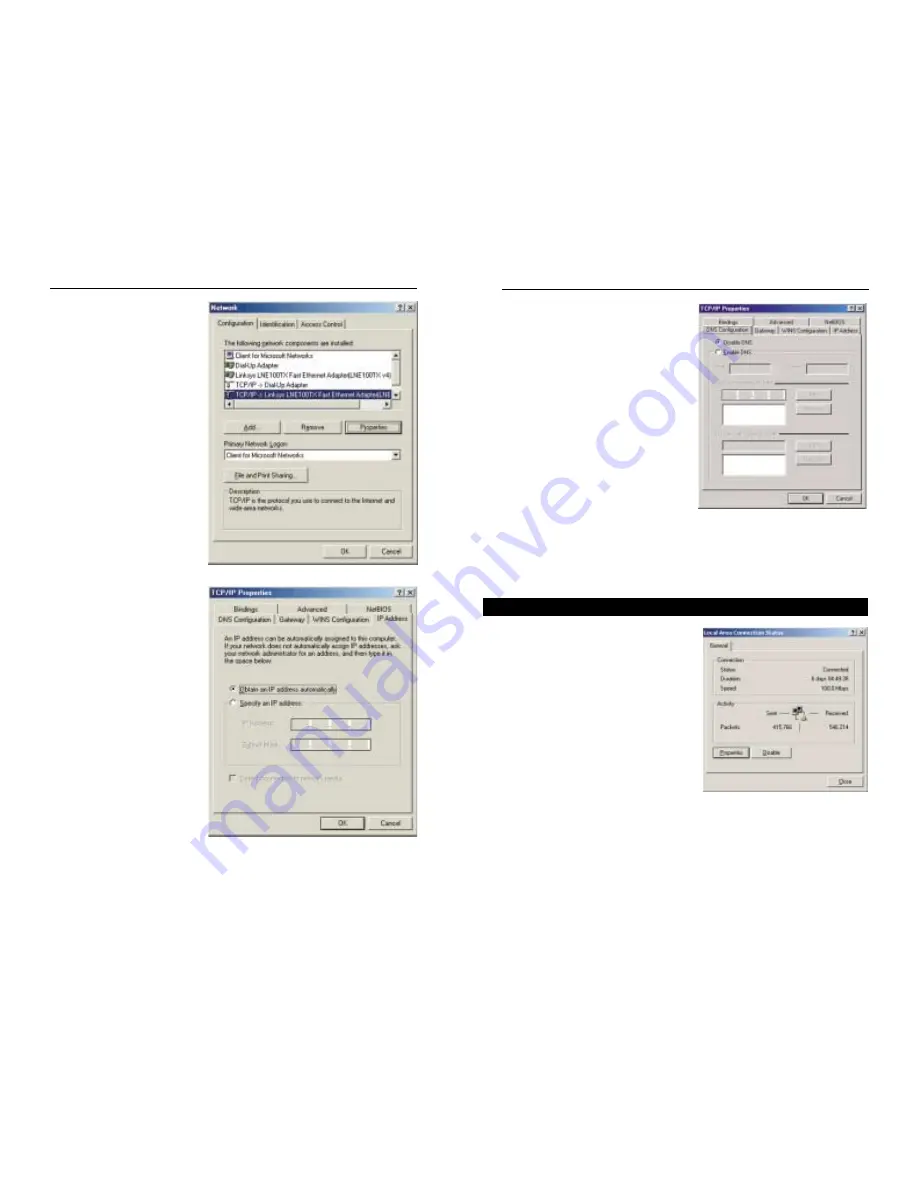
5. Click the DNS Configuration tab,
then select Disable DNS (See Figure
3-3.) Click on OK.
6. Click the OK
button again.
Windows may ask you for the origi-
nal Windows installation disk or
additional files. Supply them by
pointing to the correct file location,
e.g., D:\win98, D:\win9x, c:\win-
dows\options\cabs, etc. (This
assumes that “D” is the letter of your
CD-ROM drive).
7. If Windows asks you to restart your PC,
click the Yes button. If Windows does
not ask you to restart, restart your computer anyway.
Repeat steps 1-6 for each PC on your network. When all of your PCs are
configured, proceed to Chapter 4: Configuring the Router.
1. Click the Start button, click Settings
and open the Control Panel. From
there, double-click the Network and
Dial-up Connections icon. This will
display the Network screen.
2. Select the Local Area Connection
icon for the applicable Ethernet
adapter (usually it is the first Local
Area Connection listed). Double-click
Local Area Connection and click the
Properties button. (See Figure 3-4.)
3. When the Local Area Connection Status screen appears, click the
Properties button.
Configuring Windows 2000 PCs
Figure 3-4
Instant Wireless
TM
Series
2. Select the Configuration tab
and highlight the TCP/IP
line
for the applicable
Ethernet adapter (as shown
in Figure 3-1). If the word
TCP/IP appears by itself,
select that line. (Note: If
there is no TCP/IP line list-
ed, refer to your Ethernet
adapter’s documentation to
install TCP/IP now.) Then,
click the Properties button.
3. Click the IP Address tab
and select Obtain an IP
address automatically (as
shown in figure 3-2).
4. Click the Gateway tab and verify that the Installed Gateway field is blank.
Click the OK button.
Figure 3-1
Figure 3-2
Wireless Access Point Router with 4-Port Switch
13
12
Figure 3-3


