MaxPower
Smart Power Solutions
down your notebook or find an alternative power
supply. If you have an internal battery in the
notebook, the power source will automatically
switch to that battery without interruption.
The MaxPower may get warm to the touch during
use. This is normal. When MaxPower is exposed to
heat (60˚C or 140˚F), MaxPower may not operate
until it cools down.
Charging
Warning :
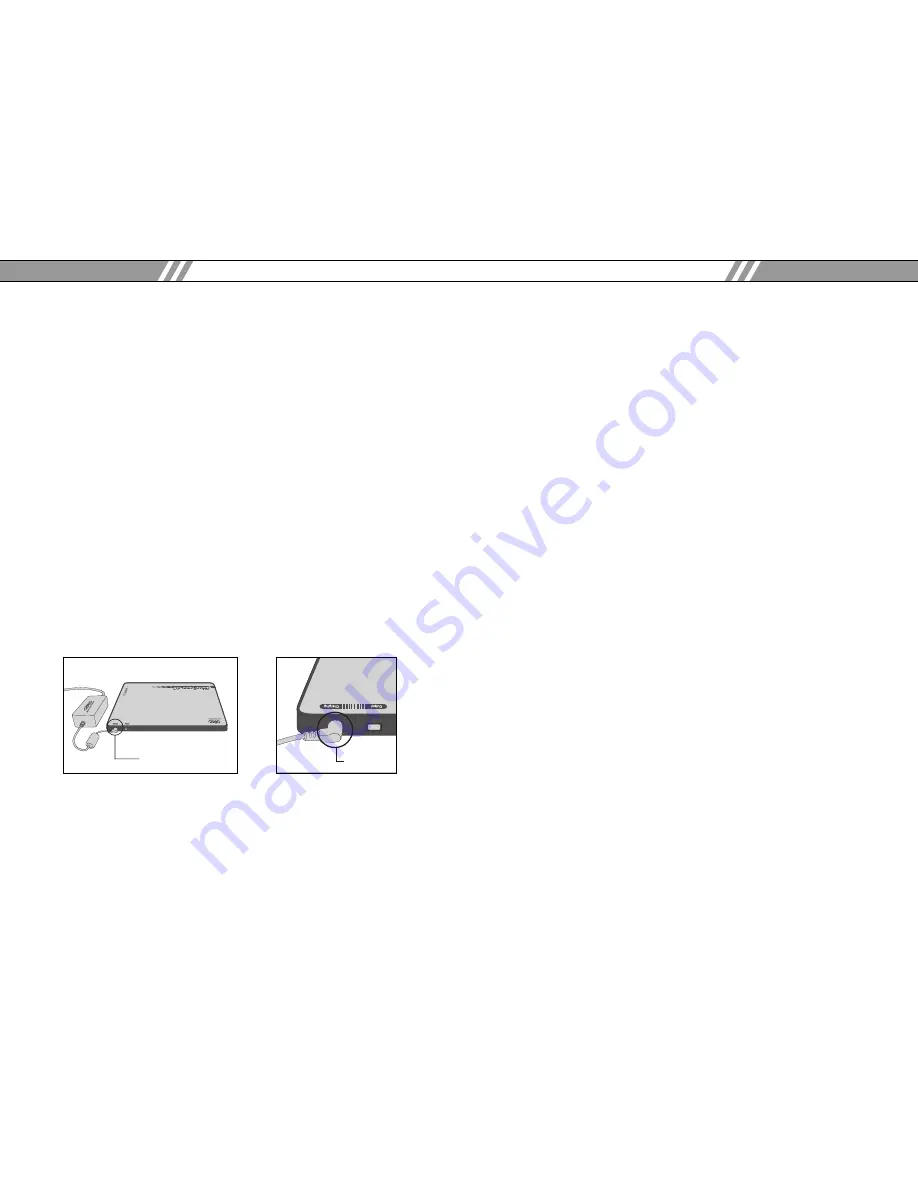
To charge the MaxPower, use only the AC
adapter provided with the MaxPower.
Avoid charging MaxPower while it is connected
to the notebook.
1. Disconnect the output cable of MaxPower from the
notebook. (It is recommended to have the output cable
detached from the battery during charging.)
2. Connect the AC adapter into the AC outlet on the wall.
3. Insert the AC adapter plug into the charging port of
MaxPower battery.
4. Leave the MaxPower plugged into the AC/DC outlet until
all the 5 LEDs display constant green signal.
The charging time can be about 3 or 4.5 hours depending
on the models.
5. When normal charging is in progress, the LEDs on the
fuel gauge will display green blinking signal. Please refer
to the
“Reading the Fuel Gauge”
at the section 3 of the
manual.
6. When all LEDs on fuel gauge panel turn to green, the
MaxPower is fully charged and ready to use.
Note : If the LEDs show red-blinking signal during
charging, disconnect the AC adapter plug
immediately from the MaxPower to stop the
charging process. After a few seconds, reconnect
the plug to the MaxPower battery and attempt to
charge. If the problem persists, remove the plug
from the unit and contact the location where you
bought the battery for further assistance.
Reading the Fuel Gauge
The MaxPower battery has a 5-step fuel gauge system to
indicate the charging status. The fuel gauge is located in
the lower right corner of the MaxPower and consists of 5
LEDs.
Smart Power Solutions
8
User’s manual
MaxPower
User’s manual
9
charging
charging
Содержание DC Power Adapters
Страница 132: ...MaxPower User s manual ...


