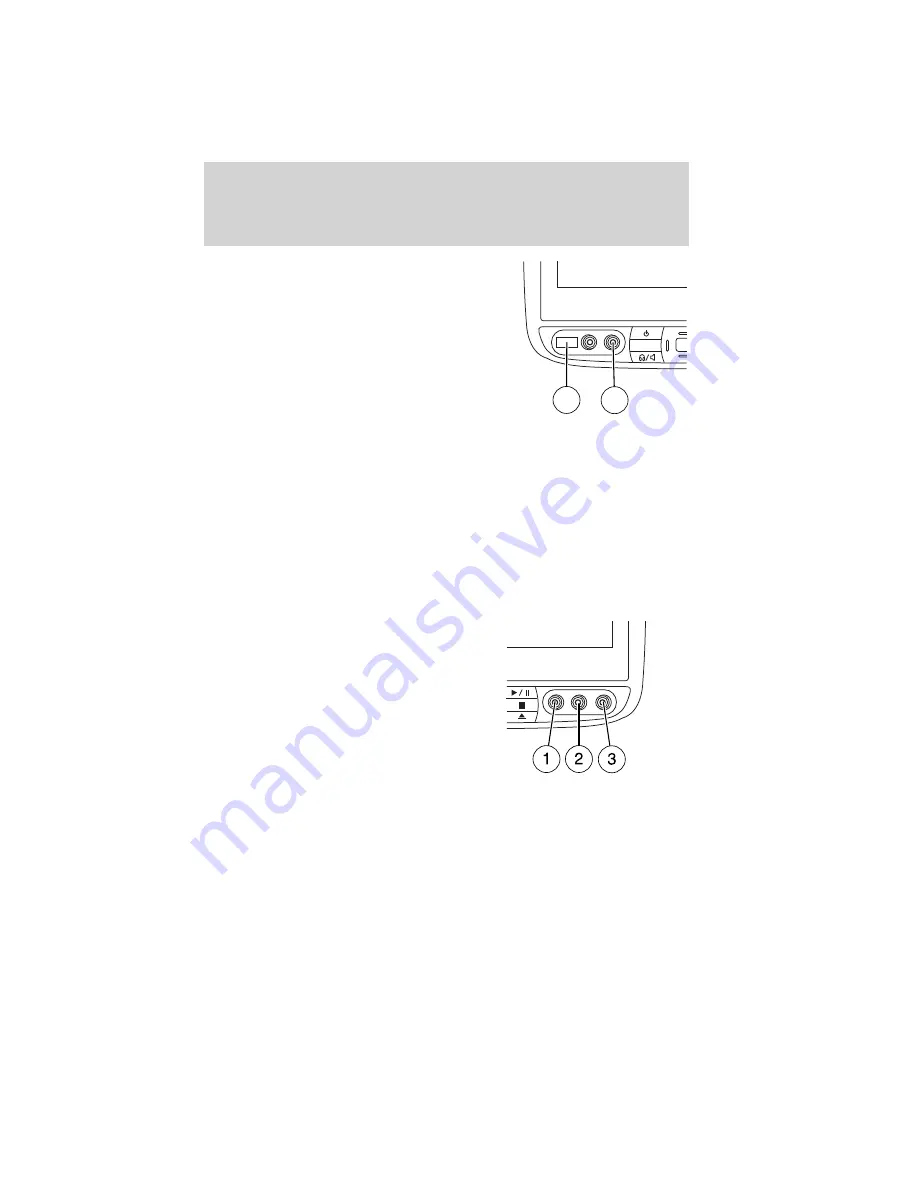
1. On the front of each monitor,
located behind the left trim cover
panel, is the headphone input jack
(5). This headphone will listen to
the media selected through that
monitor. When you need to make
any adjustments to the media,
volume, etc., ensure that the
monitor-A source is highlighted.
•
USB port (4): To access, ensure that the monitor is already selected
as the media source (Monitor A or Monitor B.) Then, plug in your
flash/thumb drive and it will automatically begin to play. The system
will try to play whatever file it comes to first (slideshow of pictures,
etc). If it is a supported file type, it will play. If it is not supported,
CAN’T PLAY will appear in the monitor. Scroll through the contents on
the rest of the drive using the arrow keys on the DVD headrest or
remote. Press SEL to confirm a selection. Each headrest system
automatically recognizes the audio and video files that are stored and
provides a menu from which to choose the desired selection.
•
Wired headphone jack (5): Use for dual play mode
2. Connect an auxiliary audio/video
source (game systems, personal
camcorders, video cassette
recorders, etc.) by connecting RCA
cords (not included) to the RCA
jacks behind the cover panels on the
right corner of the system.
•
Yellow (1) — video input
•
White (2) — left channel audio
input
•
Red (3) — right channel audio input
3. Whatever is plugged in will automatically begin to play on your screen.
If your auxiliary source does not have a video signal, or if the DVD
system does not detect a video signal from the auxiliary source, the
screen will remain black.
MEDIA
4
5
Entertainment Systems
69
2011 MKT
(mkt)
Owners Guide, 1st Printing
USA
(fus)


