14
LINCE ITALIA S.p.A.
16:29
Fig. 27
G1
G3
G2
OK
DESCRIPTION:
CODE:
ES
SI
AP
RO
ADMINISTRATOR
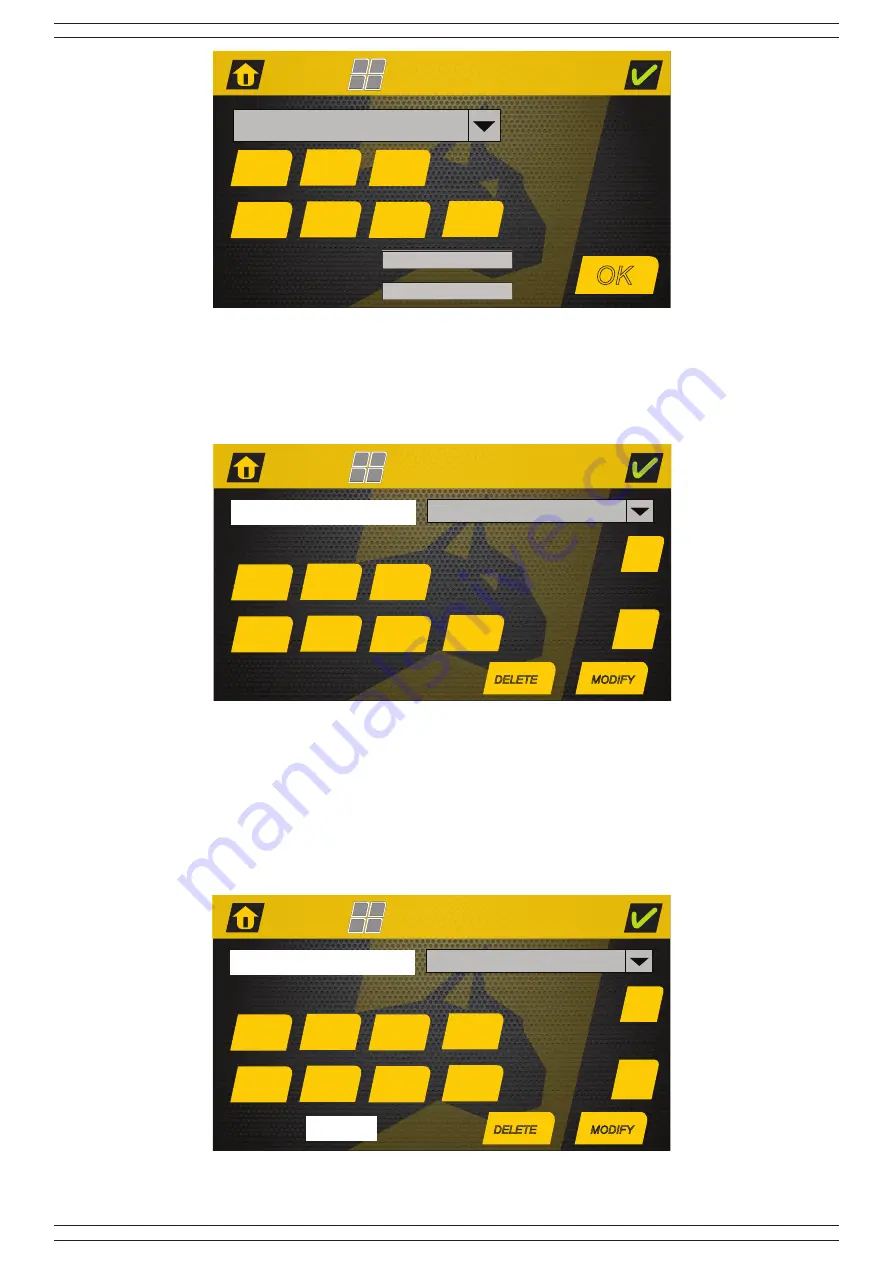
From this screen, select the type of user, using the drop-down menu, and the attributes, enter the description and the desired code
(by entering it again as confirmation when required) and then press “OK”. A message will indicate the correct generation of the code
or the presence of an error. In this case, repeat the procedure again.
3.7 CODES MODIFICATIONS
From this menu it is possible to modify both the keys and the codes created in the previous menus. The first example shows a key
modification.
From this screen it is possible to select the user name to be modified simply by pressing on the name box and typing it using the
keyboard displayed; scroll the list using the “+” and “-” keys or press on the position occupied by the code in order to select it (if
already known). Keep in mind that you can scroll through the codes by 5 by pressing and holding the “+” or “-” keys according to
the desired scroll direction. Instead, by pressing the cell where the code is shown, it can be replaced; then press on “CHANGE” to
confirm your choice.
Depending on the status of the attributes assigned to the relevant code, they will be displayed black, if they are enabled, and grayed
if they are not; then select the attributes you want to change (including possibly the type) and press “change”. The confirmation
of the change will be given by an appropriate sound emitted by the internal buzzer while to delete the code you can press directly
on “delete” as soon as the code has been selected. In both cases, confirmation of the successful operation is also indicated by a
message displayed in overpressure.
16:29
Fig. 29
G1
G3
EXT
G2
MODIFY
5
ES
SI
AP
RO
ADMINISTRATOR
+
-
DELETE
E. L. BROWN
The previous screen shows the example of an administrator code that has as attributes all the three programs and the electric lock.
16:29
Fig. 28
G1
G3
G2
MODIFY
1
ES
SI
AP
RO
USER
+
-
DELETE
KEY 3
CODE:
******


