Pg. 6
www.lightingcontrols.com
USER MENU
MANUAL OVERRIDE
REVIEW SCHEDULE
GROUP LOADS
PROGRAM SWITCH
SETUP MENU
SWITCHES PAGE 1-2
#33: Office 101
#52: Office 102
#53: Office 103
#59: Office 104
#61: Office 105
#61: Office 106
#61: Office 107
SWITCHES PAGE 2-2
#63: Reception
#64: Photocell North
#65: Photocell West
#66: Master Sw 3
#71: Hallway 100
#72: Hallway 200
#73: Hallway 220
SWI ID64-1 MAINTAIN
EDIT: LCP-1 LOAD-1
SELECT BTN SWI ID#64
PAGE 1-3
T1: TRIGGER 1
T2: TRIGGER 2
T3: TRIGGER 3
T4: TRIGGER 4
T5: TRIGGER 5
T6: TRIGGER 6
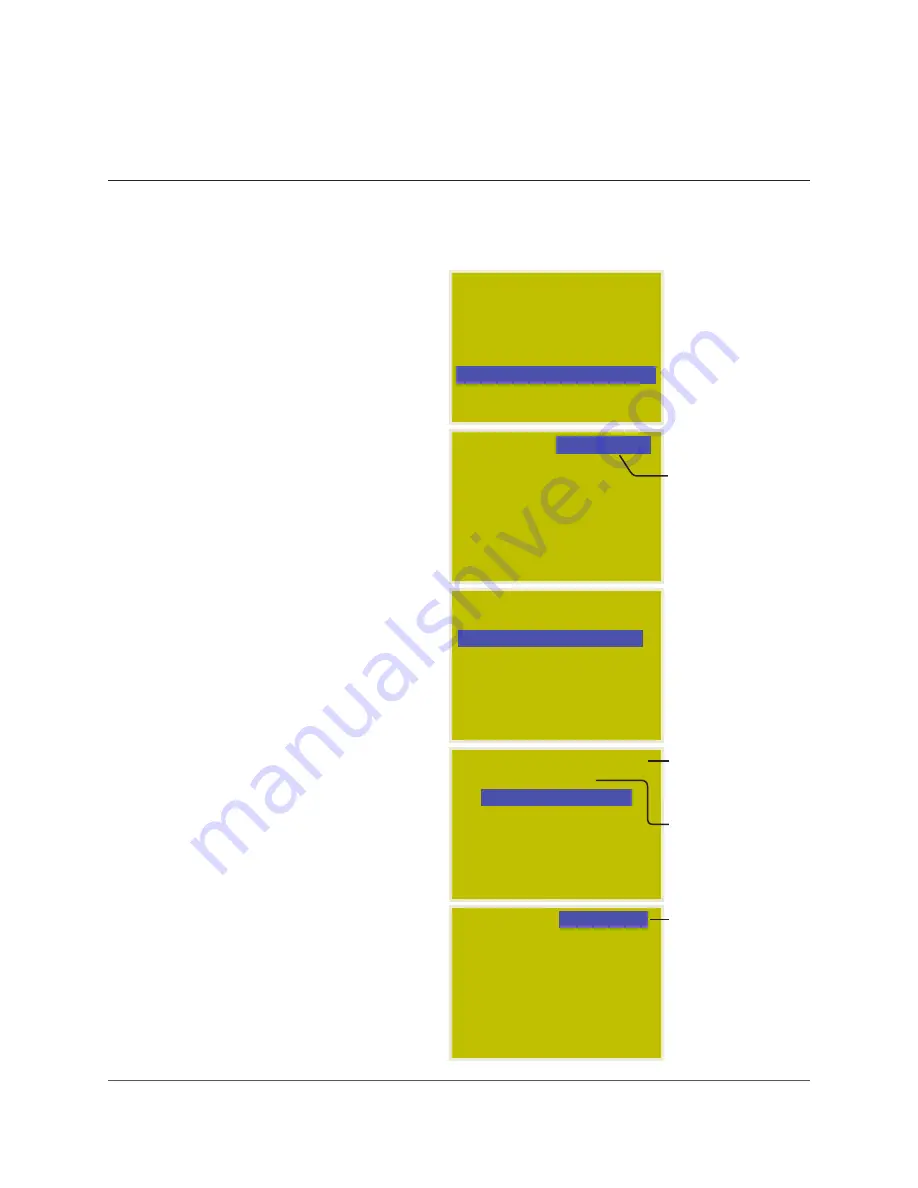
BASIC PHOTOCELL SETTINGS
To Start:
1 . TAB to start .
2 . TAB to Program Switch .
3 . ENTER to select .
For Multiple Pages: (more than 7 switches)
1 . SCROLL to the correct page .
To Select a Photocell Card:
A Photocell Card is like a digital switch .
1 . TAB to the correct Switch ID .
2 . ENTER to select .
To Select Trigger:
Each Photocell Card has 14 Triggers, each
of which:
• may control its own set of loads
• may be programmed to switch loads on and
off at levels analogous to foot candles
1 . If needed, SCROLL to the correct page for
Triggers higher than T6 .
2 . TAB to the correct Trigger .
3 . ENTER to select .
4 . SCROLL to Maintain .
5 . ENTER to select the Trigger Level Menu .
PROGRAM SWITCH
PAGE 1-2
#64: Photocell North
MAINTAIN
T1: TRIGGER 1
This indicates Page
1 of 2
If cursor starts here,
you have multiple
pages with switches
on each page . You
may need to navigate
to the correct page .
This indicates you
have selected Switch
ID#64 .
To access Triggers
above T6, SCROLL
the correct page
and then TAB to the
correct Trigger .
Select MAINTAIN as
the Control Type* .
Press ENTER to get to
Trigger Level Menu .
(For more than
eight loads, refer
to “Programming
Groups”) .


