background image

Содержание 831.287603

Страница 1: ...ial Nu EXERCI S _ EQUIPMENT _e l ill IIi ol _ 1 HELPLINE 1 800 736 6879 CAUTION Read all safety precautions and instructions in this manual before using this equipment Keep this manual in a safe place...

Страница 2: ...could become caught in the exercise bike Always wear athletic shoes for foot protection When connecting the link arms to the pedals see HANDLEBAR OPERATION on page 8 make sure that the link arms are o...

Страница 3: ...cise bike If you have additional questions please call our Customer Service Department toll free at 1 800 736 6879 Monday through Saturday 7 a m until 7 p m Central Time excluding holidays To help us...

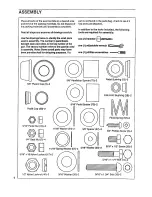
Страница 4: ...for shipping purposes If a part is not found in the parts bag check to see if it has been pre attached In addition to the tools Included the following tools are required for assembly one 1 hammer one...

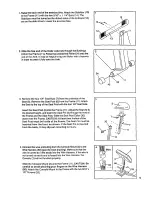
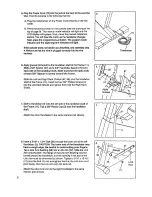
Страница 5: ...the Frame 11 Adjust the Seat 5 to the desired height and insert the Seat Pin 8 through the front of the Frame and the Seat Post Slide the Seat Post Collar 30 down over the Frame CAUTION At least two i...

Страница 6: ...8 Spacer Is turned toward the Frame Slide the Left and Right Neck Shields 67 68 onto the handlebar shaft of the Frame 11 Insert the four 3 4 Phillips Screws 4 into the Left Neck Shield and tighten th...

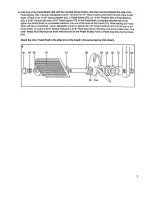
Страница 7: ...the includedtool firmly tighten the Pedal Shaft in a clockwise direction into one of the arms of the Crank 27 While holdingthe Pedal Shaft with the included tool use an adjustable wrench to tighten t...

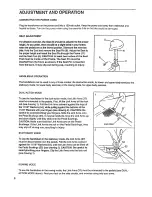
Страница 8: ...AL ACTION MODE To use the handlebars in the dual action mode the Link Arms 37 must be connected to the pedals First lift the Link Arms off the lock rod see drawing t Pull the Link Arms outward against...

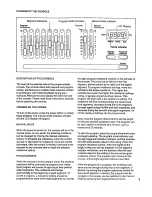
Страница 9: ...segments by moving the eight program resistance controls on the left side of the console The control at far left is for the first segment and the control at far right is for the eighth segment To pro...

Страница 10: ...onds each in a repeating cycle EXERCISE MONITOR OPERATION When the power is turned on the SCAN mode will be selected automatically One mode indicator will appear by the word SCAN The SPEED TIME DISTAN...

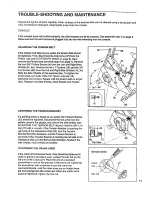
Страница 11: ...he tension belt no longer slips Reattach the Side Shields Neck Shields and Pedals CENTERING THE TENSION BRACKET If a grinding noise is heard as you pedal the Tension Bracket 35 should be adjusted Disc...

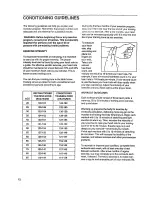
Страница 12: ...art rate can be increased gradually until it is near the mid dle of your training zone as you exercise To measure your heart rate stop exercising and place two fingers on your wrist Take a six second...

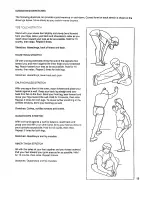
Страница 13: ...ower back and groin CALF ACHILLES STRETCH With one leg in front of the other reach forward and place your hands against a wall Keep your back leg straight and your back foot flat on the floor Bend you...

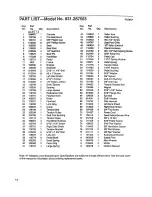
Страница 14: ...61 100498 1 Magnet 21 113789 1 Large Spacer 62 101049 2 3 16 x 1 2 Screw 22 119198 1 Resistance Disk 63 012082 2 5 16 Flange Nut 23 113791 1 Flywheel Axle 64 104536 2 Eye Bolt 24 106697 2 Roller 65 01...

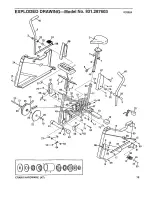
Страница 15: ...EXPLODED DRAWINGmModel NO 831 287603 Ro39sA 68 o 36 8 7 67 28 23 2O 48 16 69 51 38 1 49 _ 50 CRANK HARDWARE 47 15...

Страница 16: ...toll free numbers listed at the left When requesting help or service or ordedng parts please be prepared to provide the following information The NAME OF THE PRODUCT SEARS LIFESTYLEFP C 760 The MODEL...

Отзывы: