7
Operation
Operation
Basic Operation
Headphone jack
Connect a headphone plug ( 3.5 mm) into the
jack to listen to the sound through headphones.
Connecting headphones (not supplied) will switch
off the speakers.
MUTE
Press
MUTE
to temporarily stop the sound.
The “
” indicator flashes on display window.
To cancel it, press
VOLUME (
)
or
MUTE
again.
DIMMER
Pressing
DIMMER
one time darkens or bright-
ens the display window.
RANDOM
Press
RANDOM
, play tracks/files you can in a
random order or cancel it.
DEMO
Press
Z
CD OPEN
in power off state to demon-
strate the function on display window. To cancel
it, press
POWER (
1
1
/
]]
)
or
Z
CD OPEN
again.
Sound Adjustment
XTS Pro
The function creates the optimum sound for you
to play of the original sound. Each time you
press
XTS Pro
, “XTS -- PRO ON” or “XTS --
PRO OFF” is displayed in turn.
Note:
The XTS Pro function will not be operated when
a headphone has been connected.
XDSS
(eXtreme Dynamic Sound System)
Press
XDSS plus
to reinforce treble, bass and
the surround effect.
The “XDSS ON” or “NORMAL” indicator lights.
MP3 Optimizer
This function is optimized for compressible MP3
files so that it improves the bass sound. Each
time you press
XDSS plus
the setting changes
in the following order.
XDSS ON
→
MP3 -- OPT ON
→
NORMAL
EQUALIZER Effect
You can choose 7 fixed sound impressions and
adjust the BASS, MIDDLE and TREBLE.
- You can select a desired sound mode by using
EQ master
.
NORMAL
USER EQ
POP
CLASSIC
JAZZ
DRAMA
ROCK
- Press
EQ master
to select USER EQ.
1. To enter the “USER EQ” setting mode, press
SET
while “USER EQ” is displayed.
2. In USER EQ mode, press
bB
/
[]
PLAY
or
x
x
STOP
on the front panel repeatedly. Then you
can select the sound effect you want among
BASS, MIDDLE or TREBLE.
3. When a menu you select is displayed, press
bb
/
BB
on the front panel to set the sound
level MIN, -4 ~ +4, MAX steps.
- Then the sound level is displayed for a
moment and the setting completed.
4. Repeat the steps from 2 to 3 to set other
sound effect.
5. Press
SET
.
Advanced Setting
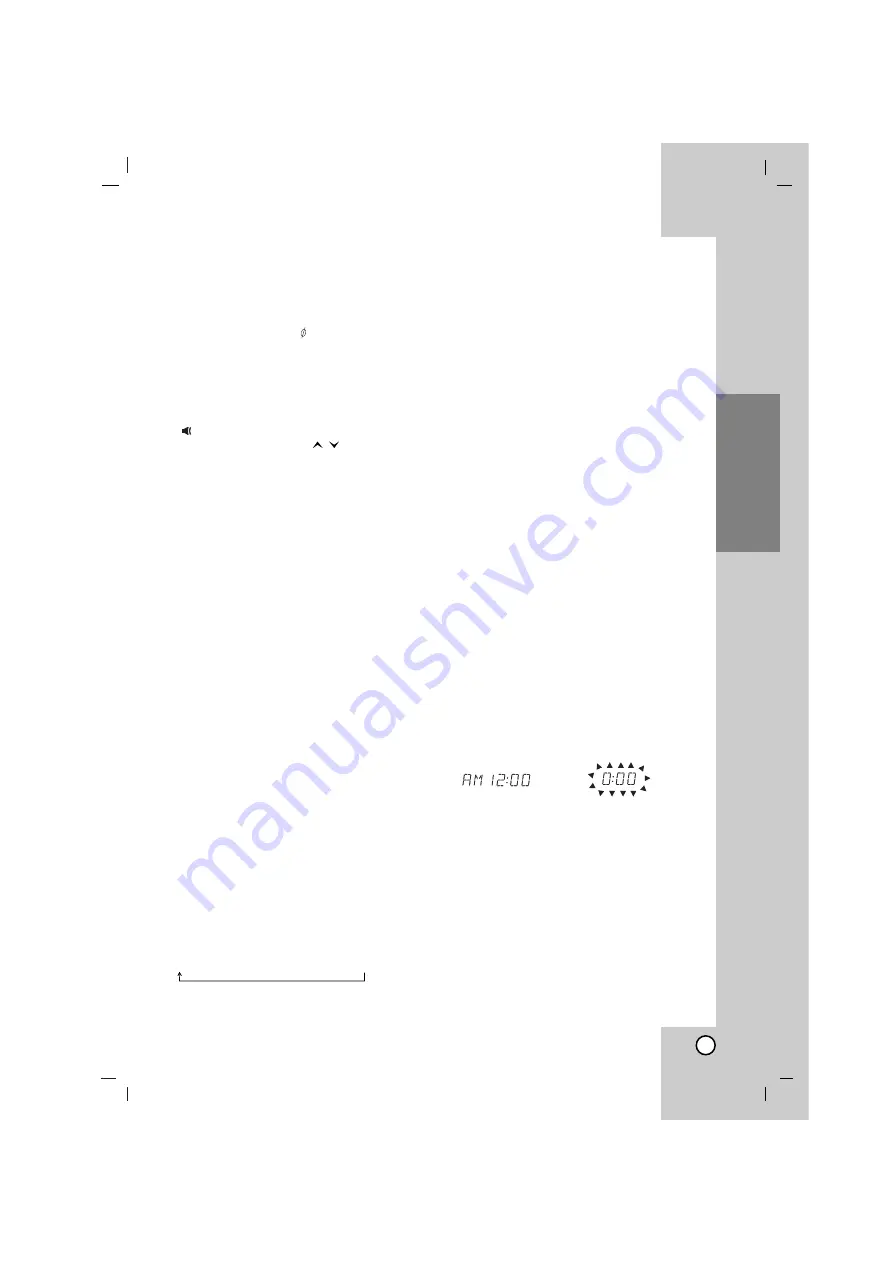
Setting the Clock
1. Press
CLOCK
.
2. Select a 24 hour time system or a 12 hour
time system by pressing
bb
/
BB
on the front
panel.
3. Press
SET
to confirm the selected hour time
system.
4. Press
bb
/
BB
on the front panel to set the
correct hours then press
SET
.
5. Press
bb
/
BB
on the front panel to set the
correct minutes press
SET
.
6. Press
CLOCK
at any time, to display the time
for about 5 seconds.
Note:
If you want to reset the clock, press and hold
CLOCK
for more than 2 seconds.
/
→
→
→
→
→
→
→
v
v
v v v v v v v v
v
v
v
v
v
v
v
v
v
(12HR)
(24HR)
or


