


Control Panel Functions
A8
This Indicator lights up as blue when the display is
operating normally(On Mode). If the display is in
Sleep Mode (Energy Saving), this indicator color will
changes to amber.
Use this button to turn the display on or off.
Power Button
Power Indicator
Use this button to selection an icon in the On Screen
Display.
AUTO/SET
Button
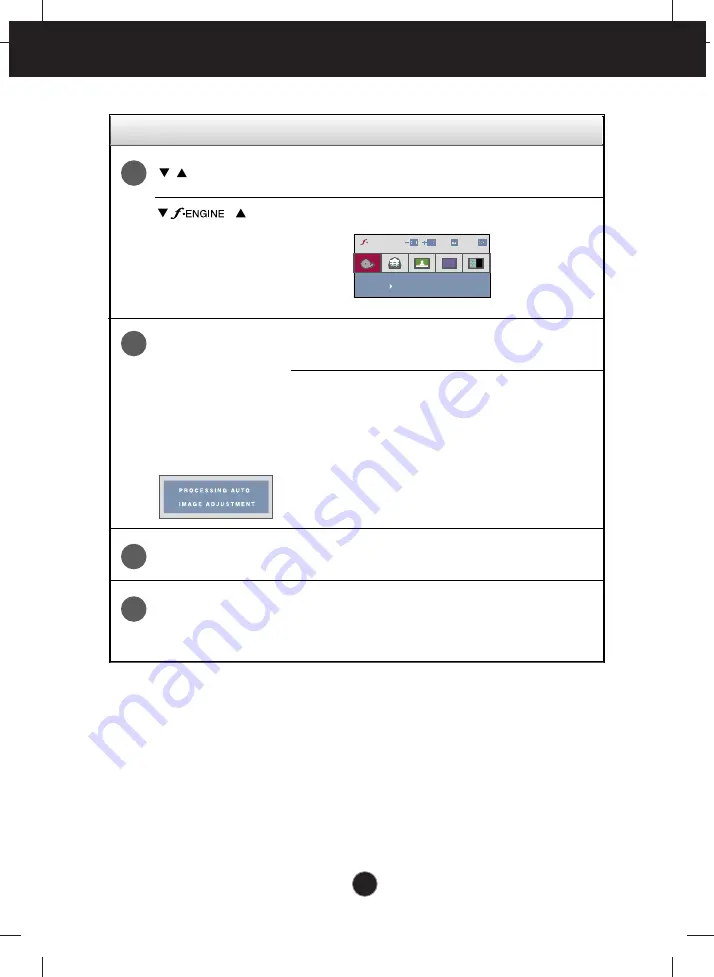
AUTO IMAGE ADJUSTMENT
When adjusting your display settings, always press
the AUTO/SET button prior to entering the On
Screen Display(OSD). This will automatically adjust
your display image to the ideal settings for the
current screen resolution size (display mode).
The best display mode is
W1952S : 1440 x 900
W2252S : 1680 x 1050
Control
Function
Buttons
Use these buttons to select or adjust functions in the
On Screen Display.
For more information, refer to page A17.
6
5
4
7
MOVIE
SET
MENU
X
X
ENGINE
,
Содержание W1952S
Страница 26: ...Digitally yours ...


