


Owner’s Manual 25
Operation
Screen
Screen
Adjustments (V
Adjustments (V
ideo.S-V
ideo.S-V
ideo and Component 480i mode only)
ideo and Component 480i mode only)
- Use this function to correct jittering or picture instability while viewing a video
tape.
1. Press the
MENU
button and then use
D
D
/
E
E
button to select the
SCREEN
menu.
2. Press the
G
G
button and then use
D
D
/
E
E
button to select
Screen adj.
.
3. Press the
G
G
button and then use
D
D
/
E
E
button to select
TV
or
VCR
.
• Select the
VCR
option if watching a VCR.
• Select the
TV
option for other equipment. (Except VCR)
4. Press the
OK
button to save.
- Sets up the Monitor for the best picture appearance for viewing movies.
1. Press the
MENU
button and then use
D
D
/
E
E
button to select the
SCREEN
menu.
2. Press the
G
G
button and then use
D
D
/
E
E
button to select
Cinema.
.
3. Press the
G
G
button and then use
D
D
/
E
E
button to select
On
or
Off
.
4. Press the
OK
button to save.
Cinema Mode Setup (V
Cinema Mode Setup (V
ideo, S-V
ideo, S-V
ideo and Component 480i mode only)
ideo and Component 480i mode only)
Manual Configure (RGB-PC mode only)
Manual Configure (RGB-PC mode only)
1. Press the
MENU
button and then use
D
D
/
E
E
button to select the
SCREEN
menu.
2. Press the
G
G
button and then use
D
D
/
E
E
button to select
Manual config.
.
3. Press the
G
G
button and then use
D
D
/
E
E
button to to select
Phase
or
Clock
.
4. Use the
F
F
/
G
G
button to make appropriate adjustments.
• The
Phase
adjustment range is 0 ~ 30.
• The
Clock
adjustment range is -127 ~ +128.
5. Press the
OK
button to save.
SCREEN
Prev.
Auto config.
ARC
Position
Manual config
G
G
Reset
SCREEN
Menu
Phase
0
Clock
0
SCREEN
Prev.
Auto config.
ARC
Position
Manual config
Reset
VGA Mode
G
G
SCREEN
Menu
640x480
848x480
852x480
SCREEN
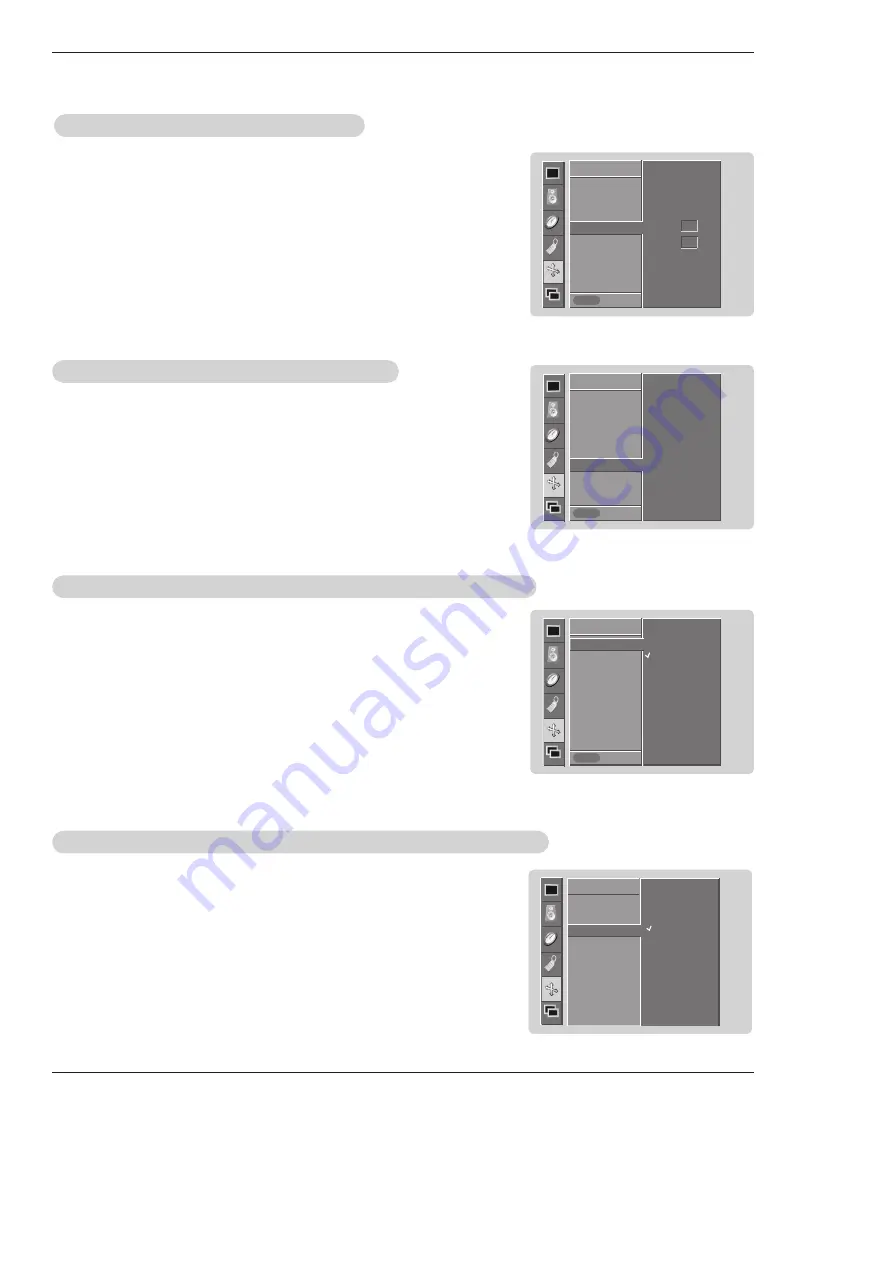
Screen adj.
ARC
Cinema
G
G
YNR
Reset
SCREEN
On
Off
SCREEN
Prev.
Screen adj.
G
G
ARC
Cinema
YNR
Reset
SCREEN
Menu
TV
VCR
Owner’s Manual 25
Selecting VGA/XGA
Selecting VGA/XGA
Mode (RGB-PC mode only)
Mode (RGB-PC mode only)
- To see a normal picture, match the resolution of RGB mode and selection of
VGA/XGA mode.
1. Press the
MENU
button and then use
D
D
/
E
E
button to select the
SCREEN
menu.
2. Press the
G
G
button and then use
D
D
/
E
E
button to select
VGA Mode
(or
XGA
Mode
).
3. Press the
G
G
button and then use
D
D
/
E
E
button to select the desired VGA/XGA res-
olution.
4. Press the
OK
button to save.


