


61
Operation and settings
D/N ABF
You can set the Day&Night function with ABF function.
Use
or
button to select a option.
•
ON: If you set to On, the ABF function will be activated
automatically when the D/N function is activated.
•
OFF: Not used.
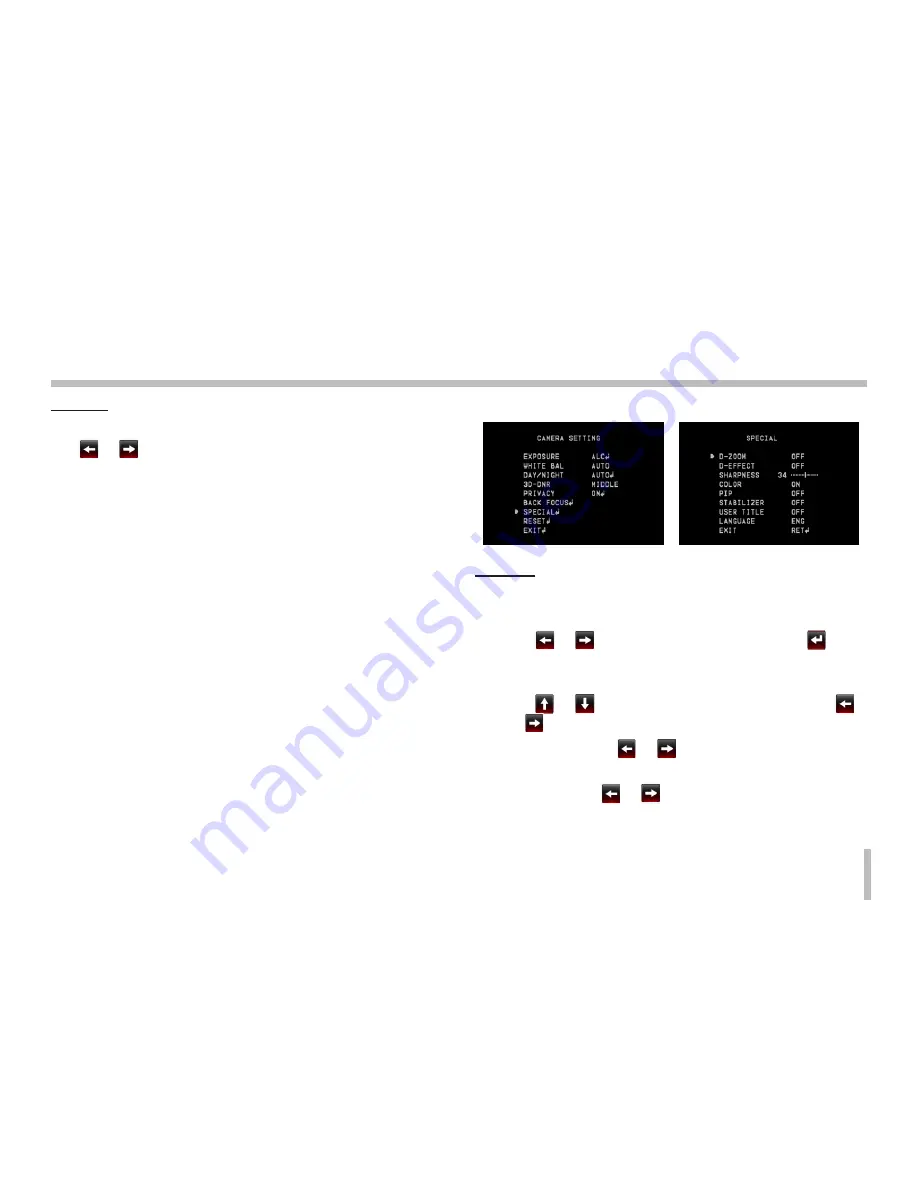
Special menu settings
D-ZOOM
You can select the digital zoom level.
1. Select [D-ZOOM] option on the [SPECIAL] menu.
2. Use
or
button to select [ON] then click
but-
ton. When you set to ON, the displayed image can be
shaking.
3. Use
or
button to select an option then use
or
button to select a level.
•
ZOOM: Use
or
button to enlarge the
screen.
•
PAN: Use
or
button to move the screen.
(left or right)
Содержание LW342 series
Страница 23: ...23 Operation and settings LG Smart Web Viewer Overview ...
Страница 51: ...51 Operation and settings Main Menu Sub Menu Contents RESET CAMERA REBOOT FACTORY RESET EXIT EXIT ...
Страница 74: ......
Страница 75: ......
Страница 76: ...BZ03 ...


