


7-7
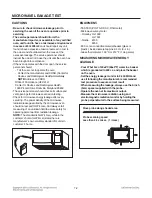
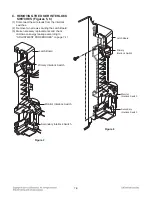
Figure 7
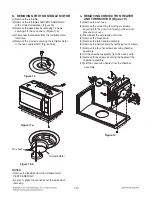
Figure 9-a
Figure 9-b
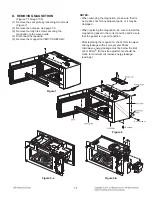
Figure 8
(3 screws)
(1 or 2 screws)
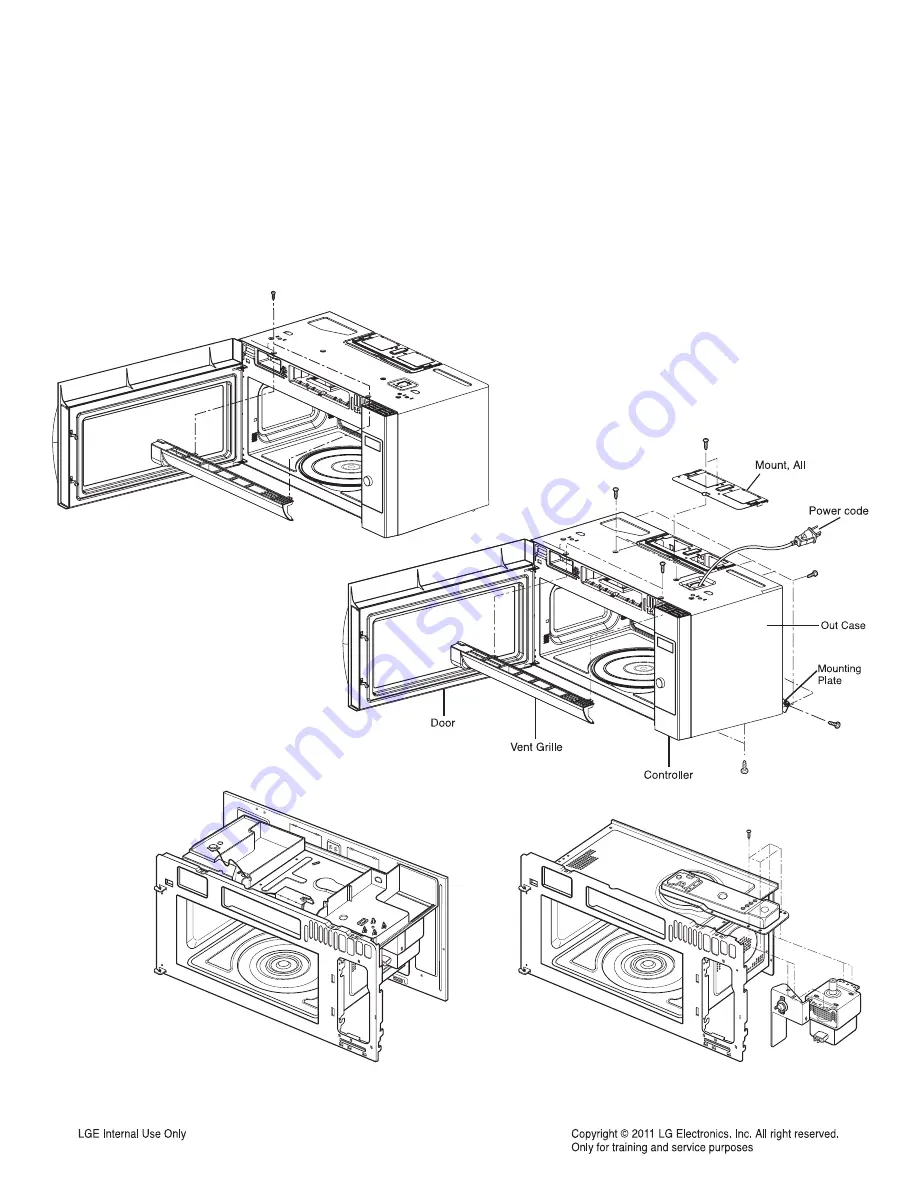
D. REMOVING MAGNETRON
(Figures 7 Through 13b)
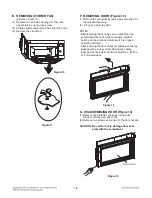
(1) Remove the vent grille by loosening two screws.
(Figure 7)
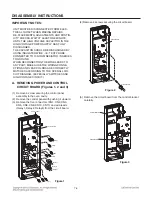
(2) Remove the outcase. See page 7-5.
(3) Remove four tap tite screws securing the
magnetron to the wave guide.
(4) Disconnect the leadwire.
(5) Remove the magnetron VERY CAREFULLY.
NOTES:
• When removing the magnetron, make sure that its
dome does not hit any adjacent parts, or it may be
damaged.
• When replacing the magnetron, be sure to install the
magnetron gasket in the correct position and be sure
that the gasket is in good condition.
• After replacing the magnetron, check for microwave
energy leakage with a survey meter Check
microwave energy leakage must be below the limit
of 5 mW/cm2. (All service adjustments should be
made for minimum microwave energy leakage
readings.)
Содержание LSMC3086ST
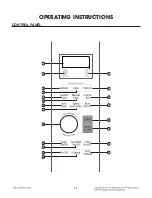
Страница 7: ...4 1 OPERATING INSTRUCTIONS CONTROL PANEL 1 2 4 6 3 9 12 14 15 18 21 7 10 13 16 19 17 20 11 8 5 ...
Страница 37: ...2004 2381 2028 2011 2008 260M 2030 2006 2400 2041 2043 2042 EV CONTROLLER PARTS ...
Страница 38: ...OVEN CAVITY PARTS 3103 3031 3001 3029 3024 3010 6001 3005 W178 W202 3026 3011 3025 3032 3009 3045 3037 6000 EV ...
Страница 39: ...LATCH BOARD PARTS 4001 4000 4002 W102 4003 4002 4004 EV ...
Страница 42: ...INSTALLATION PARTS VINYL BAG 6009 6008 6011 6010 EV ...
Страница 43: ......


