


Network IR PTZ Camera Owner’s Manual
15
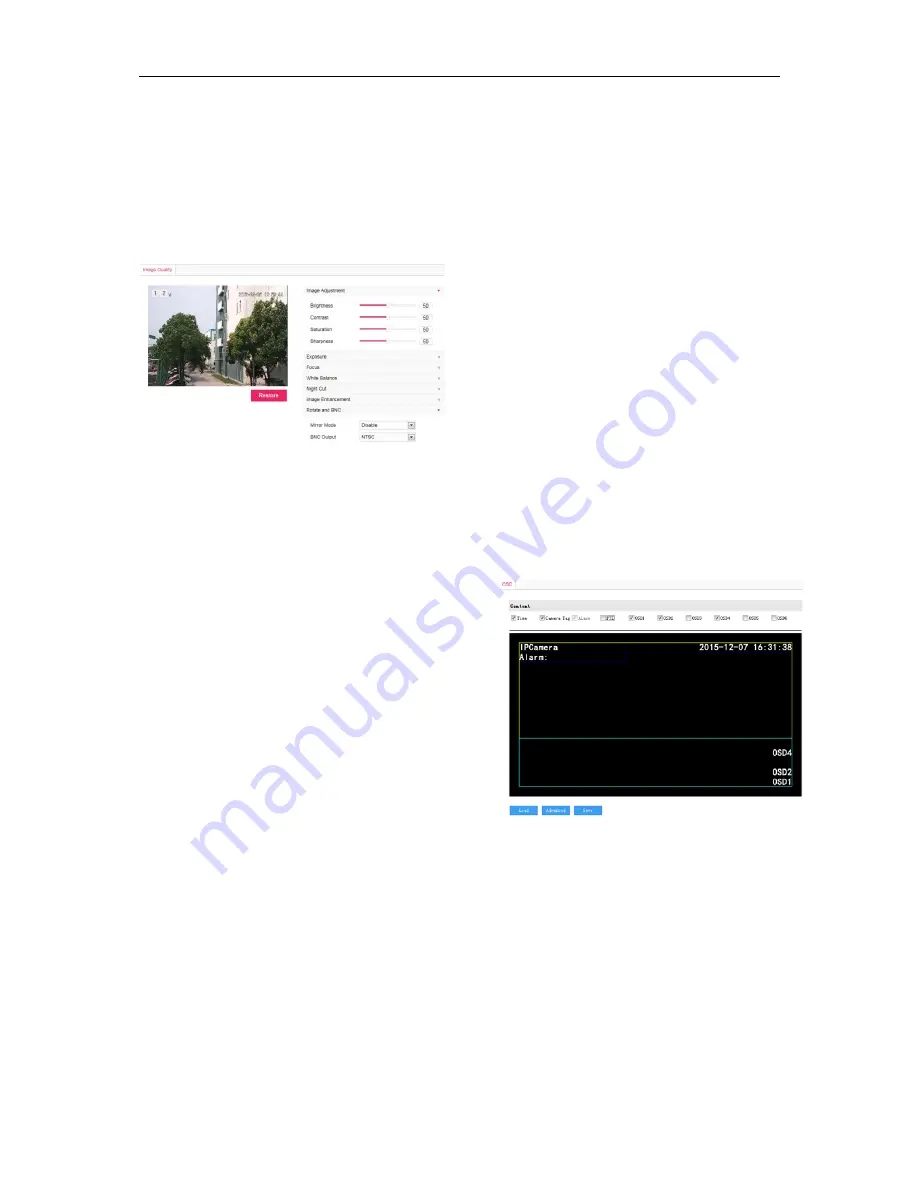
4.2 BNC Output
Camera with BNC output can output analog image
directly when local display function is enabled.
Go to
Settings>Camera>Image>Rotate and BNC
,
select BNC output mode from the drop-down list, as
shown below:
Picture 4-5 BNC Output
NOTE:
For camera with HD-SDI interface, when BNC
output is enabled, the network will stop image
output.
4.3 User Security
4.3.1 User Management
Go to
Settings>System>User Security>User.
Add:
Click “Add”, and enter user name and password in the
popup interface. Select user type from the dropdown
list, and assign operation rights to newly added user
from the Authorization List. After setting, click
“Confirm”.
Delete:
Select user IP and click “Delete” to delete the user.
Modify
Select user IP and click “Modify” to modify in the
popup interface.
4.3.2 IP Filter
By setting IP address filtering, user can manage
access limitation to the Web Client.
White List includes IP addresses able to access to the
client, while Black List includes IP addresses unable
to access to the client.
Enable IP Filter:
Select filter method from the dropdown list according
to request, or select “Disable” to disable IP filter.
Add Black/White List:
After select filter method, click “Add” and input IP
address in the popup interface, and click “Confirm”.
Modify Black/White List:
Select the IP address from the list and click “Modify” to
modify the IP address in the popup interface, and click
“Confirm”.
Delete Black/White List:
Select the IP address from the list and click “Delete” to
delete the IP address. Click “Delete All” to clear all the
IP addresses.
NOTE:
When White List is enabled, if no IP is listed on it,
user cannot save.
4.4 Text Overlay
Display preset text on the surveillance window,
configuration steps as follows:
1) Go
to
Settings>Camera>OSD
, as shown in
Picture 4-6.
Picture 4-6 Text Overlay
2) Check the options and preview the result in the
window. For example, if user checks “
Time
”, time
will be displayed in the window.
3) Edit positions: drag the items in the window with
mouse to change their positions.
4) Edit OSD texts: for example, if user checks OSD1,
double click OSD1 textbox and input characters
in the popup interface. Click “
OK
”.
5) Click
“
Save
” to save OSD setting.
6) Click
“
Load
” to load default font or China GB font.
Содержание LNP3021R
Страница 27: ......


