


Tips / Important Safety Precautions
17
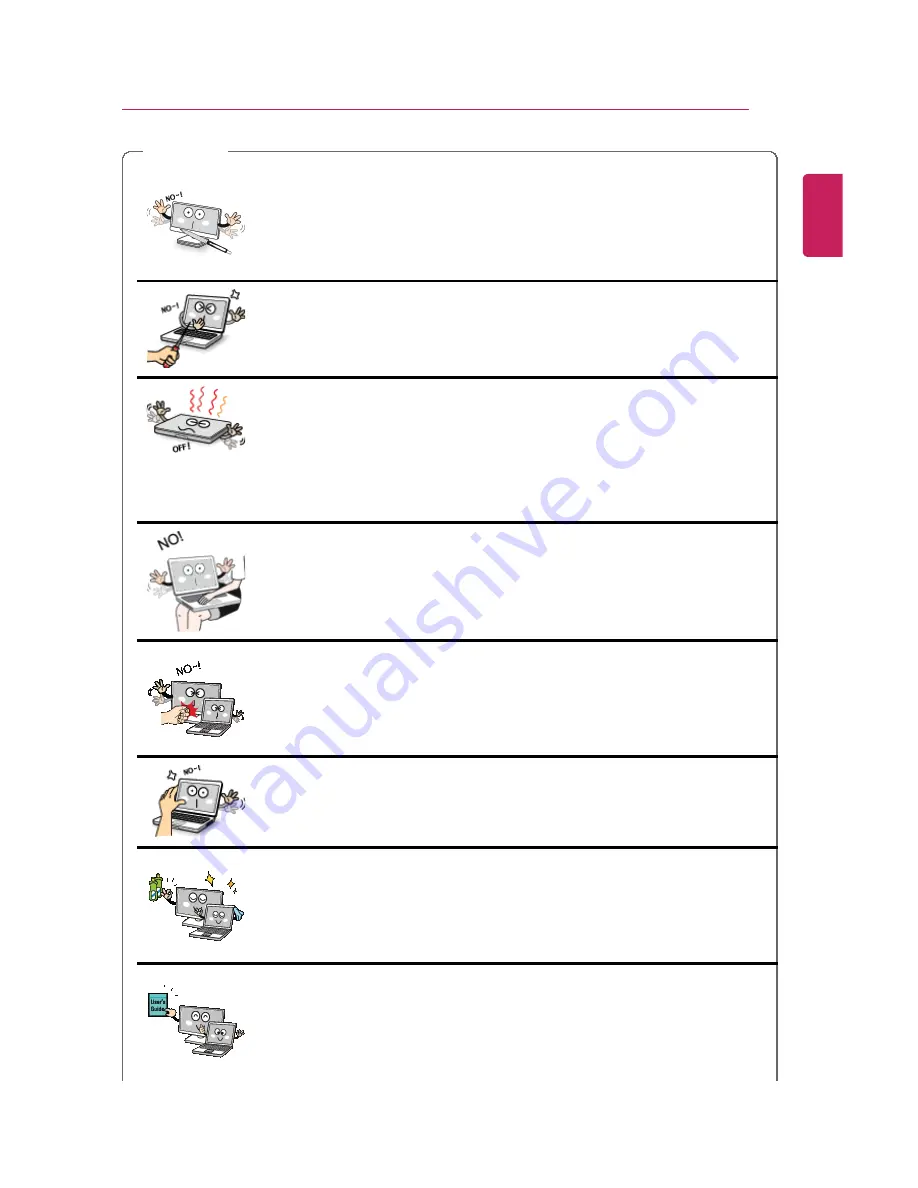
CAUTION
Do not leave any objects such as a pen between the keypad and
the LCD.
•
You might break the LCD by unwittingly closing it with a foreign
object remaining on the pad.
Do not press or scratch the LCD with a sharp object.
•
It may cause impairment.
Ensure the power is off before shutting the LCD.
•
The machine may be deformed due to temperature rise.
The bottom of the PC gets hot when the system is working.
Please avoid touching it and do not put it on your laps.
Do not impose excessive force on the LCD screen or drop it.
•
You could break the LCD glass panel.
Do not forcibly open the LCD screen with one hand.
•
The machine may be twisted.
To clean the LCD screen, use designated agents and soft cloth
and rub the screen in one direction.
•
Too much force may damage the LCD screen.
When handling PC parts, follow the instructions in the manual.
•
Otherwise, damage may be inflicted.
ENGLISH
Содержание LG29V95
Страница 1: ......
Страница 26: ...26 Tips Important Safety Precautions ENGLISH ...
Страница 27: ...Tips Important Safety Precautions 27 ENGLISH ...
Страница 31: ...Using Windows 8 1 31 ENGLISH ...
Страница 37: ...Using Windows 8 1 37 ENGLISH ...
Страница 46: ...46 Using Windows 8 1 2 When the title bar appears click the icon at the top right to close the app ENGLISH ...
Страница 50: ...50 Using Windows 8 1 ENGLISH ...
Страница 52: ...52 Using Windows 8 1 2 The basic categories appear on the Store screen ENGLISH ...
Страница 60: ...60 Using Windows 8 1 2 Move the cursor to the top center of the running app screen ENGLISH ...
Страница 61: ...Using Windows 8 1 61 3 When you drag the cursor down the screen is reduced in size ENGLISH ...
Страница 64: ...64 Using Windows 8 1 6 Click on the empty screen to go to the Start screen ENGLISH ...
Страница 85: ...Using the PC 85 8 As shown in the following figure channels are then searched for automatically ENGLISH ...
Страница 103: ...Using the PC 103 2 In the Charms click Settings Change PC Settings ENGLISH ...
Страница 105: ...Using the PC 105 5 When a device is found click the device to connect ENGLISH ...
Страница 106: ...106 Using the PC 6 When the passwords are matched click Yes to complete the connection ENGLISH ...
Страница 108: ...108 Using the PC 3 In the Charms click Settings Control Panel View By Small Icon Network and Sharing Center ENGLISH ...
Страница 109: ...Using the PC 109 4 Click Change Adapter Settings ENGLISH ...
Страница 110: ...110 Using the PC 5 Right click Ethernet and select Properties ENGLISH ...
Страница 111: ...Using the PC 111 6 Select Internet Protocol Version 4 TCP IPv4 and click Properties ENGLISH ...
Страница 114: ...114 Using the PC 3 Closest available Access Point wireless network is automatically searched ENGLISH ...
Страница 121: ...Using Software 121 2 Click the All Lists menu to access the update and install lists ENGLISH ...
Страница 131: ...Using Software 131 2 Select the Reader Mode On menu to switch to Reader Mode as shown in the figure ENGLISH ...
Страница 140: ...140 Restoring the System ENGLISH ...
Страница 147: ...Setup and Upgrade 147 1 Reboot the system and press F2 ENGLISH ...
Страница 150: ...150 Setup and Upgrade 2 When the following screen appears click Enter in the Set Supervisor Password menu ENGLISH ...
Страница 154: ...154 Setup and Upgrade 1 After opening the system setup screen click the Security button ENGLISH ...
Страница 155: ...Setup and Upgrade 155 2 When the following screen appears click Enter in the Set User Password menu ENGLISH ...
Страница 159: ...Setup and Upgrade 159 1 After opening the system setup screen click the Security button ENGLISH ...
Страница 166: ...166 Setup and Upgrade 7 When the following message appears click YES The PC will restart ENGLISH ...
Страница 169: ...Setup and Upgrade 169 2 When the following screen appears click Enter in the Set Supervisor Password menu ENGLISH ...
Страница 171: ...Setup and Upgrade 171 4 Press Enter in Enter New Password and Confirm New Password ENGLISH ...
Страница 173: ...Setup and Upgrade 173 7 When the following message appears click YES The PC will restart ENGLISH ...
Страница 177: ...Setup and Upgrade 177 5 Press Enter in Enter New Password and Confirm New Password ENGLISH ...
Страница 179: ...Setup and Upgrade 179 8 When the following message appears click YES The PC will restart ENGLISH ...
Страница 181: ...Setup and Upgrade 181 2 When the Exit menu appears click Load Setup defaults ENGLISH ...
Страница 185: ...Setup and Upgrade 185 2 When the system setup screen appears click the Boot button ENGLISH ...
Страница 188: ...188 Setup and Upgrade Selecting a Boot Device to Use 1 Reboot the system and press F10 ENGLISH ...
Страница 192: ...192 Setup and Upgrade 1 Loosen the screw in the stand with a screwdriver or coin to separate the stand ENGLISH ...
Страница 193: ...Setup and Upgrade 193 2 Loosen the two screws at the bottom of the stand using a Philips screwdriver ENGLISH ...
Страница 195: ...Setup and Upgrade 195 4 Loosen the two screws indicated in the figure to separate the memory cover ENGLISH ...
Страница 199: ...Setup and Upgrade 199 3 Select an item size to proceed as instructed ENGLISH ...
Страница 201: ...FAQ 201 2 When the following screen appears select a language you want to use and then click Next ENGLISH ...
Страница 202: ...202 FAQ 3 When the following screen appears select the I Agree button and then click the Next button ENGLISH ...
Страница 205: ...FAQ 205 3 Select an item size to proceed as instructed ENGLISH ...
Страница 209: ...FAQ 209 ENGLISH ...
Страница 213: ...FAQ 213 If a program was running already you need to exit and restart the program for it to produce sound ENGLISH ...
Страница 216: ...216 FAQ 3 Closest available Access Point wireless network is automatically searched ENGLISH ...
Страница 219: ...FAQ 219 3 In the Charms click Settings Control Panel View By Small Icon Network and Sharing Center ENGLISH ...
Страница 220: ...220 FAQ 4 Click Change Adapter Settings ENGLISH ...
Страница 221: ...FAQ 221 5 Right click Ethernet and select Properties ENGLISH ...
Страница 222: ...222 FAQ 6 Select Internet Protocol Version 4 TCP IPv4 and click Properties ENGLISH ...


