48
Listening to the radio - more you can do
Look for radio stations automatically
Press and hold TUN.-/TUN.+ for more than a second. The tuner will scan
automatically and stop when it finds a radio station.
Choose a preset number for a radio station
When storing a radio station, the preset number can be chosen. When this unit
automatically shows a preset number, press PRESET
U u
to change it. Press
ENTER to save your chosen number.
Delete all the saved stations
Press and hold ENTER for two seconds. ERASE ALL will flash up on the
display. Press ENTER to erase all saved radio stations.
Improve poor FM reception
Press MO./ST. This will change the tuner from stereo to mono and usually
improve the reception.
See information about a radio station
The FM tuner is supplied with the RDS (Radio Data System) facility. This shows
information about the radio station being listened to. Press RDS repeatedly to cycle
through the various data types:
PS
(Programme Service Name)
The name of the channel will appear in the display
PTY
(Programme Type Recognition)
The programme type (e.g. Jazz or News) will appear in the display.
RT
(Radio Text)
A text message contains special information from the broadcast station.
This text may scroll across the display.
CT
(Time controlled by the channel)
This shows the time and date as broadcast by the station.
Listening to the radio
1 Select FM:
TUNER (INPUT)
2 Select a radio station:
TUN.
-/+
3 To save a radio station:
ENTER
A preset number will show on the display.
Up to 50 radio stations can be saved.
4 To confirm press:
ENTER
5 To select a saved station
PRESET
U
U u
u
ON REMOTE
Be sure that FM antenna is connected.
Playing the iPod
For details about iPod, refer to the iPod User Guide.
Preparation
• To view iPod’s Videos and Photos on the TV screen.
- Be sure to use the video connection through the VIDEO OUT jack on
the rear panel of this unit.
Select the appropriate video input mode on the TV.
- Depending on the iPod, make sure that select Videos > Video settings,
and then set TV Out to Ask or On from your iPod.
For details about Video Settings, refer to the iPod User Guide.
- The viewing photos is available only if this unit is in REMOTE IPOD
mode and you can view photos only as a slideshow.
You have to start a slideshow on your iPod to view a photo on a TV.
For details about a slideshow, refer to the iPod User Guide.
• Before connecting the iPod, turn this unit off and reduce the volume of
this unit to its minimum.
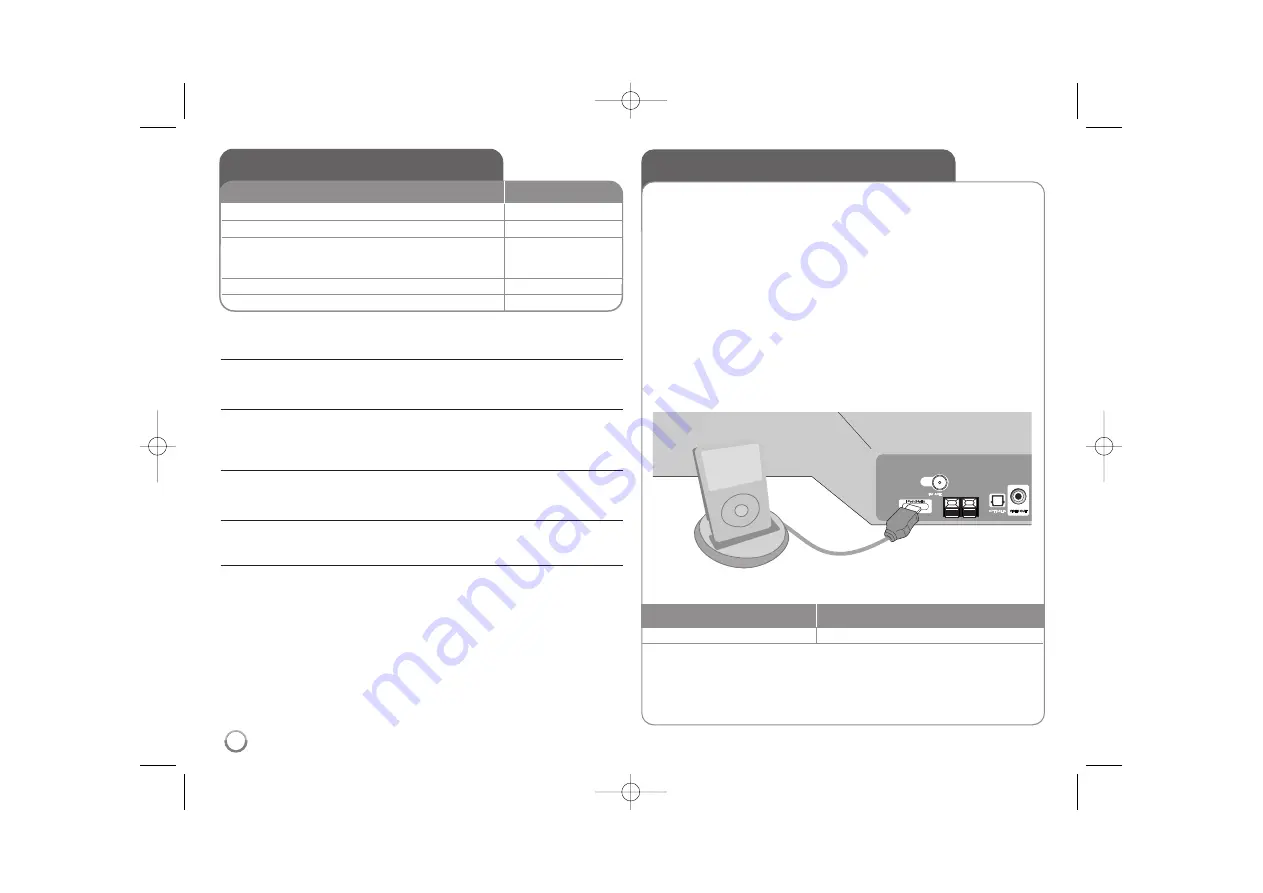
Connect the iPod dock on the rear of the unit
Select an iPod mode
Press iPod.
•
REMOTE IPOD mode
: You can operate your iPod through an iPod’s
display by using the supplied remote control and also control on your iPod.
•
OSD IPOD mode:
You can operate your iPod by controlling OSD menu
on the TV screen with the supplied remote control. The controls on
your iPod are not operational in the OSD iPod mode.
Do this on remote
To
• If you turn this unit on, your iPod is automatically turned on and recharging starts.
HLB34S-DP_BFRALLK_ENG_6943 3/10/10 2:36 PM Page 48


