


A24
On Screen Display(OSD) Selection and Adjustment
You were introduced to the procedure of selecting and adjusting an item
using the OSD system. Listed below are the icons, icon names, and icon
descriptions of the all items shown on the Menu.
OSD Adjust
Description
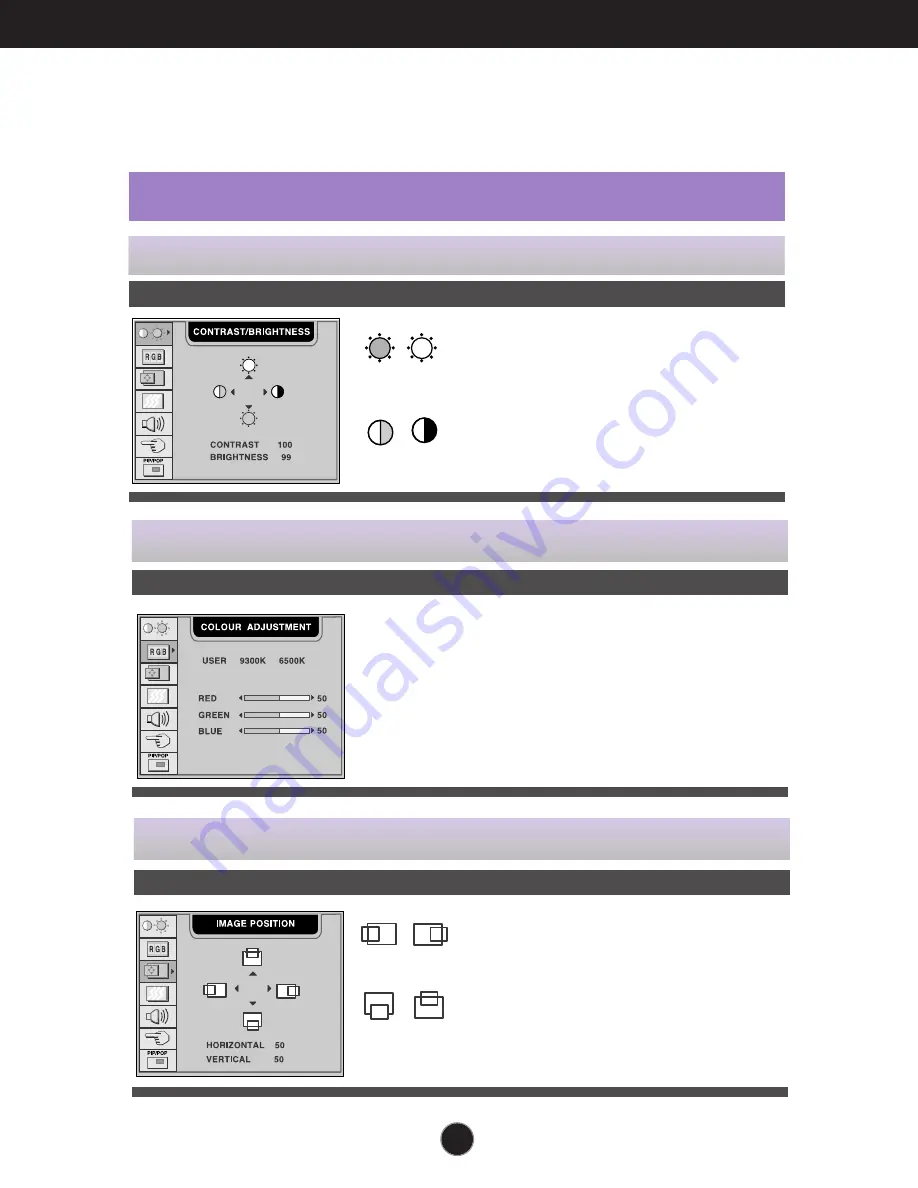
BRIGHTNESS
To adjust the brightness of the screen.
CONTRAST
To adjust the contrast of the screen.
To adjust the brightness and contrast of the screen
USER
9300K
6500K
RED/GREEN/BLUE
Set your own colour levels.
Select the screen colour.
• 9300K: Slightly bluish white.
• 6500K: Slightly reddish white.
To customize the colour of the screen
OSD Adjust
Description
Vertical Position
To move image up and down.
Horizontal Position
To move image left and right.
To adjust the position of the screen
OSD Adjust
Description
To adjust the screen when using the computer


