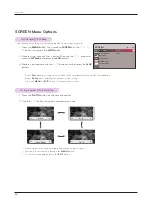
ADV. PICTURE
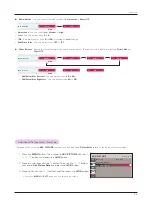
< When
Picture Mode
is
Vivid/Standard/Cinema/Sport/
Game
>
< When
Picture Mode
is
Expert 1/2
>
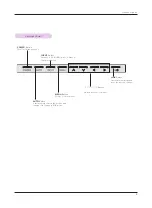
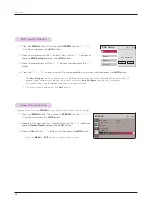
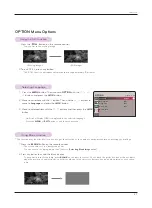
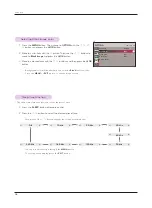
1. Press the
MENU
button. Then, move to
ADV. PICTURE
with the
∧
,
∨
,
<
,
>
buttons and press the
ꔉ
OK
button.
2. Move to a sub-item with the
>
button. Then, use the
∧
,
∨
but-
tons to move to
Advanced Control
and press the
ꔉ
OK
button.
3. Move to a desired item with the
∧
,
∨
buttons and then press the
ꔉ
OK
button.
4. Use the
<
,
>
buttons to make a desired adjustment and then
press the
ꔉ
OK
button.
• You can set image values differently for each input and
Picture
Mode
.
• Press the
MENU
or
EXIT
button to exit the menu screen.
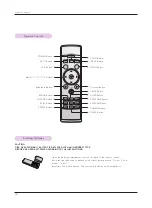
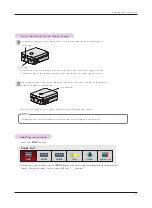
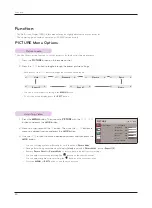
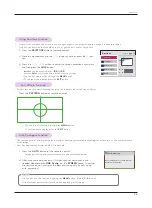
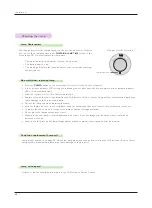
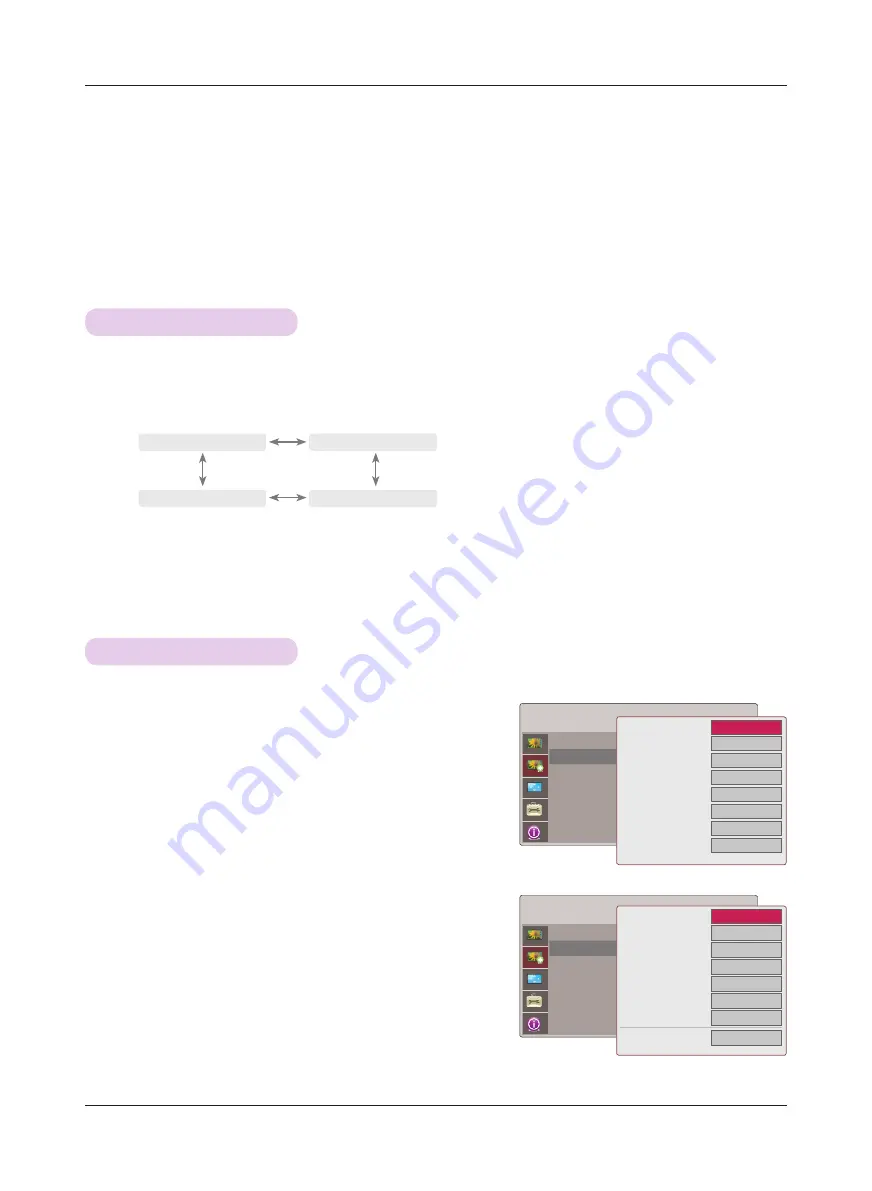
1. Press the
A.IRIS
button on the remote control.
2. Press the
<
,
>
button to adjust the screen condition as you want.
* This function adjusts the brightness of the entire image depending on inputted image to provide optimum image quality.
• Each press of the
<
,
>
button changes the screen as shown below.
• You can use this function through the
MENU
button.
• To exit the menu display, press the
EXIT
button.
ꔗ
Off
ꔃ
ꔗ
Auto Iris1
ꔃ
ꔗ
Auto Iris3
ꔃ
ꔗ
Auto Iris2
ꔃ
Auto Iris
: Auto Iris1
Advanced Control
Adv. Picture Reset
ADV. PICTURE
Auto Iris
: Auto Iris1
Expert Control
Adv. Picture Reset
ꔗ
Off
ꔃ
Off
Natural
On
Low
Off
Low
High
ꔍ
•Fresh Contrast
•Fresh Colour
•Noise Reduction
•Real Cinema
•Black Level
•Lamp Mode
•Overscan
Gamma Mode
ꔗ
Off
ꔃ
Off
On
Off
Low
High
100
Preset
ꔍ
•Fresh Contrast
•Fresh Colour
•Color Temp.
•Noise Reduction
•Gamma
•Real Cinema
•Black Level
•Lamp Mode
Function
21
Auto Iris Function
Advanced Control Function
ADV. PICTURE Menu Options

