background image

9

3

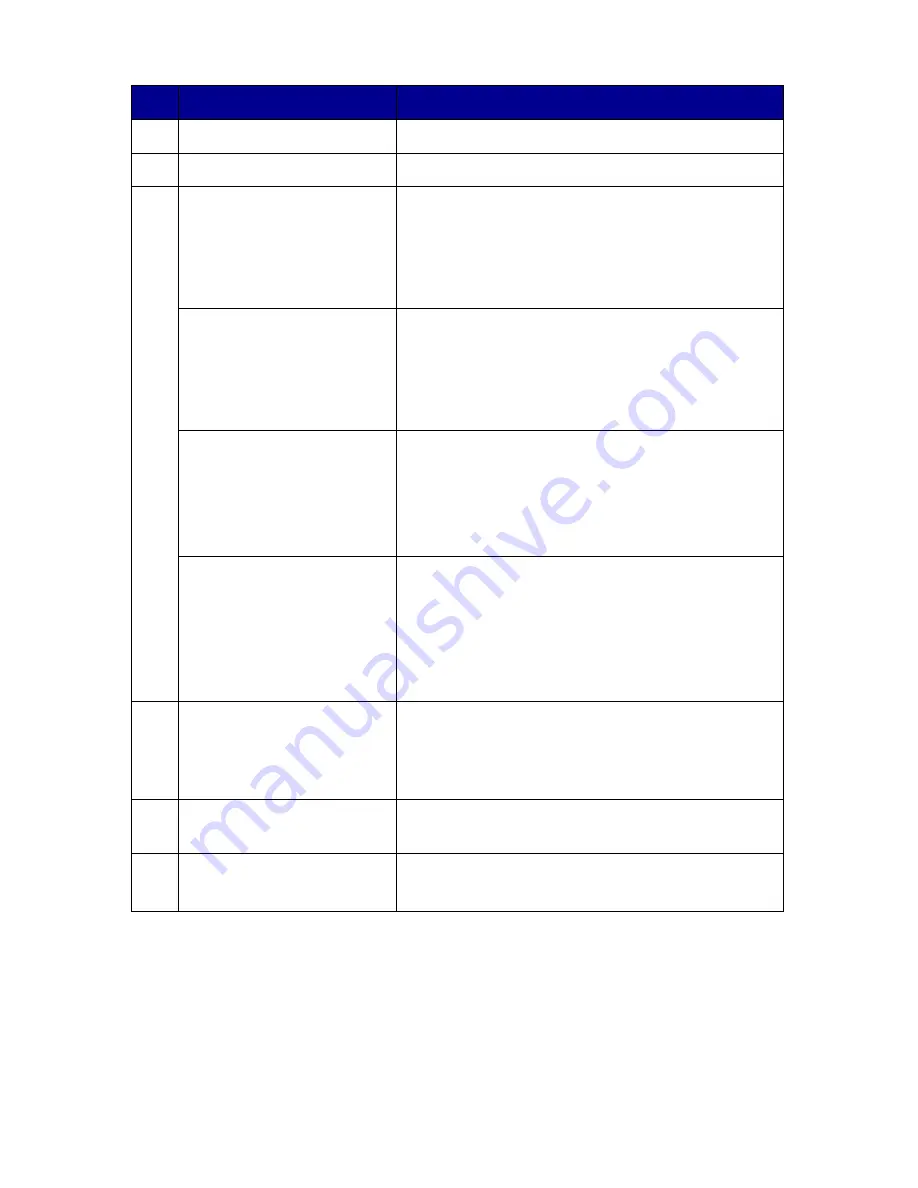
Start

Begin printing the selected photos.

4

Power

Turn the printer on and off.

5

Up arrow

• Scroll through menu options.
• Change the selected area when cropping an 

image.

• Skip forward through the pictures on the 

memory card 10 at a time.

Down arrow

• Scroll through menu options.
• Change the selected area when cropping an 

image.

• Skip backward through the pictures on the 

memory card 10 at a time.

Right arrow (+)

• Increase the number of prints.
• Change the selected area when cropping an 

image.

• Increase the value of a menu item.
• Display the next picture on a memory card.

Left arrow (-)

• Decrease the number of prints.
• Change the selected area when cropping an 

image.

• Decrease the value of a menu item.
• Display the previous picture on a memory 

card.

6

Number of Prints

• Change the number of photos you want to 

print.

• Change the size of the green crop box when 

cropping an image.

7

Rotate

Rotate the image on the control panel display 
90° counterclockwise for easier viewing. 

8

Select

• Choose a menu option.
• Choose a displayed photo for printing.

#

Button

Purpose

Содержание P315 - DPI Photo Printer

Страница 1: ...emory cards 11 Supported memory cards 11 Inserting memory cards 12 Printing from a memory card 13 Step 1 Load photo paper 13 Step 2 Insert a memory card 13 Step 3 View your photos 13 Step 4 Select a p...

Страница 2: ...lection 21 Customizing your printer settings 22 Changing the blank paper size 22 Changing the blank paper type 22 Changing the print quality 23 Adjusting preview before print 23 Changing the control p...

Страница 3: ...eaning the print cartridge nozzles 34 Printing a test page 35 Troubleshooting 36 Setup troubleshooting 37 Print troubleshooting 38 Improving print quality 40 Jams and misfeeds troubleshooting 43 Memor...

Страница 4: ...6...

Страница 5: ...ed digital camera to the printer Use the controls on the camera to select and print your photos 5 Memory card slots Insert memory cards 6 Paper exit Allows paper to exit after printing is complete 7 C...

Страница 6: ...Part Purpose 1 Power supply cord port Install the provided power supply cord Button Purpose 1 Menu Display the Photo menu 2 Stop Clear Deselect the displayed photo for printing Stop the print job 1 3...

Страница 7: ...number of prints Change the selected area when cropping an image Increase the value of a menu item Display the next picture on a memory card Left arrow Decrease the number of prints Change the selecte...

Страница 8: ...rce the photo paper into the printer Type Size Usage Photo Glossy cards Photo paper 4 x 6 inches 102 x 152 mm Print photos Hagaki card 3 9 x 5 8 inches 100 x 148 mm Print photos A6 card 4 1 x 5 8 inch...

Страница 9: ...ard manufacturer may differ from the ones pictured Secure Digital SD xD Picture Card up to 512MB Memory Stick Memory Stick PRO Memory Stick Duo with adapter Memory Stick PRO Duo with adapter SmartMedi...

Страница 10: ...l SmartMedia MultiMedia Memory Stick Memory Stick PRO Memory Stick Duo with adapter Memory Stick PRO Duo with adapter xD Picture Card Insert card with brand name label face up Note If you are using Sm...

Страница 11: ...ress the down arrow to highlight Slide Show 2 Press Select Each photo will appear on the display for five seconds To skip ahead press the right arrow button To go back press the left arrow button 3 Pr...

Страница 12: ...epeat steps 4 and 5 When you are finished selecting your photo s continue with step 7 Step 7 Print photo s Press Start If Preview before Print is on a preview of the print job is first displayed Press...

Страница 13: ...into the camera Note Use only the USB cable that came with your camera 2 Insert the other end of the cable into the PictBridge port on the front of the printer 3 Refer to the instructions included wi...

Страница 14: ...arrow button until you highlight Print Index Page 5 Press Select If Preview before Print is on a preview of the print job is first displayed Press Start to print the index page If Preview before Print...

Страница 15: ...oad photo paper 2 Insert a memory card Note If you are unsure of what type of memory card you have see page 11 The I Want To menu appears with View Photos or Print highlighted 3 Press Select 4 Press t...

Страница 16: ...or Print highlighted 3 Press Select 4 Press the right or left arrow buttons to scroll to the photo you want to adjust 5 Press Menu The Photo menu appears 6 Press the down arrow button until you highl...

Страница 17: ...s to scroll to the photo you want to adjust 5 Press Menu The Photo menu appears 6 Press the down arrow button until you highlight Brightness 7 Press Select 8 Press the right or left arrow buttons to a...

Страница 18: ...r left arrow buttons to scroll to the photo you want to adjust 5 Press Number Of Prints until you reach the desired quantity To adjust the number of prints of other photos repeat steps 4 and 5 6 Press...

Страница 19: ...pictures with a camera that supports DPOF you can specify which photos to print and the number of copies of each photo while the memory card is still in the camera 1 Load photo paper 2 Insert a memor...

Страница 20: ...arrow button until you highlight Blank Paper Size 3 Press the right or left arrow buttons to scroll through the paper sizes Your choices are 4x6 A6 and Hagaki 4 Press Select to save your choice Chang...

Страница 21: ...to save your choice Adjusting preview before print The factory default setting is On 1 Press Menu The Photo menu appears 2 Press the down arrow button until you highlight Preview before Print 3 Press...

Страница 22: ...settings Your choices are Immediately 10 Min 20 Min and 30 Min 4 Press Select to save your choice Clearing photo settings This option lets you adjust when the current photo settings are cleared The s...

Страница 23: ...25 Restoring factory defaults 1 Press Menu The Photo menu appears 2 Press the down arrow button until you highlight Restore Settings 3 Press Select...

Страница 24: ...printing For compatible print cartridges see Ordering supplies on page 30 A memory card for photos or a PictBridge enabled camera with a USB cable For compatible memory cards see Supported memory car...

Страница 25: ...Disconnect the power cord 6 Raise the carry handle Note When traveling with your printer it is not necessary to remove the print cartridge Warning Always travel with the printer in the upright positio...

Страница 26: ...packing the printer 1 Place the printer on a flat level surface 2 Lower the carrying handle 3 Connect the power cord 4 Press Power Make sure the power light and display are on 5 Lift the paper support...

Страница 27: ...29 6 Load photo paper The printer is now ready to print your photos Insert a memory card containing photos or connect your PictBridge enabled camera to the printer...

Страница 28: ...s on page 30 Refilling the print cartridge Lexmark s warranty does not cover the repair of failures or damage caused by a refilled cartridge We do not recommend use of a refilled cartridge Refilling a...

Страница 29: ...31 Replacing the print cartridge Removing a used print cartridge 1 If the printer is off press the Power button 2 Open the access cover 3 Press down on the cartridge lever to open the cartridge lid...

Страница 30: ...print cartridge remove the sticker and transparent tape from the bottom of the print cartridge Warning Do not touch the gold contact area on the back or the nozzles on the bottom of the cartridge 2 U...

Страница 31: ...Snap the lid closed 5 Close the access cover 6 Load a blank 4x6 index card into the paper support 7 When prompted on the display press Select to print the cartridge alignment page Note You may discar...

Страница 32: ...s 3 Press the down arrow button until you highlight Align Cartridge 4 Press Select Note Discard the index card after it prints Cleaning the print cartridge nozzles 1 Load a blank 4x6 index card 2 Pres...

Страница 33: ...dex card after it prints Printing a test page 1 Load a blank 4x6 index card 2 Press Menu The Photo menu appears 3 Press the down arrow button until you highlight Print Test Page 4 Press Select Note Di...

Страница 34: ...proving print quality on page 40 Resolves issues with the print quality of your photos Jams and misfeeds troubleshooting on page 43 Resolves issues with paper jams and misfeeds Memory card and PictBri...

Страница 35: ...Is the printer connected to a working electrical outlet 1 Connect the printer to an electrical outlet that other electrical devices have been using 2 Press the Power button Alignment page or test page...

Страница 36: ...dry completely before handling the print Is the photo paper wrinkled Use a new piece of photo paper that is straight and unwrinkled Are the printer settings adjusted to the correct paper size Select t...

Страница 37: ...on Press the Power button If the Power light does not come on see The Power light is not lit on page 37 Do you see an error message See Error messages troubleshooting on page 45 Is the print cartridg...

Страница 38: ...ant follow these steps 1 Align the print cartridge See page 34 If print quality has not improved continue to step 2 2 Clean the print nozzles See page 34 If print quality has not improved repeat step...

Страница 39: ...ridge See page 31 2 Dampen a clean lint free cloth with water and place it on a level surface Note Place two pieces of paper under the cloth to avoid getting ink on the work surface 3 Gently hold the...

Страница 40: ...at steps 3 and 4 6 Let the nozzles and contacts dry completely 7 Reinsert the print cartridge See Installing a print cartridge on page 32 8 Run the clean cartridge utility See Cleaning the print cartr...

Страница 41: ...le sheets feed Is the photo paper loaded correctly See Loading the photo paper on page 10 Are you using photo paper recommended for your printer The printer supports three photo paper sizes 4x6 A6 and...

Страница 42: ...the printer Disconnect the PictBridge enabled digital camera from the printer Cannot print from the digital camera Is the digital camera PictBridge compatible Remove the device and use a PictBridge e...

Страница 43: ...d properly See Reinserting the print cartridge on page 41 3 Press Select to reprint the last photo Paper out The printer is out of photo paper Load more photo paper into the printer See page 10 Cover...

Страница 44: ...ur digital camera For help see your digital camera documentation PictBridge port The device attached to the PictBridge port is not supported 1 Remove the device 2 Use a PictBridge enabled digital came...

Страница 45: ...lutions Searchable KnowledgeBase and e mail support Lexmark technical support Call us at 1 800 332 4120 Monday Friday 9 00 AM 9 00 PM EST Saturday Noon 6 00 PM EST Note Phone number and support times...

Страница 46: ...receiver is connected Consult your point of purchase or service representative for additional suggestions The manufacturer is not responsible for any radio or television interference caused by using o...

Страница 47: ...els The following measurements were made in accordance with ISO 7779 and reported in conformance with ISO 9296 ENERGY STAR The EPA ENERGY STAR Office Equipment program is a partnership effort with off...

Страница 48: ...s the power consumption should be multiplied by the time the printer spends in each mode in order to calculate energy usage The total printer energy usage is the sum of each mode s energy usage Mercur...

Страница 49: ...nguage 23 number of prints 20 power save 24 preview before print 23 print quality 23 cleaning print cartridge nozzles automatic 34 manual 41 clear photo settings 24 color print cartridge part numbers...

Страница 50: ...y Stick PRO Duo memory card 11 Memory Stick PRO memory card 11 Memory Stick memory card 11 Menu button 8 Microdrive memory card 11 Minus button 9 mobility 26 MultiMedia memory card 11 N nozzle print c...

Страница 51: ...tton 9 Rotate button 9 S Secure Digital memory card 11 Select button 9 selecting photo to print 13 settings photo brightness 19 clear 24 default 25 DPOF selections 21 number of prints 20 settings prin...

Страница 52: ...nderstanding your printer 7 unpacking the printer travel 28 up arrow button 9 USB cable 15 USB PictBridge port 15 W Web site Lexmark 47 wiping print cartridge contacts 41 nozzles 41 X xD Picture Card...

Отзывы: