MarkVision Professional 10.2
June 1, 2004
MarkVision Professional 10.2
Page 8
Click “OK” for the confirmation, and then “OK” again on the ODBC Microsoft Access Setup dialog
box to return to the ODBC Data Source Administrator.
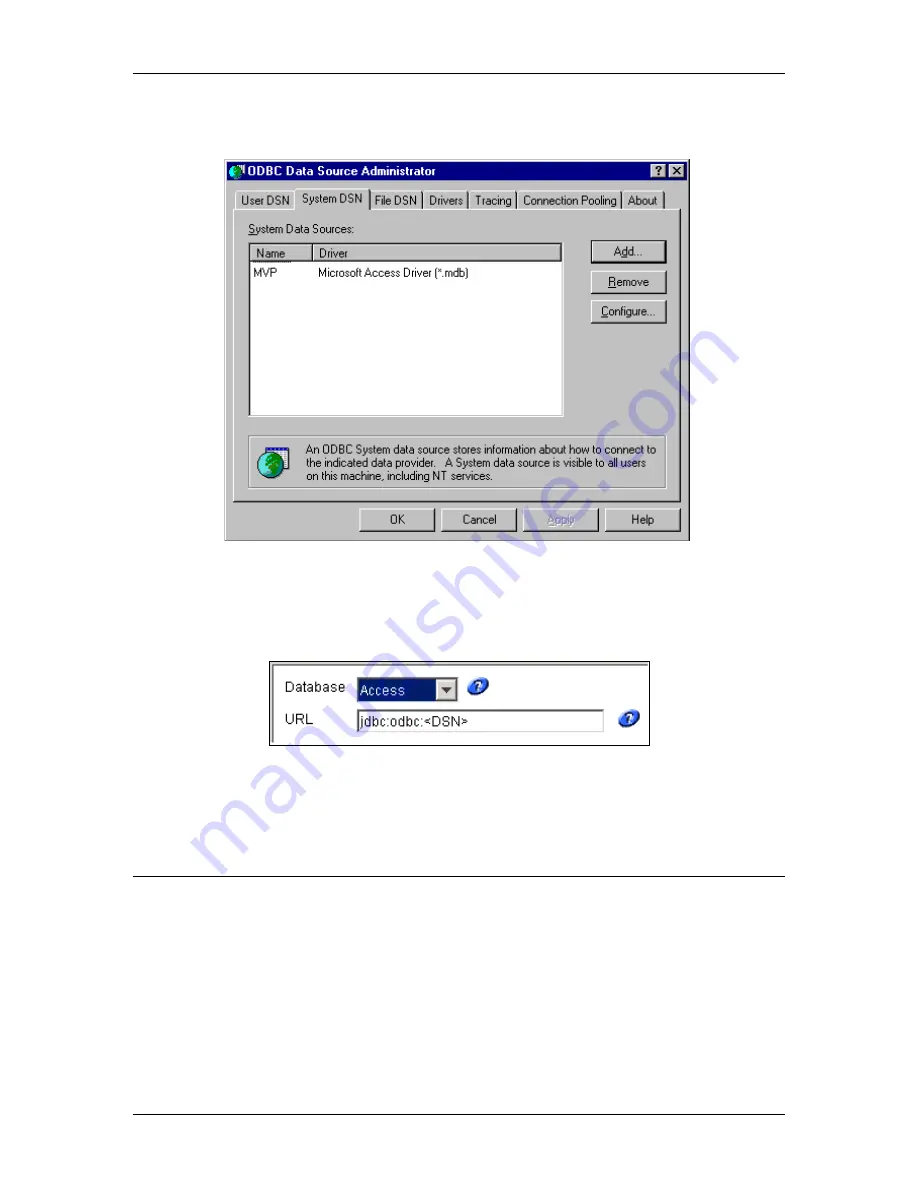
The name you specified for your connection (DSN) is now listed under System DSN. Click “OK”.
You are now ready to configure MarkVision Professional to start sending the data.
In MarkVision Professional, after selecting the “Access” database selection, the URL field should
become enabled.
In the URL field, type the name of the System DSN you created earlier. It is not necessary to
specify the path to the actual database file; this was defined while creating the connection. For
the example just described, enter
jdbc:odbc:MVP
. If you have enabled security features while
creating the database, enter the user name and password and click on “OK.”
2.2.1.1
Locating an Access Database on a Different Server
It is possible to store an Access database on a different server than the machine on which the
MarkVision server resides. By default, the MarkVision server service accesses network resources
using the Administrator account. You may have to alter the account used to enable the
appropriate network access. To enable the MarkVision server to access the alternate location,
some changes must be made to the MarkVision Server service. On the services dialog box,
select the MarkVision Server service.


