


21
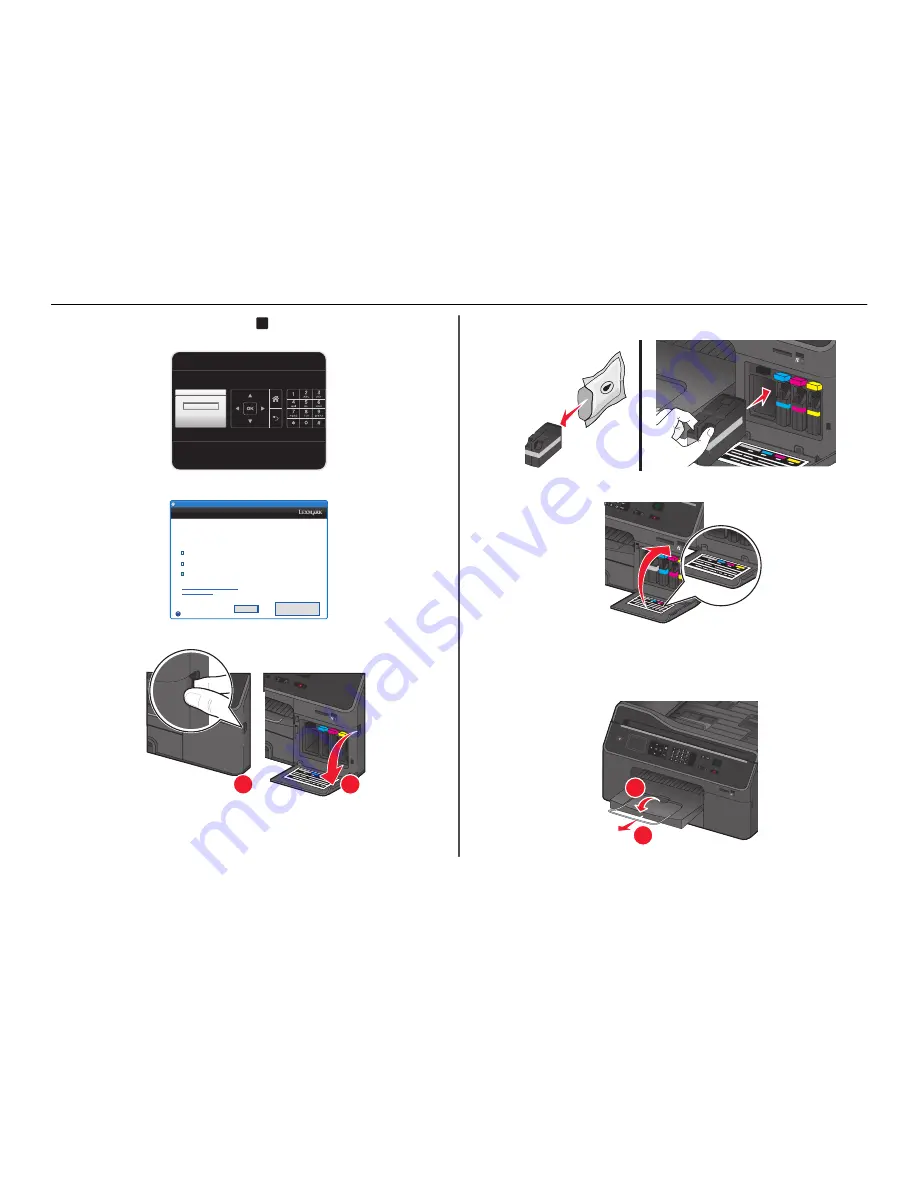
Enter your name or company name, and then press
O K
. Your fax name identifies you as the sender
in all your sent faxes.
Fax Name
Fax Name
Enter Fax Name and press OK
22
Configure other advanced fax settings later in the software installation.
Continue
Configure Advanced Features
You can now print, but there are additional steps required to access all the
features of your device.
Configure Lexmark SmartSolutions and standalone email
Get my printer ready to send and receive faxes
What will I be missing if I don’t do this now?
How can I do this later?
L e x m a r k P r o 4 0 0 0 S e r i e s I n s t a l l a t i o n
L e x m a r k P r o 4 0 0 0 S e r i e s I n s t a l l a t i o n
Get my printer ready to scan directly to my computer
?
Quit
23
Flip down the ink cartridge access door.
SD/MS/xD
/MMC
2
1
2
24
Insert each ink cartridge until it
clicks
into place.
SD/MS/
xD/MM
C
25
Close the ink cartridge access door.
SD/MS/xD
/MMC
Behind the ink cartridge access door, you will find the customer support label, which contains the ink
cartridge information, model number, product Web site, and customer support number.
Note:
Do not open the ink cartridge access door during the initial printhead preparation.
26
Fully extend the exit bin and flip out the bin extender.
1
2
SD/MS/x
D/MMC
Pause
Dial
Tone
Redia
l
Address
Boo
k
About your printer
11


