


–
504
–
Chapter 16
| IP Configuration
Setting the Switch’s IP Address (IP Version 6)
■
An IPv6 default gateway can only be successfully set when a network
interface that directly connects to the gateway has been configured on the
switch.
■
An IPv6 address must be configured according to RFC 2373 “IPv6
Addressing
Architecture,”
using 8 colon-separated 16-bit hexadecimal
values. One double colon may be used in the address to indicate the
appropriate number of zeros required to fill the undefined fields.
Web Interface
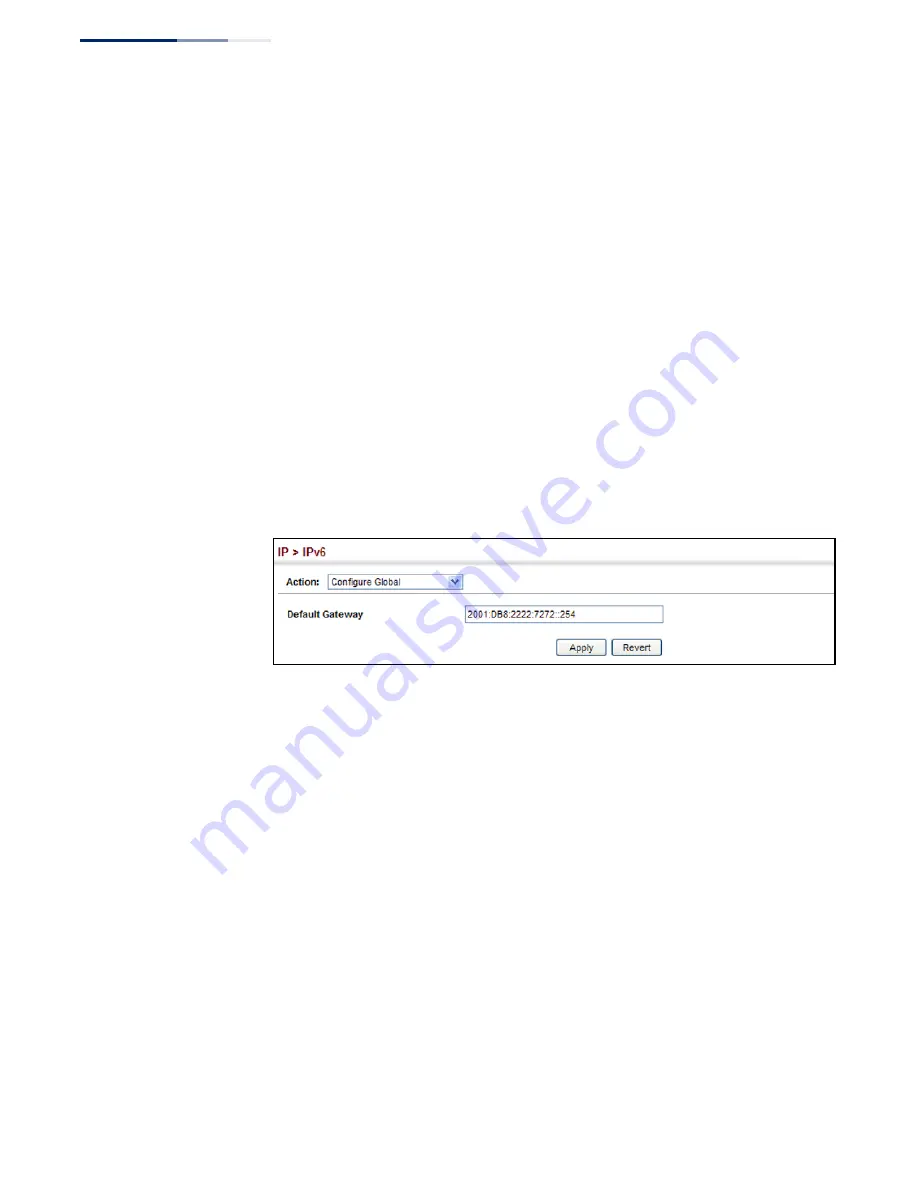
To configure an IPv6 default gateway for the switch:
1.
Click IP, IPv6 Configuration.
2.
Select Configure Global from the Action list.
3.
Enter the IPv6 default gateway.
4.
Click Apply.
Figure 332: Configuring the IPv6 Default Gateway
Configuring IPv6
Interface Settings
Use the IP > IPv6 Configuration (Configure Interface) page to configure general
IPv6 settings for the selected VLAN, including auto-configuration of a global
unicast interface address, and explicit configuration of a link local interface address,
the MTU size, and neighbor discovery protocol settings for duplicate address
detection and the neighbor solicitation interval.
Command Usage
◆
The switch must be configured with a link-local address. The
switch’s
address
auto-configuration function will automatically create a link-local address, as
well as an IPv6 global address if router advertisements are detected on the local
interface.
◆
The option to explicitly enable IPv6 creates a link-local address, but will not
generate a global IPv6 address if auto-configuration is not enabled. In this case,
you can manually configure a global unicast address (see
◆
IPv6 Neighbor Discovery Protocol supersedes IPv4 Address Resolution Protocol
in IPv6 networks. IPv6 nodes on the same network segment use Neighbor
Содержание GEL-5261
Страница 14: ...14 Contents Glossary 551 Index 559...
Страница 26: ...26 Figures...
Страница 30: ...30 Section I Getting Started...
Страница 42: ...42 Section II Web Configuration IP Services on page 527...
Страница 45: ...Chapter 2 Using the Web Interface NavigatingtheWebBrowserInterface 45 Figure 1 Dashboard...
Страница 62: ...62 Chapter 2 Using the Web Interface NavigatingtheWebBrowserInterface...
Страница 180: ...Chapter 6 Address Table Settings Issuing MAC Address Traps 180...
Страница 208: ...Chapter 8 Congestion Control Storm Control 208 Figure 121 Configuring Storm Control...
Страница 218: ...218 Chapter 9 Class of Service Layer 3 4 Priority Settings Figure 128 Configuring DSCP to Queue Mapping...
Страница 228: ...228 Chapter 10 Quality of Service Attaching a Policy Map to a Port...
Страница 332: ...Chapter 12 Security Measures ARP Inspection 332 Figure 207 Displaying the ARP Inspection Log...
Страница 436: ...Chapter 13 Basic Administration Protocols LBD Configuration 436...
Страница 488: ...488 Chapter 14 Multicast Filtering Filtering MLD Query Packets on an Interface...
Страница 498: ...Chapter 15 IP Tools Address Resolution Protocol 498...
Страница 517: ...517 Chapter 16 IP Configuration Setting the Switch s IP Address IP Version 6 interface...
Страница 542: ...540 Section III Appendices...
Страница 560: ...Glossary 558...
Страница 569: ...567 Index web interface access requirements 43 configuration buttons 46 menu list 47 panel display 46...
Страница 570: ...568 Index E062017 ST R01...