–
503
–
Chapter 16
| IP Configuration
Setting the Switch’s IP Address (IP Version 6)
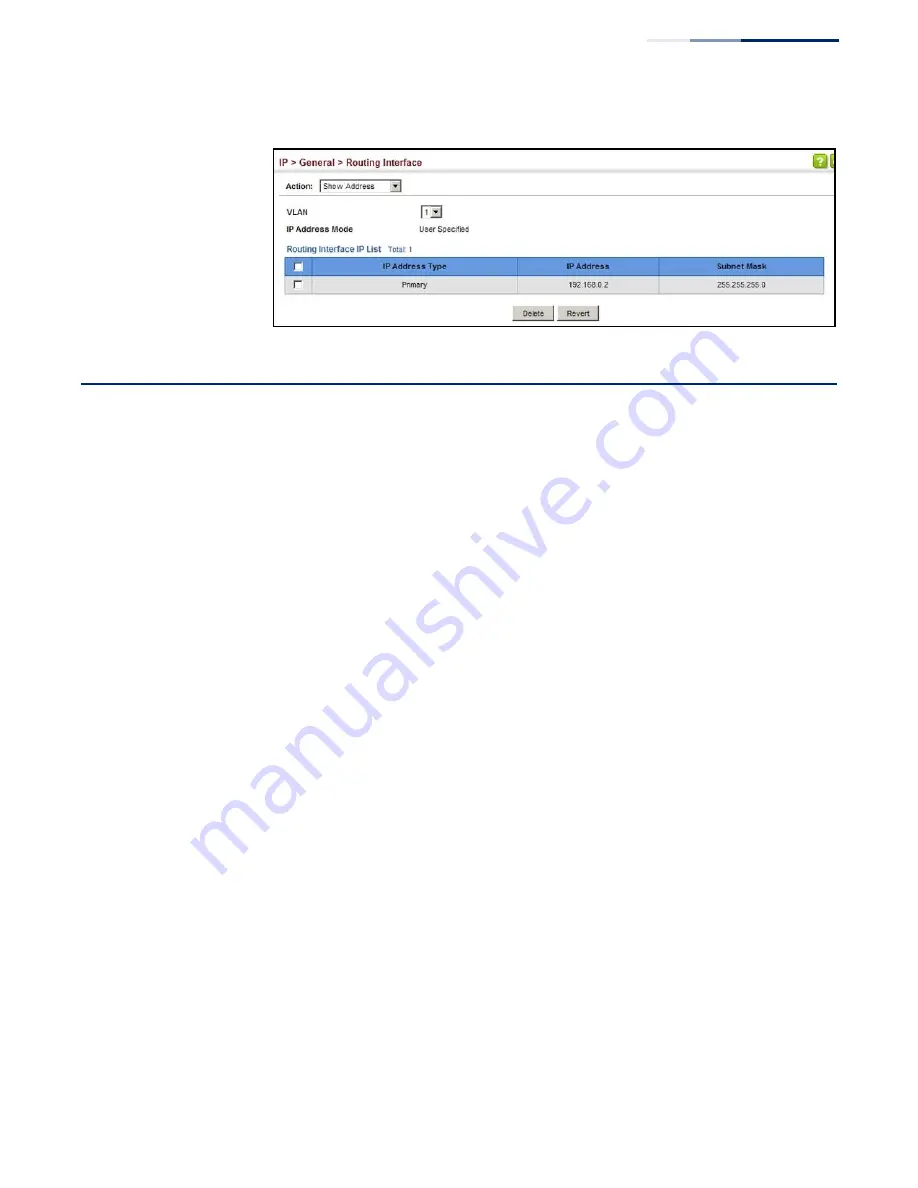
Figure 331: Showing the Configured IPv4 Address for an Interface
Setting the Switch’s IP Address (IP Version 6)
This section describes how to configure an IPv6 interface for management access
over the network, or for creating an interface to multiple subnets. This switch
supports both IPv4 and IPv6, and can be managed through either of these address
types. For information on configuring the switch with an IPv4 address, see
the Switch’s IP Address (IP Version 4)” on page 499
Command Usage
◆
IPv6 includes two distinct address types
–
link-local unicast and global unicast.
A link-local address makes the switch accessible over IPv6 for all devices
attached to the same local subnet. Management traffic using this kind of
address cannot be passed by any router outside of the subnet. A link-local
address is easy to set up, and may be useful for simple networks or basic
troubleshooting tasks. However, to connect to a larger network with multiple
segments, the switch must be configured with a global unicast address. Both
link-local and global unicast address types can either be dynamically assigned
(using the Configure Interface page) or manually configured (using the Add
IPv6 Address page).
◆
An IPv6 global unicast or link-local address can be manually configured (using
the Add IPv6 Address page), or a link-local address can be dynamically
generated (using the Configure Interface page).
Configuring the
IPv6 Default Gateway
Use the IP > IPv6 Configuration (Configure Global) page to configure an IPv6
default gateway for the switch.
Parameters
These parameters are displayed:
◆
Default Gateway
–
Sets the IPv6 address of the default next hop router to use
when no routing information is known about an IPv6 address.
■
If no static routes are defined, you must define a gateway if the target
device is located in a different subnet.
Содержание GEL-5261
Страница 14: ...14 Contents Glossary 551 Index 559...
Страница 26: ...26 Figures...
Страница 30: ...30 Section I Getting Started...
Страница 42: ...42 Section II Web Configuration IP Services on page 527...
Страница 45: ...Chapter 2 Using the Web Interface NavigatingtheWebBrowserInterface 45 Figure 1 Dashboard...
Страница 62: ...62 Chapter 2 Using the Web Interface NavigatingtheWebBrowserInterface...
Страница 180: ...Chapter 6 Address Table Settings Issuing MAC Address Traps 180...
Страница 208: ...Chapter 8 Congestion Control Storm Control 208 Figure 121 Configuring Storm Control...
Страница 218: ...218 Chapter 9 Class of Service Layer 3 4 Priority Settings Figure 128 Configuring DSCP to Queue Mapping...
Страница 228: ...228 Chapter 10 Quality of Service Attaching a Policy Map to a Port...
Страница 332: ...Chapter 12 Security Measures ARP Inspection 332 Figure 207 Displaying the ARP Inspection Log...
Страница 436: ...Chapter 13 Basic Administration Protocols LBD Configuration 436...
Страница 488: ...488 Chapter 14 Multicast Filtering Filtering MLD Query Packets on an Interface...
Страница 498: ...Chapter 15 IP Tools Address Resolution Protocol 498...
Страница 517: ...517 Chapter 16 IP Configuration Setting the Switch s IP Address IP Version 6 interface...
Страница 542: ...540 Section III Appendices...
Страница 560: ...Glossary 558...
Страница 569: ...567 Index web interface access requirements 43 configuration buttons 46 menu list 47 panel display 46...
Страница 570: ...568 Index E062017 ST R01...


