User Manual of Network Camera
131
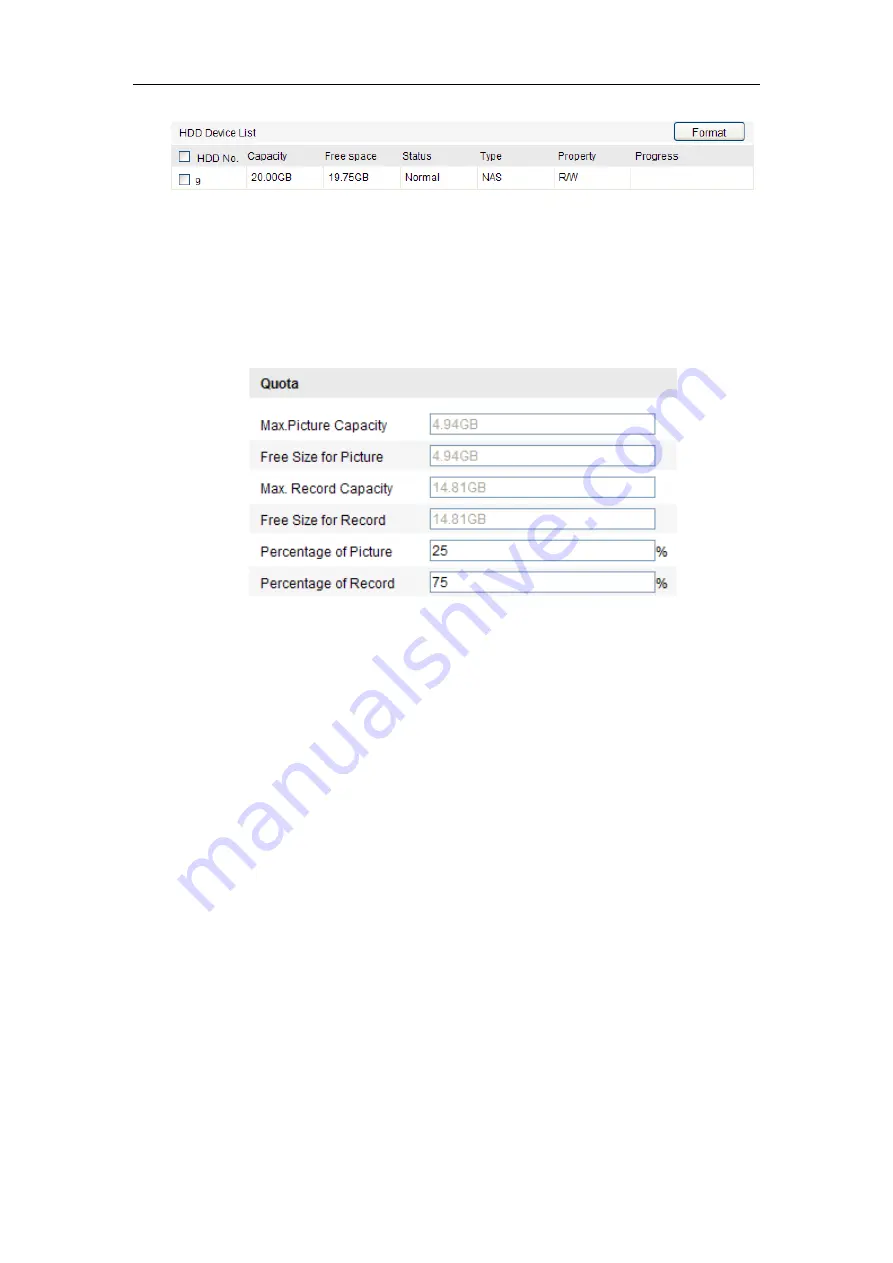
Figure 7-3
View Disk Status
3.
Define the quota for record and pictures.
(1)
Input the quota percentage for picture and for record.
(2)
Click
Save
and refresh the browser page to activate the settings.
Figure 7-4
Quota Settings
Notes:
⚫
Up to 8 NAS disks can be connected to the camera.
⚫
To initialize and use the SD card after insert it to the camera, please refer to the
steps of NAS disk initialization.
7.2
Configuring Recording Schedule
Purpose:
There are two kinds of recording for the cameras: manual recording and scheduled
recording. For the manual recording, refer to
Section 5.3 Recording and Capturing
Pictures Manually
. In this section, you can follow the instructions to configure the
scheduled recording. By default, the record files of scheduled recording are stored in
the SD card (if supported) or in the network disk.
Steps:
1.
Enter the Record Schedule Settings interface:
Содержание 57107207
Страница 1: ...User Manual of Network Camera 1 User Manual Network Camera...
Страница 24: ...User Manual of Network Camera 24 web browser and log in again after installing the plug in...
Страница 143: ...User Manual of Network Camera 143 Figure 8 3 Overlay Content Settings...
Страница 147: ...User Manual of Network Camera 147 4 To export the log files click Save log to save the log files in your computer...
Страница 162: ...User Manual of Network Camera 162 Figure A 1 2 Modify Network Parameters...
Страница 167: ...User Manual of Network Camera 167 FCS 3097 FCS 3098 FCS 4203 FCS 5092 FCS 5093 FCS 5094 FCS 5095 FCS 5096...


