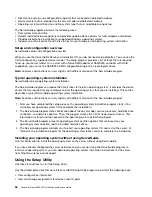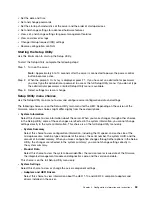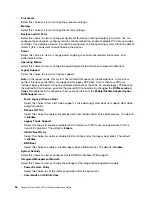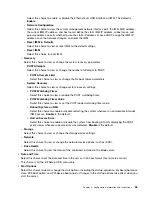
to run on a host system at the same time. The USB flash device or SD card is required to activate the
hypervisor functions.
To start using the embedded hypervisor functions, you must add the USB flash device or SD card to the
startup sequence in the Setup Utility.
To add the USB flash device or SD card to the startup sequence, complete the following steps:
Step 1.
Turn on the server.
Note:
Approximately 5 to 10 seconds after the server is connected to power, the power-control
button becomes active.
Step 2.
When the prompt
<F1> Setup
is displayed, press F1.
Step 3.
From the Setup Utility main menu, select
Boot Manager
.
Step 4.
Select
Add Boot Option
; then, select
Generic Boot Option
➙
Embedded Hypervisor
. Press
Enter, and then select Esc.
Step 5.
Select
Change Boot Order
➙
Change the order
. Use the Up arrow and Down Arrow keys
to select
Embedded Hypervisor
and use the plus (+) and minus (-) keys to move Embedded
Hypervisor in the boot order. When
Embedded Hypervisor
is in the correct location in the boot
order, press Enter. Select
Commit Changes
and press Enter.
Step 6.
Select
Save Settings
and then select
Exit Setup
.
If the embedded hypervisor flash device image becomes corrupt, go to
https://my.vmware.com/web/vmware/downloads and follow the instructions on the screen.
For additional information and instructions, see VMware vSphere 4.1 Documentation at
http://www.vmware.com/support/pubs/vs_pages/vsp_pubs_esxi41_e_vc41.html or the
VMware vSphere
Installation and Setup Guide
at http://pubs.vmware.com/vsphere-50/ topic/com.vmware.ICbase/PDF/
vsphere-esxi-vcenter-server-50-installation-setup-guide.pdf.
Configuring the Ethernet controller
Use this information to configure the Ethernet controller.
The Ethernet controllers are integrated on the system board. They provide an interface for connecting
to a 10 Mbps, 100 Mbps, or 1 Gbps network and provide full-duplex (FDX) capability, which enables
simultaneous transmission and reception of data on the network. If the Ethernet ports in the server support
auto-negotiation, the controllers detect the data-transfer rate (10BASE-T, 100BASE-TX, or 1000BASE-T) and
duplex mode (full-duplex or half-duplex) of the network and automatically operate at that rate and mode.
You do not have to set any jumpers or configure the controllers. However, you must install a device driver to
enable the operating system to address the controllers.
To find device drivers and information about configuring the Ethernet controllers, go to
http://www.lenovo.com/support.
Enabling Features on Demand Ethernet software
You can activate the Features on Demand (FoD) software upgrade key for Fibre Channel over Ethernet (FCoE)
and iSCSI storage protocols that is integrated in the integrated management module.
For more information and instructions for activating the Features on Demand Ethernet software key, see
the
Features on Demand User’s Guide
. To download the document, go to https://fod.lenovo.com/lkms,
log in, and click
Help
.
Configuration information and instructions
61
Содержание x3650 M5
Страница 1: ...Lenovo System x3650 M5 Installation and Service Guide Machine Type 8871 ...
Страница 47: ...Figure 35 System board switches jumpers and buttons Chapter 1 The System x3650 M5 server 35 ...
Страница 60: ...48 Lenovo System x3650 M5 Installation and Service Guide ...
Страница 80: ...68 Lenovo System x3650 M5 Installation and Service Guide ...
Страница 124: ...112 Lenovo System x3650 M5 Installation and Service Guide ...
Страница 146: ...134 Lenovo System x3650 M5 Installation and Service Guide ...
Страница 1322: ...1310 Lenovo System x3650 M5 Installation and Service Guide ...
Страница 1329: ...People s Republic of China Class A electronic emission statement Taiwan Class A compliance statement Appendix E Notices 1317 ...
Страница 1330: ...Taiwan BSMI RoHS declaration 1318 Lenovo System x3650 M5 Installation and Service Guide ...
Страница 1339: ......
Страница 1340: ......

