


Step 4.
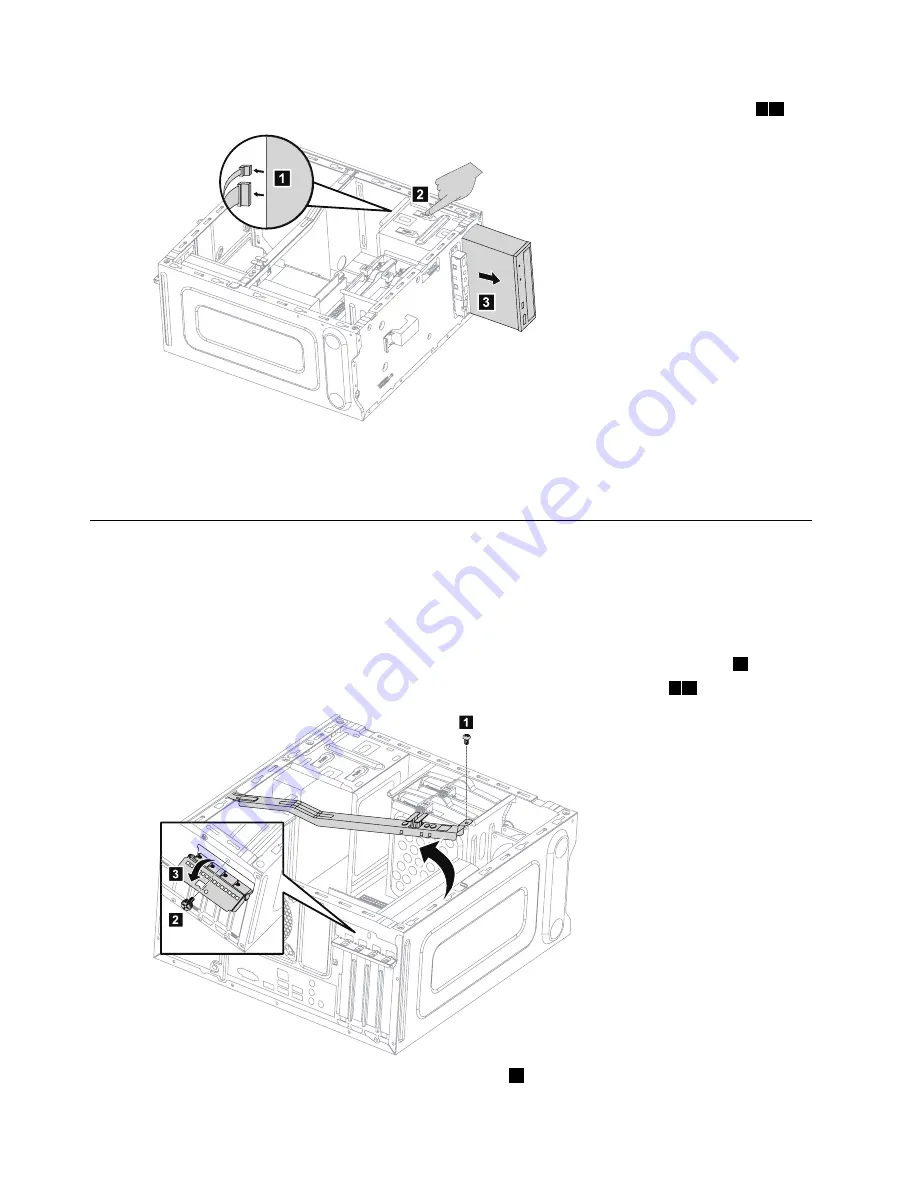
Press the release button and push the optical drive straight out of the front of the chassis.
2 3
1
2
3
Step 5.
Slide the new optical drive into the bay from the front until it snaps into position.
Step 6.
Connect the data and power cables to the new disk drive.
Step 7.
Reattach the front bezel and computer cover.
Replacing a graphics card
Note:
For this procedure, it helps to lay the computer on a flat, stable surface.
To replace a graphics card:
Step 1.
Remove the computer cover. Refer to “Removing the computer cover”.
Step 2.
Remove the screw that secures the graphics card fixing bracket and lift the bracket up.
1
Step 3.
Remove the screw that secures the graphics latch to the chassis and open it.
2 3
2
3
1
Step 4.
Disconnect the power cables from the graphics card.
1
30
Lenovo Erazer X310 Hardware Maintenance Manual
Содержание Erazer X310
Страница 1: ...Lenovo Erazer X310 Hardware Maintenance Manual Machine Types 90AV X310 ES 90AU X310 Non ES ...
Страница 2: ......
Страница 3: ...Lenovo Erazer X310 Hardware Maintenance Manual Machine Types 90AV X310 ES 90AU X310 Non ES ...
Страница 6: ...iv Lenovo Erazer X310 Hardware Maintenance Manual ...
Страница 8: ...2 Lenovo Erazer X310 Hardware Maintenance Manual ...
Страница 16: ...10 Lenovo Erazer X310 Hardware Maintenance Manual ...
Страница 18: ...12 Lenovo Erazer X310 Hardware Maintenance Manual ...
Страница 24: ...18 Lenovo Erazer X310 Hardware Maintenance Manual ...
Страница 28: ...22 Lenovo Erazer X310 Hardware Maintenance Manual ...


