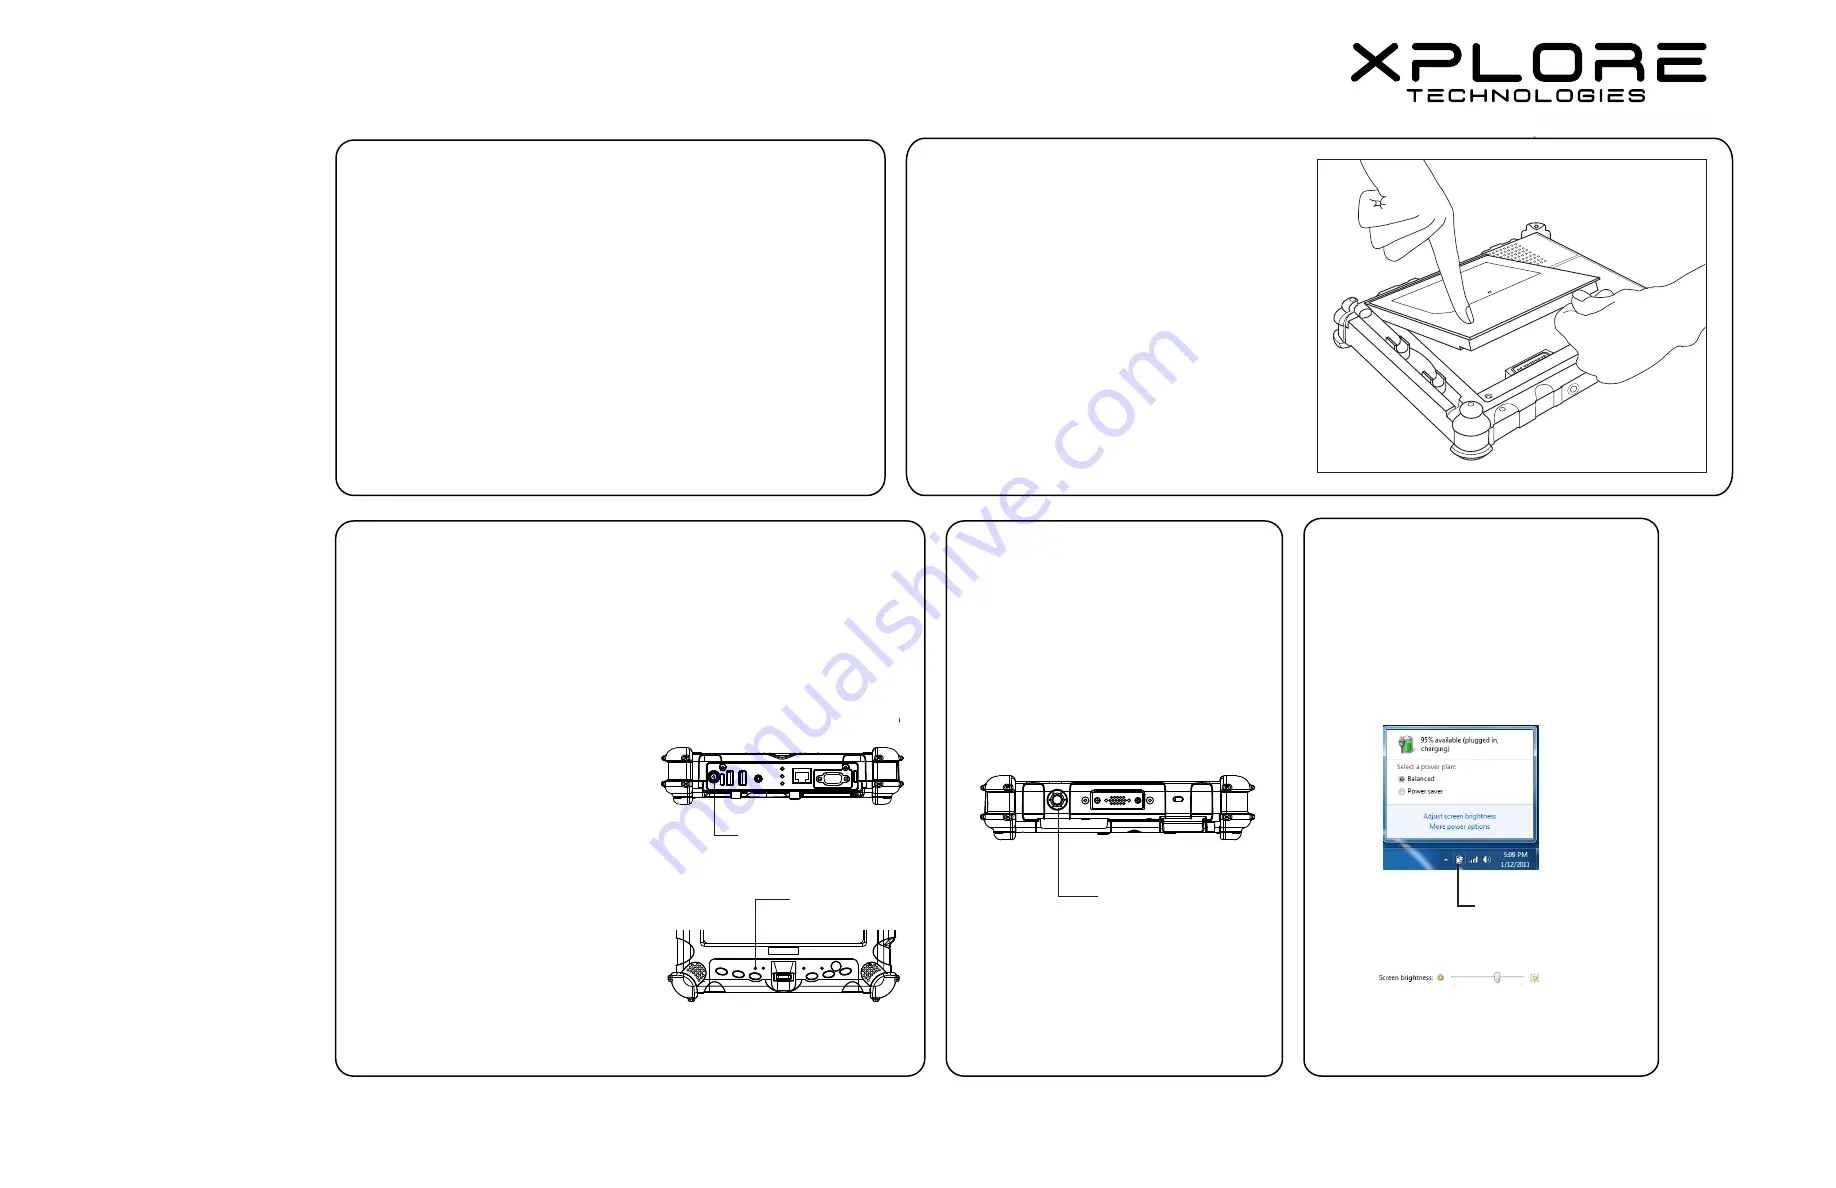
To charge the battery while it is installed in the computer:
Connect an approved power source,
such as an AC adapter or cigarette
lighter adapter (CLA), to the power
port on the tablet.
When the power source is connected
to the wall socket or vehicle socket,
the battery begins charging and the
Status LED flashes green.
The charging process continues until
the battery charge reaches 100%,
at which point the Status LED glows
solid green.
OPEN ME FIRST
Quick Start Guide
This document assists you with the
setup and basic operation of your
new rugged tablet computer.
The
iX104C6 User’s Handbook
contains complete information and
is located on the tablet’s hard disk.
To access
the handbook, click
Start
;
then
select the
Xplore
option from
the menu. The handbook opens and
displays the Table of Contents.
Unpacking the Tablet
1
Make sure your package includes the following items.
(NOTE: Your project team may remove items that you do not need.
If items are missing, contact your project team leader.)
• Tablet computer
• Battery pack
•
attached to the tablet computer
• AC adapter
• Power
cord
The AC adapter is 19V, 3.42A. See the
iX104C5 User’s Handbook, for
safety instructions regarding the AC adapter and operation of the tablet.
Installing the Battery Pack
2
1. Orient the battery with the slides in the empty
battery tray.
2. Slide the battery into the tray and press it firmly
until it is seated.
3. The battery release latch will slide to its original
position. The lock button pops back into the locked
position, securing the battery in place.
Your battery ships with some level of charge, but Xplore Technologies recommends
that you fully charge the battery before first use. Charging the battery typically
takes 1.5 to 2.5 hours (depending on the size of the battery included with your
computer).
Charging the Battery
3
Turning On the
Computer
4
1. Make sure the battery is charged or
that the tablet is plugged into an
external power source.
2. Press
the
Power (ON/OFF)/
Backlight (ON/OFF)/Resume
button.
Adjusting the
Screen Brightness
5
Power port
Status LED
Power (ON/OFF)/Backlight
(ON/OFF)/Resume
button
To adjust the screen brightness,
click the power management icon
on the Windows taskbar; then
select
Adjust screen brightness
.
Power management icon
•
Warranty information card
•
Declaration of Conformity
•
Cleaning cloth
Adjust slider bar in power options
menu to change screen brightness.
iX104C6
Stylus (pen) with tether


