background image

Appendix B� Notices

Lenovo may not offer the products, services, or features discussed in this document in all countries� 

Consult your local Lenovo representative for information on the products and services currently 

available in your area� Any reference to a Lenovo product, program, or service is not intended to 

state or imply that only that Lenovo product, program, or service may be used� Any functionally 

equivalent product, program, or service that does not infringe any Lenovo intellectual property 

right may be used instead�
However, it is the user 's responsibility to evaluate and verify the operation of any other product, 

program, or service� 

Lenovo may have patents or pending patent applications covering subject matter described in this 

document� The furnishing of this document does not give you any license to these patents� You can 

send license inquiries, in writing, to:

Lenovo (United States), Inc. 

1009 Think Place - Building One 

Morrisville, NC 27560 

U.S.A. 

Attention: Lenovo Director of Licensing 

LENOVO PROVIDES THIS PUBLICATION "AS IS" WITHOUT WARRANTY OF ANY KIND, 

EITHER EXPRESS OR IMPLIED, INCLUDING, BUT NOT LIMITED TO, THE IMPLIED 

WARRANTIES OF NON-INFRINGEMENT, MERCHANTABILITY OR FITNESS FOR A 

PARTICULAR PURPOSE. Some jurisdictions do not allow disclaimer of express or implied 

warranties in certain transactions, therefore, this statement may not apply to you�

This information could include technical inaccuracies or typographical errors� Changes are 

periodically made to the information herein; these changes will be incorporated in new editions 

of the publication� Lenovo may make improvements and/or changes in the product(s) and/or the 

program(s) described in this publication at any time without notice�

The products described in this document are not intended for use in implantation or other life 

support applications where malfunction may result in injury or death to persons� The information 

contained in this document does not affect or change Lenovo product specifications or warranties. 

Nothing in this document shall operate as an express or implied license or indemnity under the 

intellectual property rights of Lenovo or third parties� All information contained in this document 

was obtained in specific environments and is presented as an illustration. The result obtained in 

other operating environments may vary� 

Lenovo may use or distribute any of the information you supply in any way it believes appropriate 

without incurring any obligation to you�

Any references in this publication to non-Lenovo Web sites are provided for convenience only and 

do not in any manner serve as an endorsement of those Web sites� The materials at those Web sites 

are not part of the materials for this Lenovo product, and use of those Web sites is at your own risk�

Any performance data contained herein was determined in a controlled environment�Therefore, the 

result obtained in other operating environments may vary significantly. Somemeasurements may 

have been made on development-level systems and there is no guaranteethat these measurements 

will be the same on generally available systems� Furthermore, somemeasurements may have been 

estimated through extrapolation� Actual results may vary� Usersof this document should verify the 

applicable data for their specific environment.

Appendix B�   B-1

Recycling information

go to:  

http://www.lenovo.com/lenovo/environment/recycling

Trademarks

The following terms are trademarks of Lenovo in the United States, other countries,  or both: 

Lenovo

The Lenovo logo

ThinkCenter

ThinkPad

ThinkVision

Microsoft, Windows, and Windows NT are trademarks of the Microsoft group of companies. 
Other company, product, or service names may be trademarks or service marks of others.

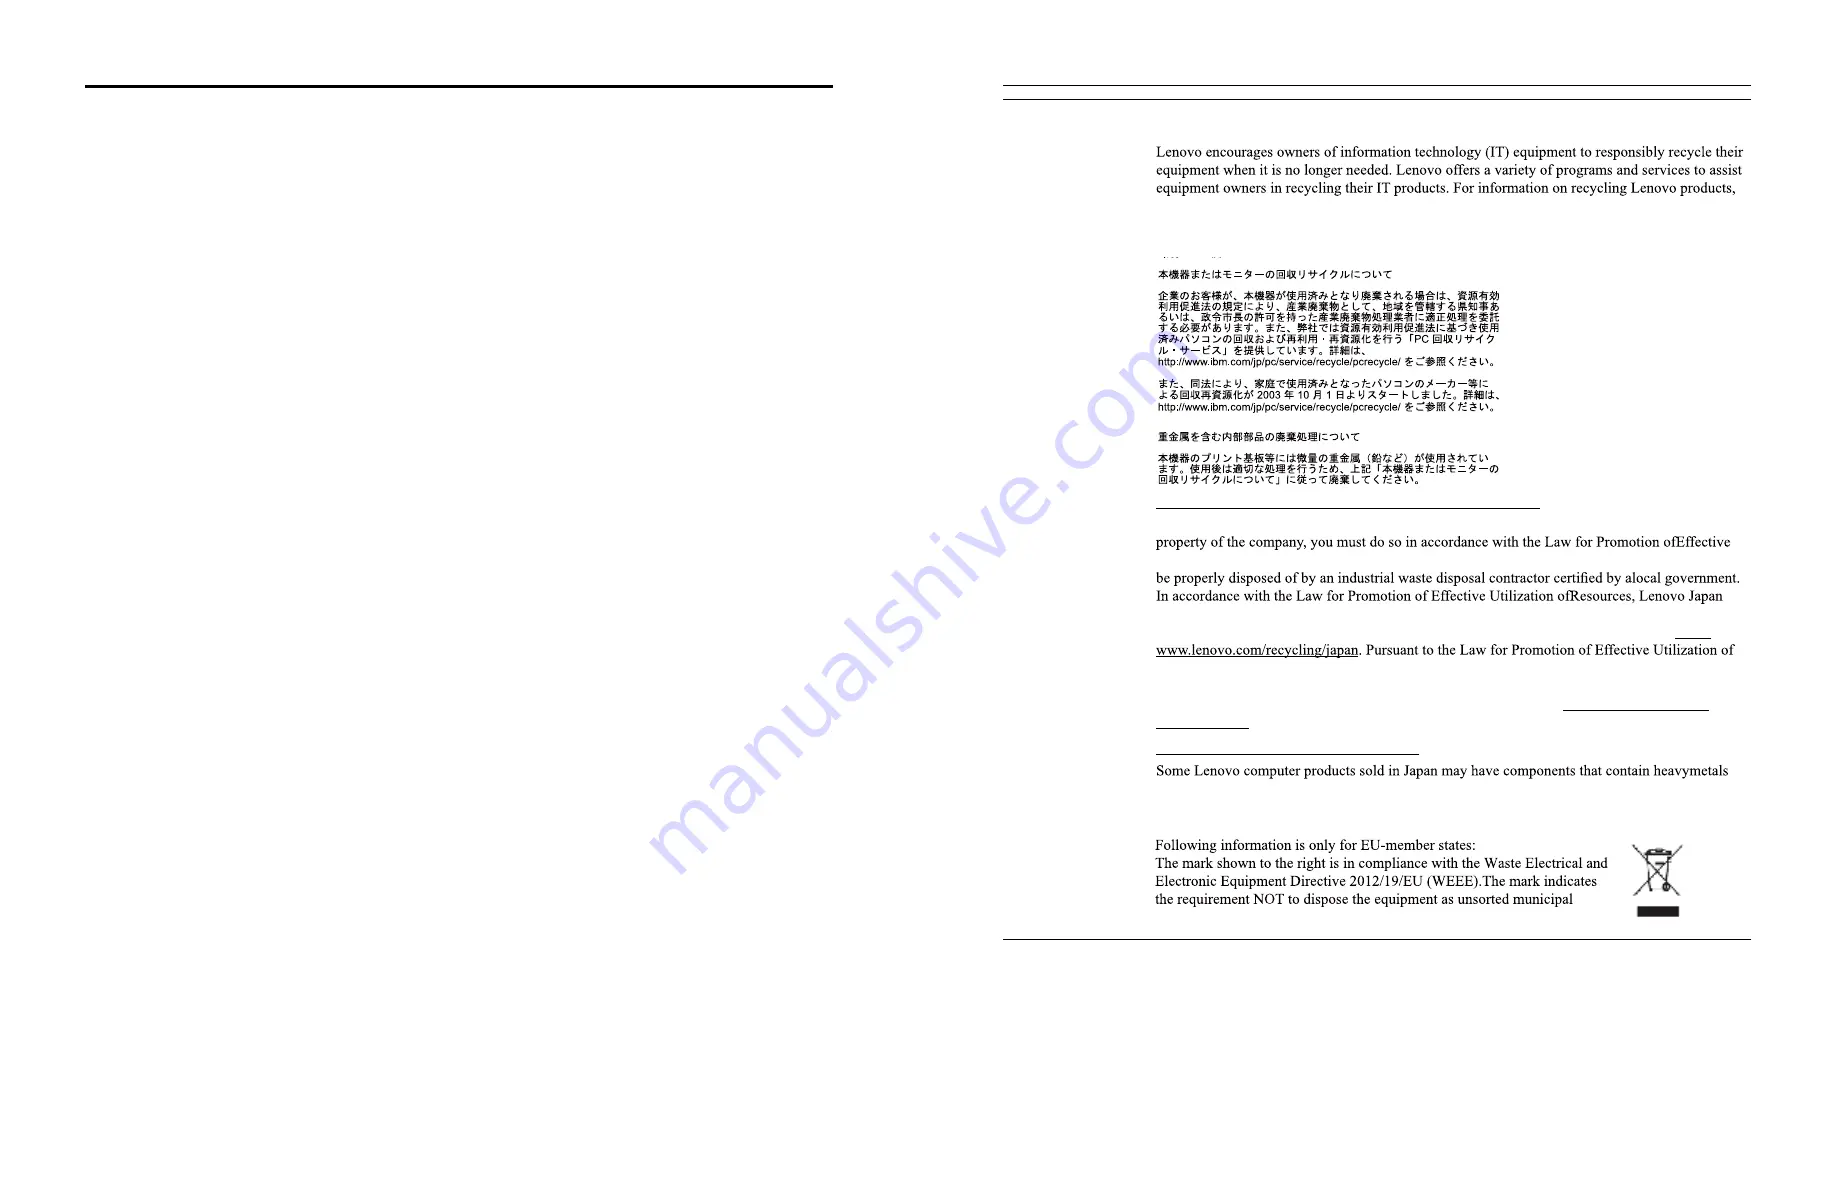
Collecting and recycling a disused Lenovo computer or monitor
If you are a company employee and need to dispose of a Lenovo computer or monitor that isthe 

Utilization of Resources. Computers and monitors are categorized as industrial wasteand should 

provides,  through its PC Collecting and Recycling Services,  for the collecting, reuse, and 

recycling of disused computers and monitors. For details, visit the Lenovo Web site at http://

Resources, the collecting and recycling of home-usedcomputers and monitors by the manufacturer 

was begun on October 1, 2003. This service is provided free of charge for home-used computers 

sold after October 1, 2003. For details, visit the Lenovo Web site at http://www.lenovo.com/

recycling/japan. 
Disposing of Lenovo computer components

or other environmental sensitive substances. To properly dispose of disused components, such as 

a printed circuit board or drive, use the methods described above for collecting and recycling a 

disused computer or monitor.

waste, but use the return and collection systems according to local law.

Appendix B�   B-2

Содержание 65D8-HCT3-CT

Страница 1: ...ThinkVision V21 10 User Guide Machine Type 65D8 ...

Страница 2: ...stering your option 1 7 Chapter 2 Adjusting and using your monitor 2 1 Comfort and accessibility 2 1 Arranging your work area 2 1 Positioning your monitor 2 1 Quick tips for healthy work habits 2 2 Accessibility information 2 2 Adjusting your monitor image 2 3 Using the direct access controls 2 3 Using the On Screen Display OSD controls 2 4 Selecting a supported display mode 2 7 Understanding powe...

Страница 3: ...afety information iii í í í Chapter 1 Getting started This User s Guide provides detailed operation instructions for the user For quick instruction overview please see the Setup Poster for brief information Chapter 1 1 1 Shipping contents The product package should include the following items Information Flyer Flat Panel Monitor Power Cord Analog Interface Cable Base Cable Clip Stand ...

Страница 4: ...nting bracket see Wall Mounting Optional on page 2 10 Chapter 1 1 2 Chapter 1 1 3 Product overview This section will provide information on adjusting monitor positions setting user controls and using the cable lock slot Adjusting the tilt Please see the illustration below for an example of the tilt range Monitor controls The keypad controls on the panel frame are accesses to various functions For ...

Страница 5: ...1 1 5 4 Connect the digital cable to the DVI connector of the monitor and the other end on the back of the computer 5 Isnsert the power cord into the monitor then plug the monitor power cord and the computer cord into grounded electrical outlets Note A certified power supply cord has to be used with this equipment The relevant national installation and or equipment regulations shall be considered ...

Страница 6: ...hat are important to you as well as in developing better ways to communicate with you Register your option on the following Web site http www lenovo com register Lenovo will send you information and updates on your registered product unless you indicate on the Web site questionnaire that you do not want to receive further information 7 Power on the monitor and the computer 8 When you install the m...

Страница 7: ...ns on the screen from overhead lighting or nearby windows Chapter 2 2 2 The following are some other tips for comfortable viewing of your monitor Use adequate lighting for the type of work you are performing Use the monitor brightness contrast controls if equipped to optimize the image on your screen to meet your visual preferences Keep your monitor screen clean so you can focus on the screen s co...

Страница 8: ...u To access OSD menu Press to confirm selection Press and hold for 10 seconds will lock menu un lock menu Enter Press to enter next level on main menu sub menu status or enter previous level on adjustment bar Chapter 2 2 4 Using the On Screen Display OSD controls To adjust the settings the user controls can be viewed through the OSD To use the controls 1 Press to open the main OSD menu 2 Use or to...

Страница 9: ...al among OSD Controls when you use DVI connector Selects Analog D SUB Selects Digital DVI Scaling Selects type of scaled image Original AR same aspect ratio with input signal Full Screen expand image to full screen Over Drive Respond time enhancement Off Normal Exteme Low Blue Light Select to enable or disable Low Blue Light Chapter 2 2 6 Table 2 2 OSD functions OSD Icon on Main Menu Submenu Descr...

Страница 10: ...y modes Address ability Refresh rate 640 x 350 70 Hz 720 x 400 70 Hz 640 x 480 60 Hz 66 Hz 72 Hz 75 Hz 800 x 600 60 Hz 72 Hz 75 Hz 1024 x 768 60 Hz 70 Hz 75 Hz 1152 x 864 75 Hz 1280 x 1024 60 Hz 72 Hz 75 Hz 1280 x 768 60 Hz 1366 x 768 60 Hz 1440 x 900 60 Hz 1600 x 900 60 Hz 75 Hz 1680 x 1050 60 Hz 1920 x 1080 60 Hz Chapter 2 2 8 Understanding power management Power management is invoked when the c...

Страница 11: ...and step 1 Put the display on a flat table with the back side up step 2 Press the hook shown as following figure meanwhile pull the base away from the stand Step 3 Lift up the hinge cover and remove it Wall Mounting Optional Refer to the instructions that come with the base mounting kit To convert your LCD display from a desk mounted to a wall mounted display do the following Step 1 Verify that th...

Страница 12: ... the monitor and the power supply combined Normal operation Standby Suspend Off 17W 0 5W Analog 0 5W Digital 0 3W at 100Vac 240Vac Video input Analog Interface Input signal Horizontal addressability Vertical addressability Clock frequency VGA Analog Direct Drive 75 ohm 0 7V 1920 pixels max 1080 lines max 205 MHz Video input DVI Interface Input signal Horizontal addressability Vertical addressabili...

Страница 13: ...ause Suggested action Reference The power indicator is amber but there is no image The video signal cable is loose or disconnected from the system or monitor Be sure the video cable is connected with the system properly Connecting and turning on your monitor on page 1 4 The monitor brightness and contrast are at the lowest setting Adjust the brightness and contrast setting on the OSD menu Adjustin...

Страница 14: ...efresh rate does not improve display quality Lenovo recommends using either 1920 x 1080 at a refresh rate of 60 Hz or 640 x 480 at a refresh rate of 60 Hz Chapter 3 3 6 Installing the monitor driver in Windows 8 8 1 To use the Plug and Play feature in Microsoft Windows 8 8 1 do the following 1 Turn off the computer all attached devices 2 Ensure that the monitor is connected correctly 3 Turn on the...

Страница 15: ...Chapter 3 3 7 Appendix A Service and Support Appendix A A 1 Telephone technical support Country or Region Telephone Number China 400 990 8888 V21 10 V21 10 1920 x 1080 ...

Страница 16: ...ained in other operating environments may vary Lenovo may use or distribute any of the information you supply in any way it believes appropriate without incurring any obligation to you Any references in this publication to non Lenovo Web sites are provided for convenience only and do not in any manner serve as an endorsement of those Web sites The materials at those Web sites are not part of the m...

Отзывы: