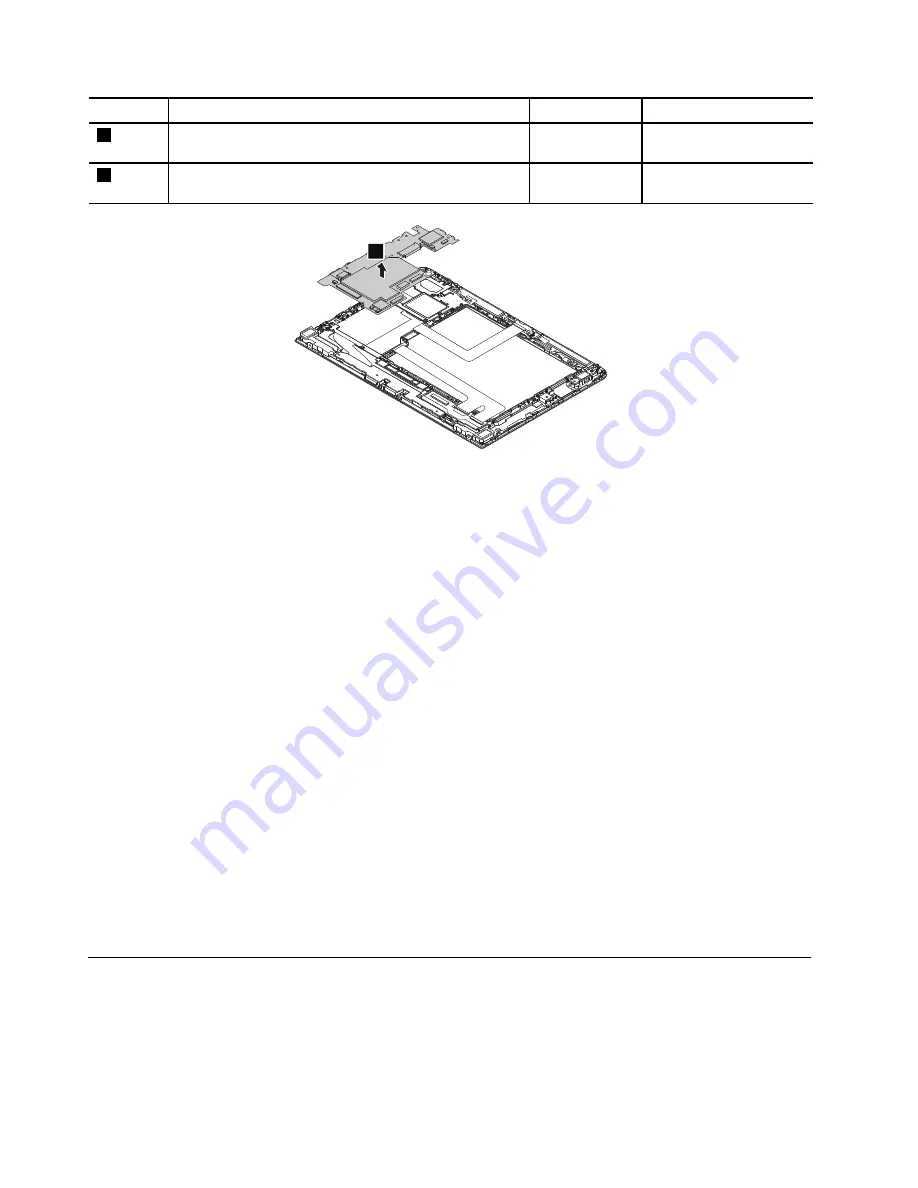
Step
Screw (quantity)
Color
Torque
6
M1.6 × 3.5 mm, flat-head, nylon-coated (1)
Black
0.098 Nm
(1.00 kgf-cm)
7
M1.6 × 2.0 mm, flat-head, nylon-coated (4)
Black
0.098 Nm
(1.00 kgf-cm)
8
Note:
After the replacement, do the following:
•
Initialize the settings on the new system board by doing the following:
1.
Remove the ac power adapter and all the external devices.
2.
Restart the tablet. Immediately press and hold the volume-up button until the ThinkPad Tablet
Setup program starts.
3.
Tap
Restart
➙
Load
Setup
Defaults
➙
Exit
Saving
Changes
.
•
Calibrate the accelerometer using the sensor calibration tool. To download the tool and the instruction,
do the following:
Note:
Service account and password are required for downloading the tool and the instruction.
1.
Locate the sensor calibration tool, then you can download the tool or the instruction by selecting
the
corresponding file name.
•
Reset the NVRAM (Non-Volatile Random Access Memory). To download the tool and the instruction,
do
the following:
Note:
Service account and password are required for downloading the tool and the instruction.
1.
Locate the NVRAM update tool, then download the tool or the instruction by selecting the
corresponding file name.
66
1200 LCD module
To replace the LCD module, do the following:
1. Follow the instructions in “Before servicing the tablet” on page 46.
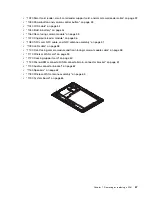
2. Remove the following FRUs:
•
“1010 Back cover assembly” on page 48
Содержание 20E3
Страница 1: ...ThinkPad 10 Hardware Maintenance Manual Machine Types 20E3 and 20E4 ...
Страница 9: ...DANGER DANGER DANGER DANGER DANGER Chapter 1 Safety information 5 ...
Страница 10: ...DANGER 6 ThinkPad 10 Hardware Maintenance Manual ...
Страница 38: ...2 3 4 5 6 2 7 8 Chapter 7 Removing or replacing a FRU 49 ...


