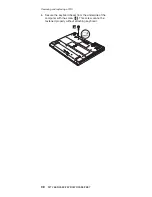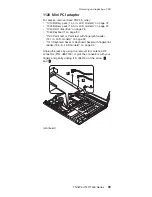
3.
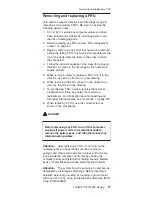
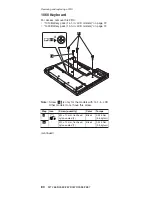
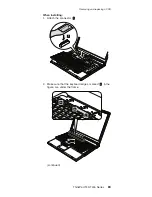
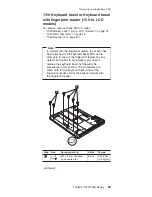
To
make
sure
that
the
front
side
of
the
keyboard
is
housed
firmly,
gently
press
the
keys
with
your
fingers
and
try
to
slide
the
keyboard
towards
you.
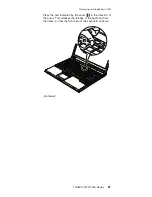
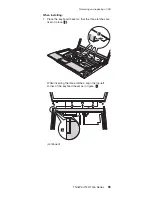
4.
Make
sure
that
all
the
projections
on
the
front
side
of
the
keyboard
b
are
firmly
attached
under
the
frame.
b
b
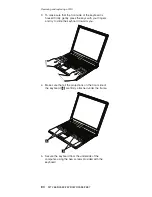
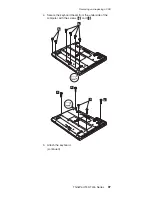
5.
Secure
the
keyboard
from
the
underside
of
the
computer,
using
the
new
screws
provided
with
the
keyboard.
Removing
and
replacing
a
FRU
84
MT
2668/2669/2678/2679/2686/2687
Содержание 18714AU
Страница 6: ...vi MT 2668 2669 2678 2679 2686 2687 ...
Страница 8: ...2 MT 2668 2669 2678 2679 2686 2687 ...
Страница 155: ...5 4 Removing and replacing a FRU ThinkPad T43 T43p Series 149 ...
Страница 157: ...3 2 Removing and replacing a FRU ThinkPad T43 T43p Series 151 ...
Страница 168: ...Remove the right latch from the LCD cover 23 24 Removing and replacing a FRU 162 MT 2668 2669 2678 2679 2686 2687 ...
Страница 172: ...b 4 4 c 5 5 continued Removing and replacing a FRU 166 MT 2668 2669 2678 2679 2686 2687 ...
Страница 182: ...3010 ThinkPad Dock II PCI cover 1 2 1 Bottom view Removing and replacing a FRU 176 MT 2668 2669 2678 2679 2686 2687 ...
Страница 187: ...1 2 3 4 5 6 7 8 9 16 10 12 13 14 15 19 17 18 11 Locations ThinkPad T43 T43p Series 181 ...
Страница 221: ...14 1 in LCD FRUs 1 b a 2 c d e 3 6 7 8 5 4 Parts list ThinkPad T43 T43p Series 215 ...
Страница 228: ...15 0 in LCD FRUs 1 2 5 3 6 7 8 4 Parts list 222 MT 2668 2669 2678 2679 2686 2687 ...
Страница 253: ...Trademarks ThinkPad T43 T43p Series 247 ...
Страница 254: ...Part Number 39T2393 1P P N 39T2393 ...


