12
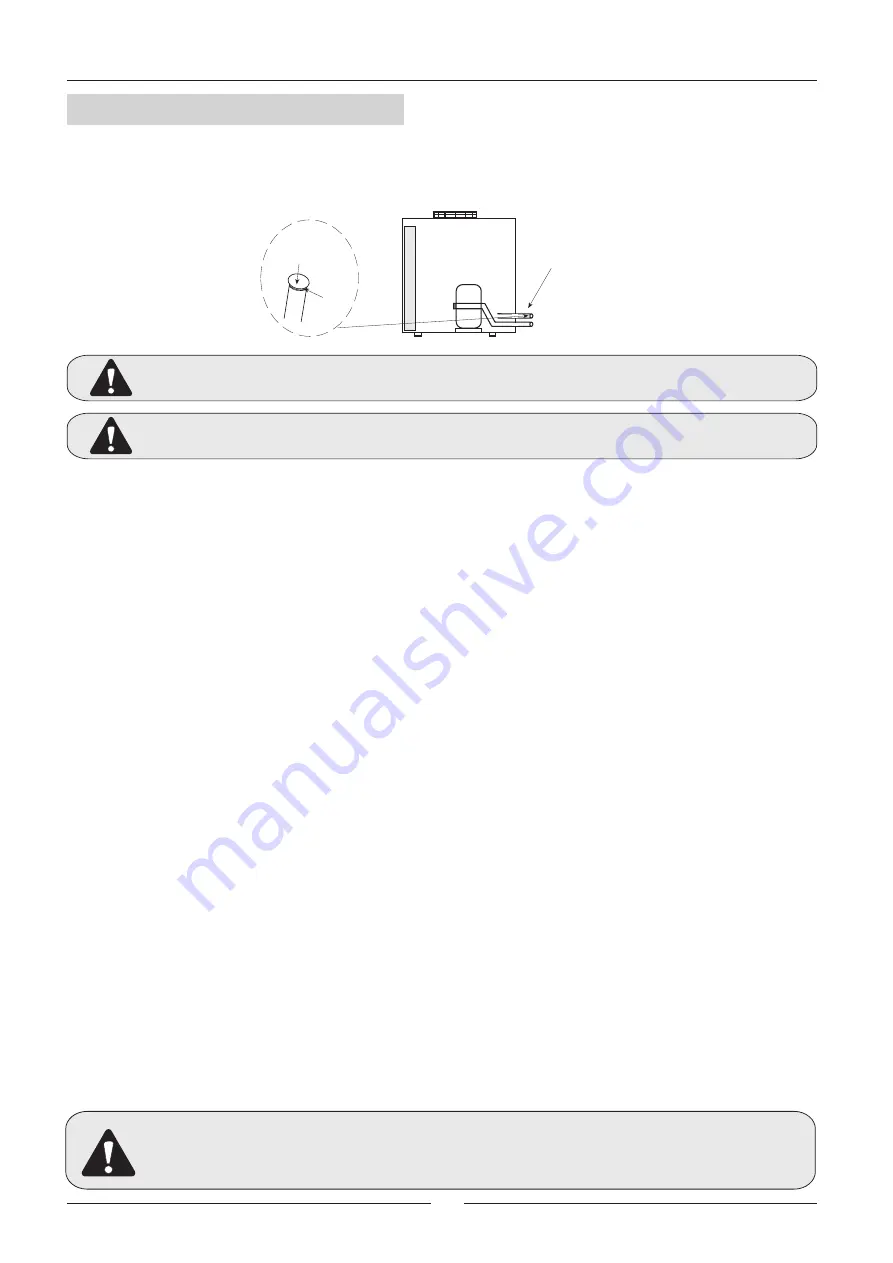
The unit is supplied with gas and liquid lines sealed with copper covers inside the casing with possibility to install
pipe lines (unless the unit is supplied with kit refrigerant factory precharged (optional) or kit service valves
(optional)).
2.- INSTALLATION
1
st
Remove the nitrogen gas, through the high and low 1/4 service ports located inside, and make a vacuum as
security.
2
nd
Remove the covers from connecting lines.
3
rd
Braze the piping connection lines. Select piping diameter TABLE 1.
(When brazing refrigerant pipes, is necessary to supply nitrogen gas through the service ports into the pipes
to remove the air).
4
th
Leak test:
Add nitrogen gas and check 5 kg/cm
2
pressure has been reached, and verify there are not leaks in the circuit
o r brazing, applying soapy water on pipes, because the leaks cause soapy water to form bubbles.
To detect small leaks proceed as follow:
Add nitrogen gas and check 32 kg/cm
2
pressure has been reached, there is not leak if pressure remains the
same at least during 24 hours and final pressure is not less than 10% from the initial pressure.
5
th
Be sure that gas line is isolated.
6
th
Vacuuming:
Remove the nitrogen gas, connect the gauge manifold and vacuum pump to both liquid and gas line, fully open
the valve of the gauge manifold and switch on the vacuum pump. Check to make sure the gauge shows a
pressure level of -750mm Hg, after a level of -750mm Hg is reached, keep on the vacuum pump at least during
an hour.
7
th
Refrigerant charge:
-
Check TABLE 3.1. and 3.2. to verify the amount of refrigerant charge, depending on length and size of the
piping connections.
-
Disconnect the vacuum pump and connect to the refrigerant-charging cylinder. Open the charging cylinder
and purge the air from the hose at the gauge manifold.
-
Set up the amount of additional refrigerant on the weighing scale, open the high pressure (liquid) and low
pressure side (suction) of the gauge valve to start the process of refrigerant from outdoor unit. If the total
amount of refrigerant charge have not been reached, because balance pressure, turn off the high side of the
gauge manifold, turn on the unit, and add slowly through low side of the gauge the remain amount of the
refrigerant charge needed. (With R-407C refrigerant, the charging cylinder must be on vertical position and it
is important to charge in liquid state). Close the sides of gauge valve from service port of the unit, and put
the covers on service ports. Then the unit is ready to work.
During installation operations, keep gas and liquid pipes covered, in order to prevent
humidity and dirt, get into them.
Take special concern about refrigerant pipes are isolated.
Avoid collapse on lines installation.
2.5- REFRIGERANT CONNECTIONS
Standard units are supplied with Nitrogen gas, which must be removed before any operation
on the unit.
FOR STANDARD UNITS AND UNITS SUPPLIED WITH SERVICE VALVES PROCEED AS FOLLOW:
As an option, the unit can be supplied with service valves on gas and liquid lines, with
Nitrogen charge (N
2
) or with refrigerant (R-407C).
brazing
copper cover
Refrigerant pipe lines


