GB-6
4. SPEAKER SETUP
4.1 DOWNMIX
Options: LT/RT - Left/Right mix mode
STEREO - Stereo mode
4.2 EXIT SETUP
- Select it to exit the setup menu.
RADIO OPERATION
TO PLAY THE RADIO
1. Press FUNCTION button repeatedly to switch to RADIO
mode (At the moment, the TFT display will be turned off), the
radio Indicator will light up and the LCD shows the current
frequency and band.
2. Select the desired band with STOP/BAND button until your
desired band shows in the LCD.
3. Tune to the desired station by pressing TUNE UP/DOWN
button (Press TUNE UP/DOWN button repeatedly until you
get the strongest clearest sound).
4. When receiving a FM ST station, the relative icon will show in
the LCD.
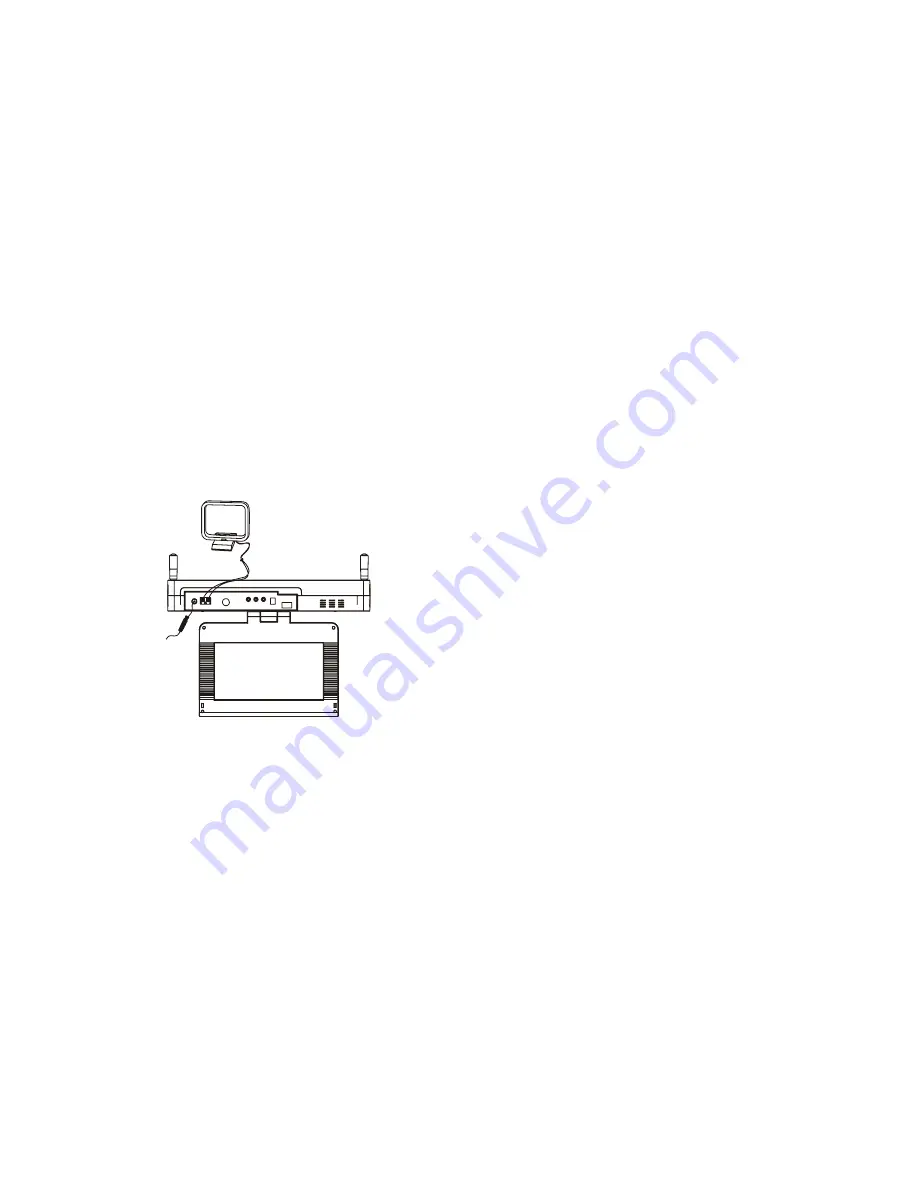
5. The AM antenna and external FM ANTENNA are directional.
y
When receiving an FM broadcast, unfold the FM antenna
and place it in the best position for the best reception.
y
For AM broadcasts, rotate AM antenna until the best
reception is heard.
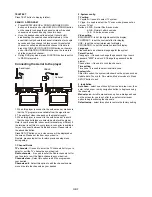
There are two clips on the AM antenna in. Press these
two clips to connect the AM antenna easily as the
illustration for AM reception.
6. Adjust the volume level to a comfortable listening level.
7. Press the POWER button to turn off the radio.
Note: If a particular FM (STEREO) station is weak, or you hear
too much background noise, press ANGLE/ST/MONO button
on the remote to switch FM (MONO). This can often result in a
much clearer reception.
TO STORE THE RADIO STATION (UP TO 10 FOR AM / 30
FOR FM)
1. Press BAND button to select your desired band and tune to
your favorite station via TUNE UP/DOWN button.
2. Press memory button and select the stored position via MEM
UP/DOWN button.
3. Press MEMORY button to save the radio station and exit the
memory mode.
Note: The relative information will be shown in the LCD during
the procedures of saving radio station.
To recall the saved station, Press MEM UP/DOWN button
directly to select your desired station saved in the memory for
listening.
SET TIME
Please set time as the below procedure:
1. Press standby button to switch to standby mode and press
CD DOOR OPEN/CLOSE button on the unit, the hours
flickers for adjusting.
2. Press NEXT/TUNE UP button or PREVIOUS/TUNE DOWN
button to adjust hour.
3. After adjustment, press CD DOOR OPEN/CLOSE button
again to confirm and the minute flashes for adjusting.
4. Use NEXT/TUNE UP button or PREVIOUS/TUNE DOWN
button to adjust minute.
5. Finally, press OK button to save the time.
Note: You only could set time in standby mode.
ALARM OPERATION
The unit is with alarm function, you could set alarm as below
steps in standby mode:
1. Press and hold ALARM button on the unit until the hour
flashes in the LCD with the flickering alarm icon.
2. Press NEXT/TUNE UP button or PREVIOUS/TUNE DOWN
button to adjust hour.
3. Press ALARM button to confirm. And the minute flashes to
wait for you adjust.
4. Use NEXT/TUNE UP button or PREVIOUS/TUNE DOWN
button to adjust minute.
5. Press ALARM button again to save.
6. Use NEXT/TUNE UP button or PREVIOUS/TUNE DOWN
button to select the alarm mode (b b- when the alarm comes
on, the unit will sound Bi Bi... Fun- when the alarm comes on,
the unit will be turned on.)
7. Finally, use ALARM button to save all settings.
Press ALARM button to enable or disable the function. The
LCD show Alarm icon while the alarm is on.
Note: The alarm only could be set in standby mode.
SET TIMER
The timer function is used to time for reminding while cooking.
Set the timer as below procedures:
1. Press TIME button repeatedly to select the approximate time
among 10, 15, 30, 45, 60, 75, 90, 180, OFF.
2. Then use TUNE UP/DOWN button to increase or decrease
the minute for exact time
3. Press OK button to confirm.
When it reminds with sound, press TIME button to stop it.
After setting the timer, press COUNT DOWN button on the unit
or COUNT DOWN button on the remote to check the remain
time.
DVB OPERATIONS
GET STARTED
y
Be sure the TV antenna is connected to your player
properly;
y
Power on the player and press FUNCTION button several
times to switch to DVB-T mode and DVD/DVB-T indicator is
lit.
A dialogue of first time installation shows on the screen, select
YES option to perform the first time installation, then select the
options as mentioned in the dialogue to finish the first time
installation, select NO option to exit this interface.
LANGUAGE
Press AUDIO button on the remote repeatedly to select
preferred audio language by TV programs provided during DVB
mode.
DISPLAY PROGRAM DETAIL INFORMATION
Press DISPLAY button during DVB play mode to show the
program detail information.
ELECTRONIC PROGRAM GUIDE
Press Program/EPG Button during DVB play mode to skim
over TV Programs guide.