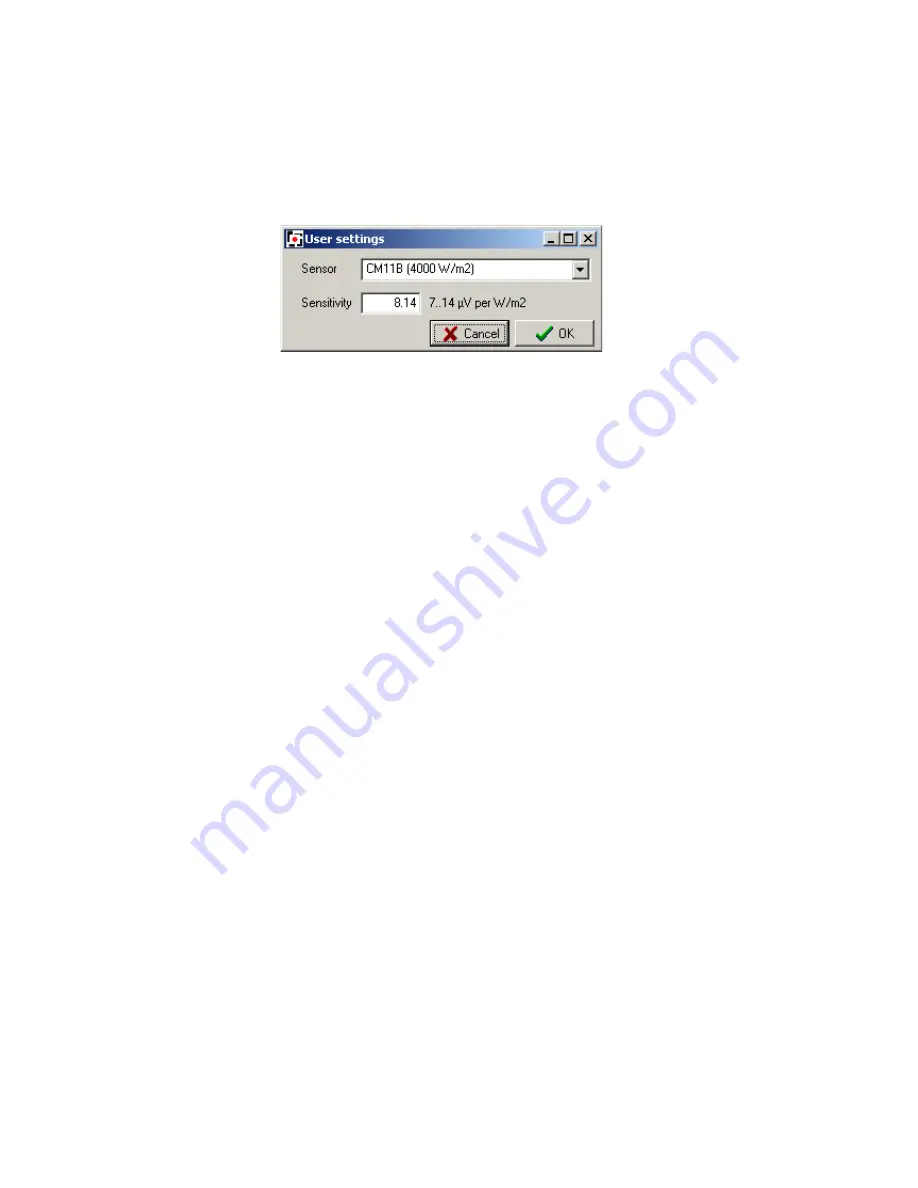
Depending on the sensor sensitivity, the Wizard will select the optimal input stage
amplification for the LI-19, and store appropriate settings for the input amplifier. The position
of the decimal dot in the display is also set. After the wizard is used, the LI-19 only has to be
programmed to make it suitable for use with the specified sensor.
Use the ‘Select sensor’ button to access the wizard. The Wizard accommodates many
different sensors.
Use the wizard to select the sensor model that is to be used, and then enter the sensitivity of
the sensor. The LI-19 is then ready to be programmed with the new settings. To do that, click
the ‘Program’ button.
Once programmed this way, the LI-19 shows the sensitivity for a few seconds on the display
when switched on, before it starts showing actual measurements. This way you can check the
sensitivity setting before use.
Please note that the LI-19 only shows the sensitivity when programmed using the PC
software at least once – so it may not yet do this when you receive the unit.
Manually
Your version of the software may not have manual selection of the input amplifier enabled. If it
is enabled, and if you want to manually enter the sensor settings, the required LI-19 setup is
determined in the following steps:
1. Go to the ‘Sensor settings’ page. The full range output voltage of the sensor should
be less than or equal to the full scale input voltage of the LI-19. The full range output
voltage is used to select the maximum input stage amplification factor of the LI-19 in
the software. In the box that says ‘Input amplifier’ you can select the amplification that
corresponds to the required full scale input.
2. Next to the amplification factor, you can read how many internal counts each input
range will give you. The number that the LI-19 should display at the full scale input
value is entered into the multiplier input field. The number of internal counts that
corresponds to that full scale input, is entered into the divider field.
3. The decimal dot position for the display is selected.
4. Tick the ‘Allowed’ checkbox for negative values if the sensor can measure values less
than zero. If you do not tick this box, the LI-19 will clip all negative values to zero.
5. The LI-19 is ready to be programmed with the new settings. To do that, click the
‘Program’ button.
Some examples:
We have a sensor with a calibration factor of 1.238 mV/W/m
2
. We want to measure in a test-
room where the light intensity is 100 W/m
2
max.
Step 1: Set the input amplifier to give the required range. Select the ‘Sensor settings’ page.
Содержание LI-19
Страница 1: ...LI 19 read out unit datalogger with µV sensitivity v 5 1 ...
Страница 11: ......


