


4
HD4657M3
HD4657M4
HC4657M3
HC4657M4
HS4657M3
HS4657M4
573912
573913
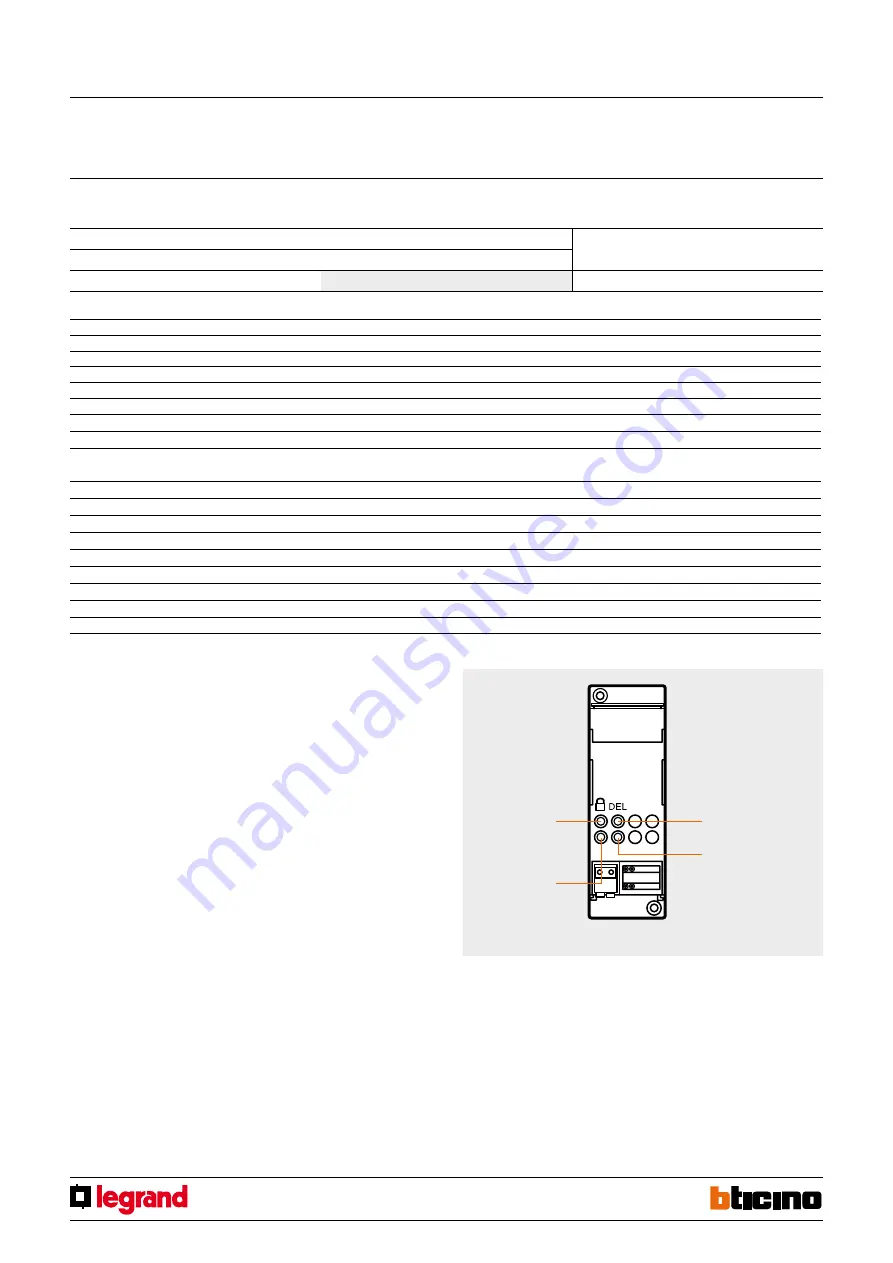
button
deleting scenarios
reset LED
scenarios/learning
programming
locking/unlocking
button
programming
status LED
NOTE 1):
Match between the number of the scenario stored in the scenario module and the control buttons in the possible configurations:
3-module control (6 scenarios)
Button number
M=1
M=4
M=3
Button 1
Scenario 1
Scenario 7
Scenario 13
Button 2
Scenario 2
Scenario 8
Scenario 14
Button 3
Scenario 3
Scenario 9
Scenario 15
Button 4
Scenario 4
Scenario 10
Scenario 16
Button 5
Scenario 5
Scenario 11
Button 6
Scenario 6
Scenario 12
4-module control (8 scenarios)
Button number
M=1
M=2
Button 1
Scenario 1
Scenario 9
Button 2
Scenario 2
Scenario 10
Button 3
Scenario 3
Scenario 11
Button 4
Scenario 4
Scenario 12
Button 5
Scenario 5
Scenario 13
Button 6
Scenario 6
Scenario 14
Button 7
Scenario 7
Scenario 15
Button 8
Scenario 8
Scenario 16
F420
Touch control
MQ00110-f-EN
07/06/2014
Virtual configuration (MYHOME_Suite)
Physical configuration
Function
Parameter / setting
Modifying and activating a scenario, Scenario button
1-16
M=1-4
1)
3.2 Mode
Deleting a scenario
1) The F420 scenario module must be configured with self-learning enabled;
2) Briefly press the button on the back, the LEDs will light up in rotation;
3) Within 20 seconds, press the button corresponding to the scenario that you want to
delete and hold it for 4 seconds;
4) The deleted device button LEDs will blink for 4 seconds, after which you can repeat
step 2 to delete other programming.
5) Briefly press the button or wait 20 seconds to exit deletion.
NOTE:
To reset the entire memory you need to act directly on the scenario module:
hold down the "DEL" button for 10 seconds after enabling the scenario module for
programming.
Programming a scenario
To program the scenario, the procedure is as follows:
1) The F420 scenario module must be configured with self-learning enabled (you need
to press the self-learning button so that the corresponding LED is green, self-learning
is not enabled if it is red);
2) Briefly press the button on the back, the LEDs for the buttons enabled for the scenario
with programming function will blink 1 sec. ON and 1 sec. OFF;
3) Touch the button corresponding to the scenario to be programmed: the LED will begin
to flash (on receiving the update of the scenario module) indicating activation of the
programming mode;
4) Set the scenario using the controls and/or the corresponding actuators;
5) Touch the button to exit programming: the LEDs will start flashing in rotation and you
can now repeat steps 2, 3 and 4 for all the scenarios, including any button that you
have already assigned in case you want to change it;
6) Briefly press the button or wait 20 seconds to exit programming.


