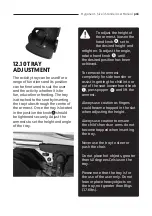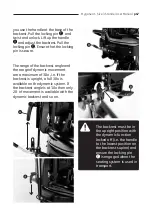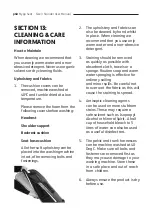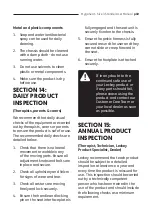
Mygo Seat - Size 3 Stander User Manual
p39
12.1 TRANSFERRING
YOUR CHILD INTO &
OUT OF THE SEAT
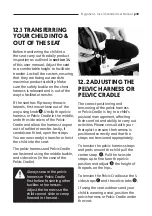
Before transferring the child into
the seat carry out the daily product
inspection as outlined in
section 14
of this user manual. Adjust the seat
to a comfortable height to facilitate
transfer. Lock all the castors, ensuring
that they are facing outwards to
maximise product stability. Make
sure the safety buckle on the chest
harness is released and is out of the
way to facilitate transfer.
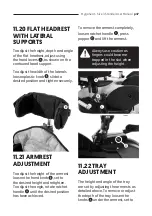
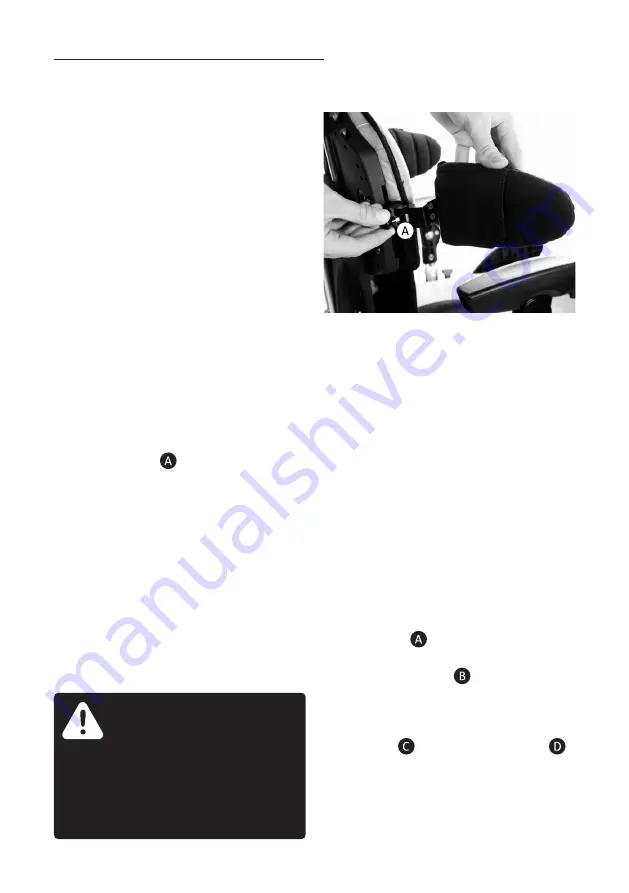
If the seat has flip-away thoracic
laterals, first move these out of the
way using knob . Unclip the pelvic
harness or Pelvic Cradle in the middle,
undo the side velcro of the Pelvic
Cradle and allow the harness to open
out to facilitate transfer. Lastly, if
sandals are fitted, open the straps.
You are now ready to transfer or hoist
the child into the seat.
The pelvic harness and Pelvic Cradle
are fastened using the middle buckle,
and side velcro (in the case of the
Pelvic Cradle).
Always secure the pelvic
harness or Pelvic Cradle
first before fastening other
buckles or harnesses.
Adjust the harness so the
child cannot slide or creep
forward in the seat.
12.2 ADJUSTING THE
PELVIC HARNESS OR
PELVIC CRADLE
The correct positioning and
tensioning of the pelvic harness
or Pelvic Cradle is key to a child’s
postural management, affecting
their comfort and ability to carry out
activities. Please consult with your
therapist to ensure the harness is
positioned correctly and that the
straps are tensioned appropriately.
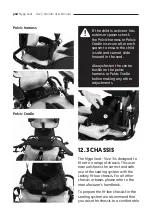
To tension the pelvic harness straps
and pads around the child pull the
centre strap . Pull the two side
straps up to fine tune the pelvic
position and adjust
the height of
the pads on the hips.
To tension the Pelvic Cradle use the 4
side straps
and the velcro tabs
.
If using the seat outdoors and your
child is wearing a coat, position the
pelvic harness or Pelvic Cradle under
the coat.

