background image

8

9

5. 

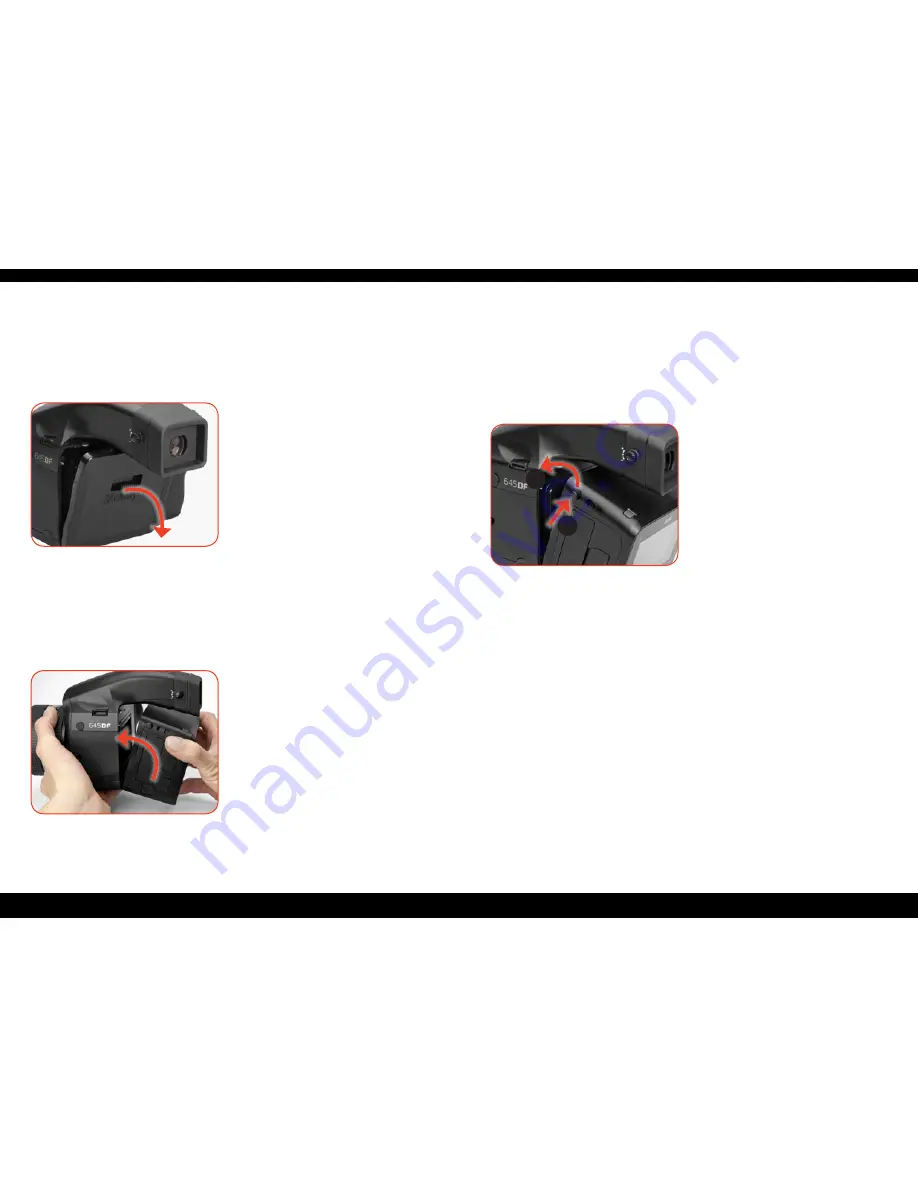
While holding down the back release button, push the back and 
camera body together firmly.

6. 

Release the back release button.

7. 

Slide the back lock to the locked position (towards the camera). 

Note: Your back should always be protected by its sensor cover 
plate when it is not attached to the camera.

4. Mounting the Leaf 

Credo Back

1. 

Remove the back cover from the camera. 


2. 

Unlock the back by sliding the back lock away from the camera.

3. 

While holding down the back release button, remove the sensor 
cover plate from the back.

4. 

Place the bottom part of the back in the lower locking 
mechanism on the back of the camera body.

2

1

Содержание CREDO

Страница 1: ...1 Leaf Credo Digital Back with Mamiya 645DF System Quick Guide...

Страница 2: ...tware 26 Leaf Limited Warranty 27 1 Contents of Kit Leaf Credo digital back Charger for Leaf Credo battery 12 V Power adapter and regional adapters Two Li Ion 7 2V 2900 mAh batteries USB 3 0 cable 3 m...

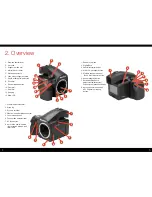
Страница 3: ...3 Self timer interval button 4 Main LCD backlight button 5 Multiple exposure button Focus point selector button 6 Auto bracketing button 7 Set button Flash auto adjustment select button Exposure comp...

Страница 4: ...sert camera batteries Ensure the drive dial is set to L off Lift the battery case and pull out the battery holder Check batteries are installed then return the battery holder and lock it 2 Attach and...

Страница 5: ...ld always be protected by its sensor cover plate when it is not attached to the camera 4 Mounting the Leaf Credo Back 1 Remove the back cover from the camera 2 Unlock the back by sliding the back lock...

Страница 6: ...de using the exposure mode dial 2 Insert a formatted CF card A CF card can formatted in either your Credo back or computer 3 Turn on the digital back Press and briefly hold the on off button on the Le...

Страница 7: ...n Tap takes you to browse view from any screen Back Button Takes you back to the previous screen Dynamic Menu Displays additional options if available for the screen being viewed White balance Auto Da...

Страница 8: ...14 15 8 Setting Up the Digital Back Configure the following Interface language Date and Time 9 Taking a Shot Press the release button to start shooting...

Страница 9: ...m control Tap screen to wake up back 10 Browsing Images Tap browse soft button to access images Swipe bottom to see other images Single tap to select an image Double tap on image to view in 100 Zoom s...

Страница 10: ...access full screen image 2 Tap Dynamic menu soft button 3 Tap WB icon 4 Use picker to select neutral balance Tap Exposure information 11 Evaluating Your Shot Tap small histogram View detailed histogra...

Страница 11: ...Dynamic soft button for rating menu Tap stars to rate images 12 Editing Your Images Browse your images Delete an image by tapping the Dynamic button and tapping trash icon A long tap on a thumbnail e...

Страница 12: ...e screen using the screen holder and put the screen on the screen frame 5 Push the screen frame up using the tweezers until hearing a clicking sound The screen is now properly installed Never press do...

Страница 13: ...irection C 09 AEL AFL button exchange C 10 Shutter half press function C 11 AEL function lock unlock mode C 12 AFL lock mode setting C 13 One push function M Mode C 14 AF beam setting C 15 Flash sync...

Страница 14: ...be liable for any indirect damages including without limitation lost profits damage to other property caused by any defect in the Leaf digital back damages based upon inconvenience loss of use of the...

Страница 15: ...28 http www mamiyaleaf com 2012 65300991 B CREDO QUICK GUIDE...

Отзывы: