D
D
C
C
S
S
8
8
1
1
0
0
V
V
2
2
D
D
i
i
g
g
i
i
t
t
a
a
l
l
D
D
C
C
S
S
e
e
r
r
v
v
o
o
D
D
r
r
i
i
v
v
e
e
r
r
M
M
a
a
n
n
u
u
a
a
l
l
R
R
e
e
v
v
1
1
.
.
0
0
Tel: (86)755-26434369
20
Website: www.leadshine.com
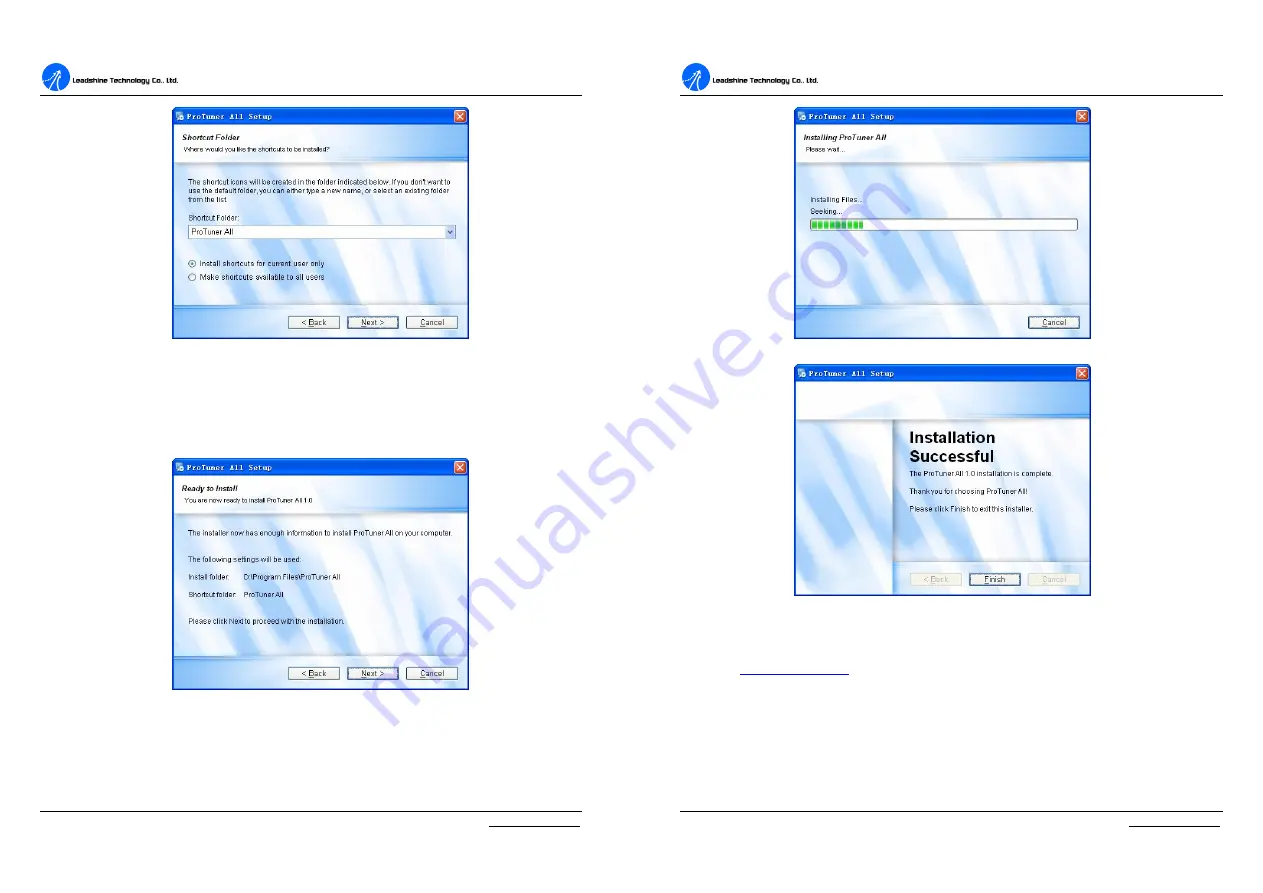
Figure 6-5: Shortcut folder setting
Set the
“
Shortcut Folder
”
in Figure 6-5 and continue to install the
ProTuner
by
following Figure 6-6 and Figure 6-7. An
Installation Successful
window will
appear if the
ProTuner
is installed successfully. See Figure 6-8.
Figure 6-6: Installation information summarization
D
D
C
C
S
S
8
8
1
1
0
0
V
V
2
2
D
D
i
i
g
g
i
i
t
t
a
a
l
l
D
D
C
C
S
S
e
e
r
r
v
v
o
o
D
D
r
r
i
i
v
v
e
e
r
r
M
M
a
a
n
n
u
u
a
a
l
l
R
R
e
e
v
v
1
1
.
.
0
0
Tel: (86)755-26434369
21
Website: www.leadshine.com
Figure 6-7: Installing the ProTuner
Figure 6-8: Finish installation
Note:
Leadshine also offers special version ProTuner which does not need installation. Please visit
our website
RS232 Interface Connection
Connect the servo system according to chapter
“
Connections
”
and connect the PC
to the driver as the following figure.


