21
While in the live view screen, click on the
【
Record
】
button, or press the
【
●
】
(red dot) Record
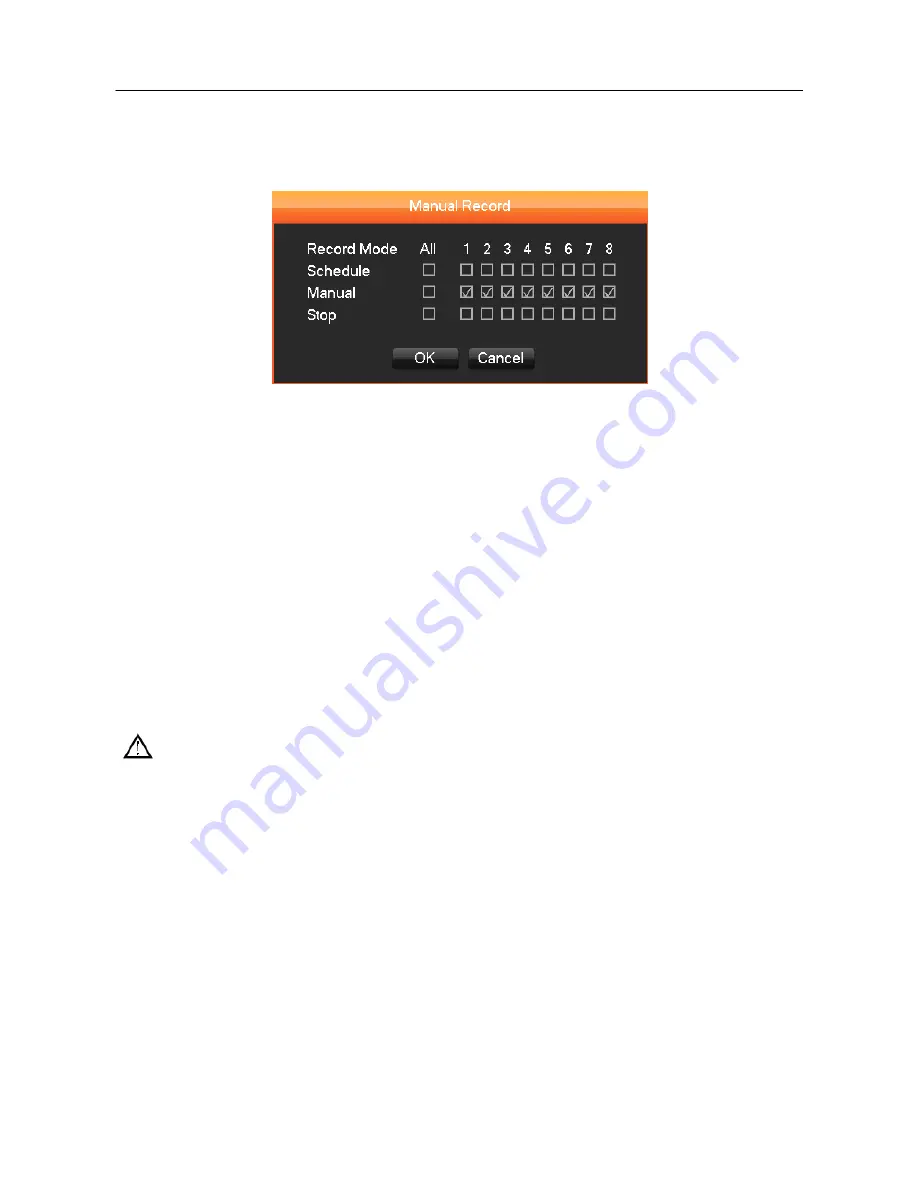
button on the remote control. This will bring up the manual recording interface, as shown in Diagram
3-13 Recording Control.
DIAGRAM 3-13 RECORDING CONTROL (FOR BOTH 4- & 8-CHANNEL DVR OPERATION)
【
Schedule
】
Record the video according to the types assigned in the recording settings (commonly
motion detection and alarm).
【
Manual
】
High priority is no matter what the current status of each channel, the selected channels
will make a common recording when the "Manual" button is pressed.
【
Stop
】
Stops all channel recording.
To change the record status of one channel, first check if the recording status of the channel is
selected or not (non-selected boxes indicate the channel is not recording, selected boxes indicate
the channel is in recording mode). Use the mouse to select channel recording status. When you are
done, click on the
【
OK
】
button to confirm the settings, or click
【
Cancel
】
to exit without recording
any changes.
Note:
Choosing ―All‖ will change the recording status for all of the channels
3.10.6. MAIN MENU
Click the
【
Main Menu
】
, enter a User name and password, click
【
OK
】
to enter the system menu,
as shown in Diagram 3-14 system Login below.
Содержание LV-D0404BS
Страница 1: ...DVR User Manual...
Страница 47: ...46 DIAGRAM 3 34 HDD MANAGEMENT RECORD...
Страница 50: ...49 DIAGRAM 3 39 PERIOD DIAGRAM 3 40 LINKAGE SET DIAGRAM 3 41 PROCESS...
Страница 53: ...52 DIAGRAM 3 46 ENTER AUTHORIZATION CODE DIAGRAM 3 47 DROP BOX CAPACITY...


