LAUNCH
X-431 PAD III User Manual
71
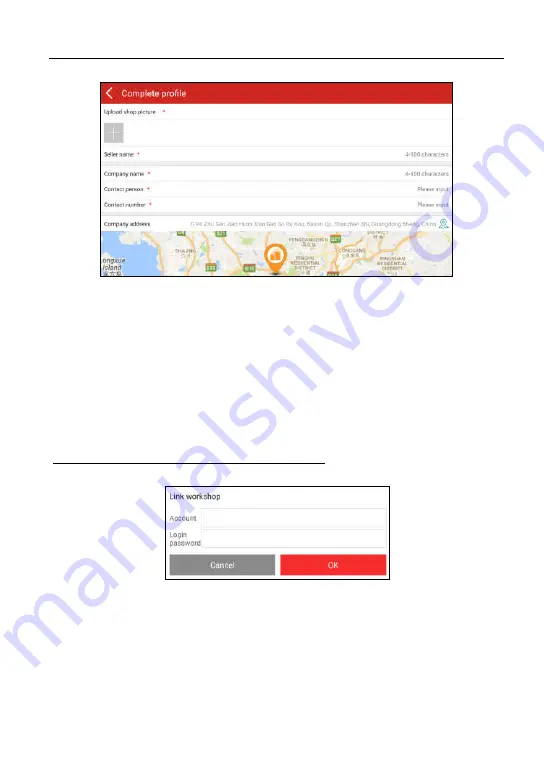
Fig. 8-2
Fill in the required items:
To upload the shop picture, tap the + logo to choose the desired photo.
To locate company address, tap the GPS location icon to obtain it
automatically.
To define the item “Model specialized”, tap the > icon to select the vehicle
models.
After entering, tap “Submit” to confirm. “Sign up successfully” will pop up and
the system will jump to golo main menu screen.
B. If you have a golo business manager account, tap “Link now” to bind this tool
to it.
Fig. 8-3
For more detailed operations on this module, please refer to the user manual
included within this application.
Содержание X-431 PAD III
Страница 66: ...LAUNCH X 431 PAD III User Manual 57 Cancel To cancel this operation...
Страница 136: ...LAUNCH X 431 PAD III User Manual 127 failures Fig 13 12 just shows the major possible factors for the failures...
Страница 137: ...LAUNCH X 431 PAD III User Manual 128 Fig 13 12...
Страница 153: ...LAUNCH X 431 PAD III User Manual 144 Fig 15 6 2 Tap Manage Wallets Fig 15 7 3 Tap Export Keystore...
Страница 159: ...LAUNCH X 431 PAD III User Manual 150 3 Input product S N and follow the on screen prompts to retrieve the password...