11
LAUNCH
ROXIE W
User Manual
In Figure 4-1, tap “Next” to go to next step.
2.
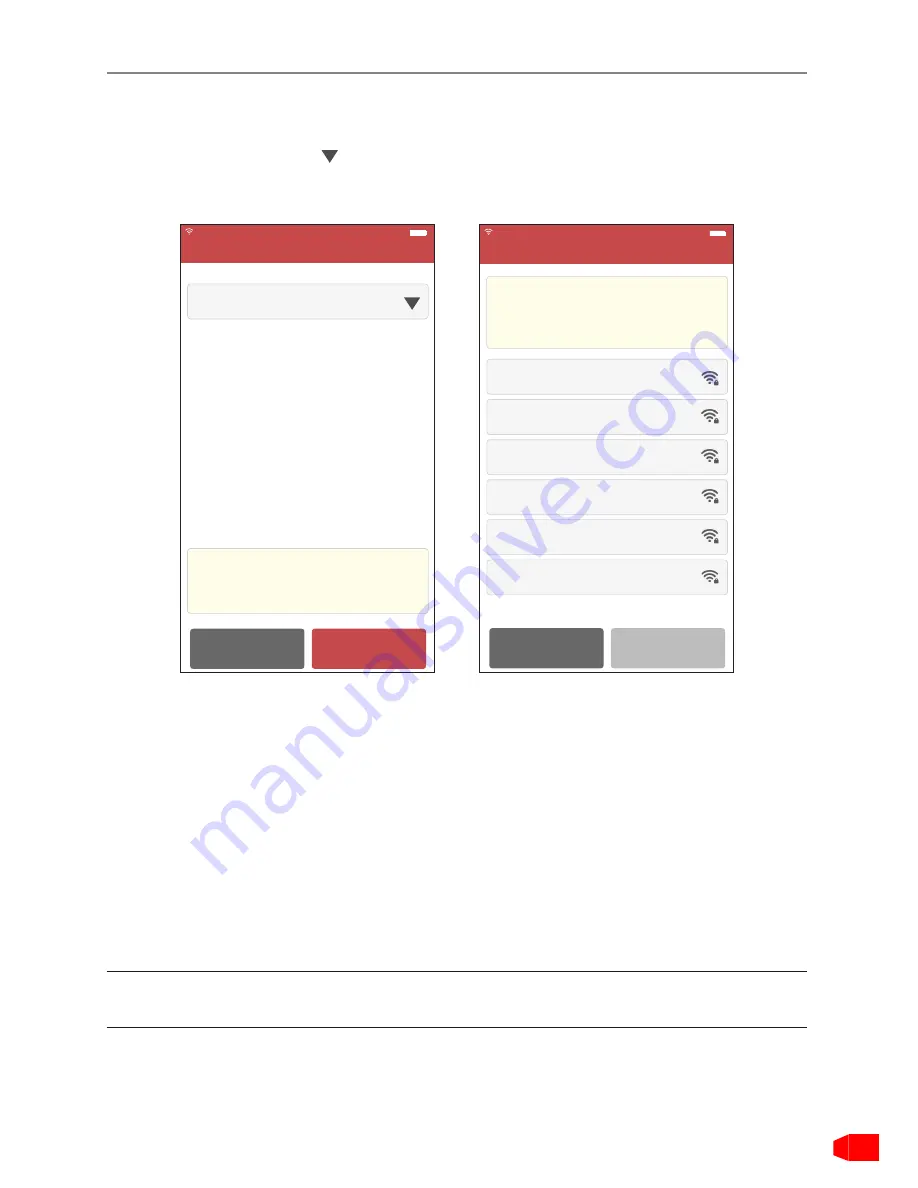
Select time zone
: Tap to select the time zone of your current location, the
system will automatically configure the system time according to the time
zone you selected. See Figure 4-2.
America/New York
Previous
Select Time Zone
Next
Please select the time zone of your current
location, the system will automatically set the
system time according to the time zone you
selected.
100%
?
LAUNCH_GN
LAUNCH_HW
LAUNCH_GUEST
VCX_WIFI
TP-LINK_2AKK
TP-LINK_5F_test
Previous
Select Wi-Fi Network
Next
ROXIE MUST be connected to a Wi-Fi network
for it to work. Please select an
available WiFi
network before moving forward. If there is no
available WiFi network nearby, connect via
mobile WiFi hotspot
.
100%
?
Figure 4-2 Figure 4-3
After setting, tap “Next” to go to Wi-Fi setup.
3. *
Wi-Fi setup
: The system automatically searches for all available wireless
LANs. Choose the desired WLAN access point / network,
• If the network you chose is open, you can connect directly;
• If the selected network is encrypted, you have to enter the right security
key (network password). Tap “OK” until the device is properly connected to
the WLAN.
• If the desired Wi-Fi network does not appear on the list, swipe the screen
from the top to refresh it or tap “Add network” to manually add it.
*Note:
Wi-Fi setup is mandatory
. If there is no available Wi-Fi network nearby, you
can enable “Portable mobile hotspot” instead of the WLAN.
4.
Configure email address
: After the network connection is done, the system
automatically enters the email address setting screen. Input the email


